
Bringing you yet one more recipe of a well-liked South Indian snack known as Thattai or Thattu Vadai. This savory snack is frequent in the course of the festivals of Diwali and Krishna Jayanti within the southern elements of India. Not only a festive deal with, it’s obtainable all 12 months spherical in candy and bakery shops, on this a part of the Indian subcontinent. This Thattai Recipe is a kind of that’ll enable you to grasp the artwork of creating this dish. You simply should observe the methodology and provides the ideas, a learn for even a greater understanding.
What’s Thattai
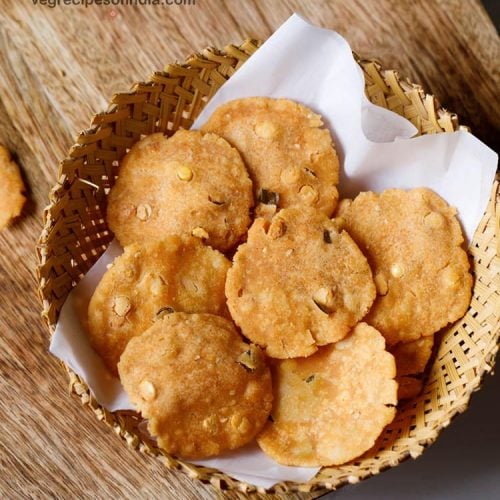
Thattai is a crisp, deep-fried cracker made with rice flour, lentil flours, spices, herbs and seasonings. A primary Thattai Recipe has a dough that’s made by mixing rice flour, roasted and floor urad dal flour, soaked chana dal, curry leaves, asafoetida (hing), floor inexperienced chilies or pink chili powder, salt, butter or ghee. An optionally available ingredient which may be additionally add is grated or sliced contemporary coconut.
Whereas in Tamil Nadu, the dish is named Thattai, ‘Nippattu’ is what it’s referred to in Karnataka and ‘Chekkalu’ in Andhra Pradesh or the Telangana area. It might even be generally known as Thattai Murukku or Thattu Vadai.
There are some variations within the technique of preparation in every of those areas, however the primary substances stay the identical. The totally different flavors which are obtainable embrace masala, butter, ginger and a few even filled with chutneys, and veggies like carrot, beetroot, and so on.
Though obtainable in each candy and salty variations, my Thattai Recipe here’s a salted variant.
Extra On The Recipe
I first got here throughout the Thattai Recipe some years again, when one among our readers had shared it with me. For the longest time, it stored mendacity in my electronic mail, as I used to be simply tied up with one thing or the opposite and couldn’t actually give it a attempt.
Nonetheless, one advantageous day, I actually considered giving the recipe a try to ultimately made it. The Thattai actually got here out to be crispy, crunchy and oh-so good.
It turned out to be so a lot better than those obtainable available in the market shops, that are additionally approach too spicy, a lot of the instances. So, since then, I by no means actually stopped making it at dwelling!
I additionally felt that the Thattai Recipe was a kind of which needed to be shared on my weblog. So, I included a number of adjustments in it, which solely made the entire deal, even higher. These Thattu Vadai additionally keep crisp. So, no worries of them turning soggy or tender in a number of days.
This recipe will provide you with about 25 items of Thattu Vadai, and will be simply scaled up by growing the proportion of the substances.
To maintain them effectively, put in an air-tight jar and revel in it as a brilliant snack throughout your tea-time or as a festive snack. One other preparation the place you should use this specific snack is on this Mixture Recipe.
Step-by-Step Information
Easy methods to make Thattai
Preparation
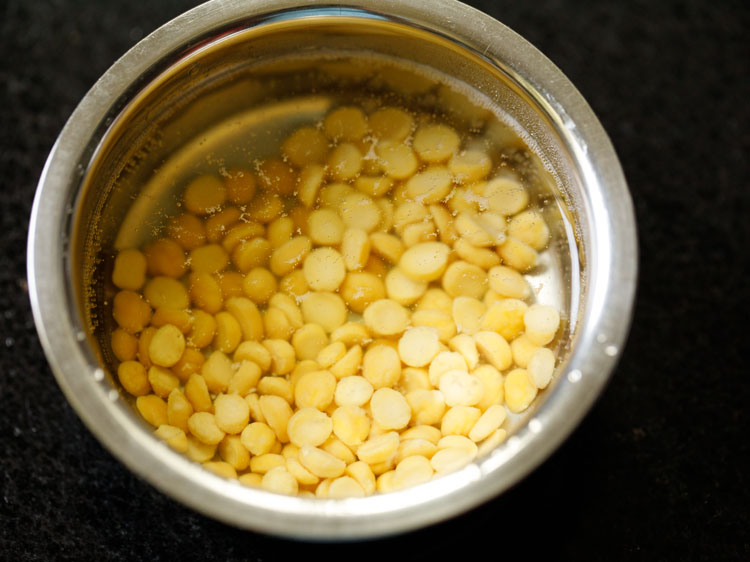
1. Firstly, rinse after which soak 1 tablespoon chana dal (husked and break up Bengal gram) in scorching water for half-hour.
2. Warmth a heavy kadai or pan. Preserve the warmth to low or medium-low. Add 1 tablespoon urad dal (husked and entire or break up black gram).
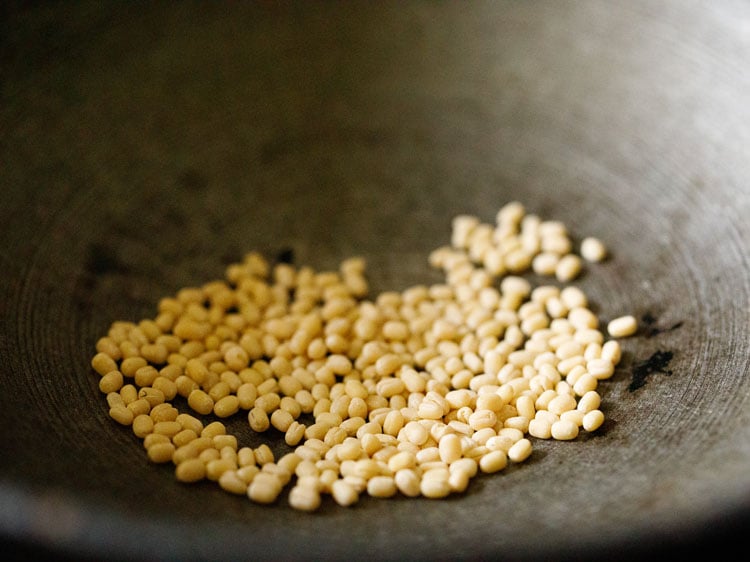
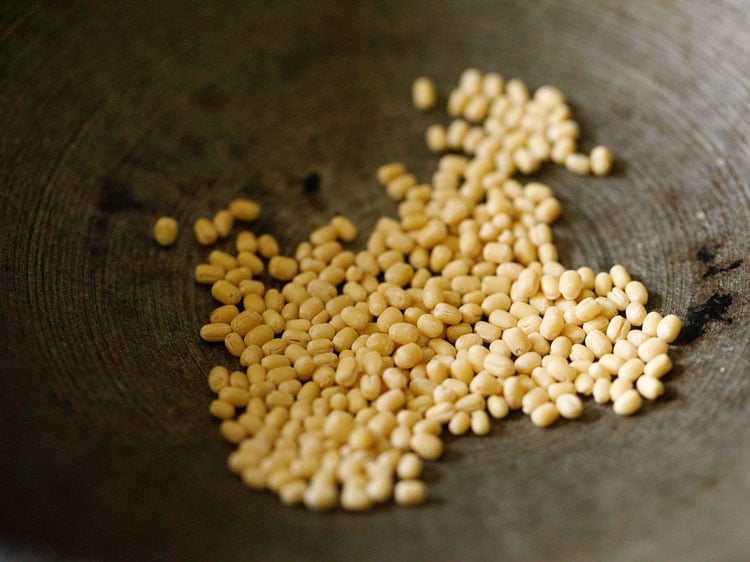
3. Evenly roast urad dal for 1 to 2 minutes. You don’t have to brown the dal. Take away the lentils and put aside.
As a substitute of utilizing urad dal, you can even use urad dal flour. Simply add 1 tablespoon urad dal flour within the dough combination.
4. In the identical kadai or pan, add 1 cup (160 grams) rice flour. Right here, I’ve used packaged rice flour, however selfmade rice flour may also be used.
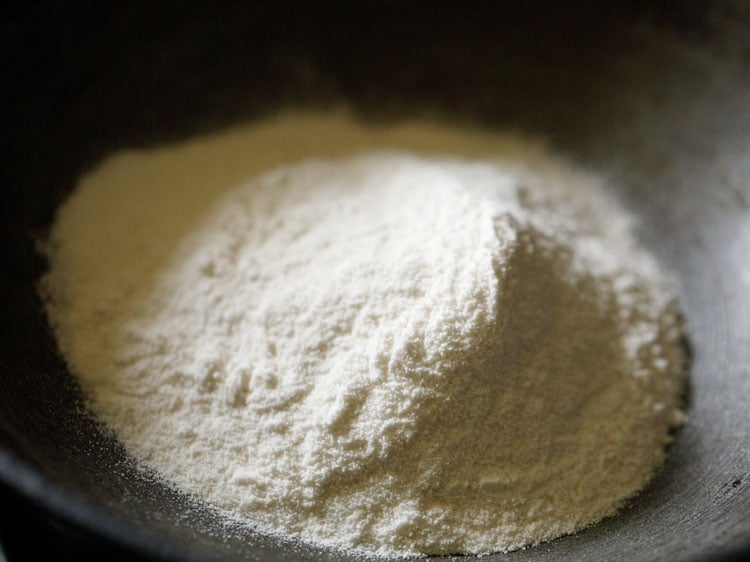
5. On low to medium-low warmth, roast the rice flour. Stir typically.
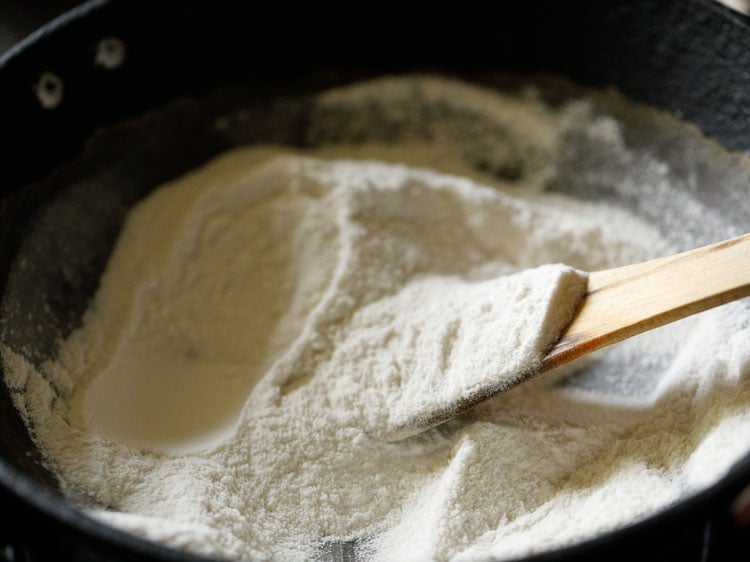
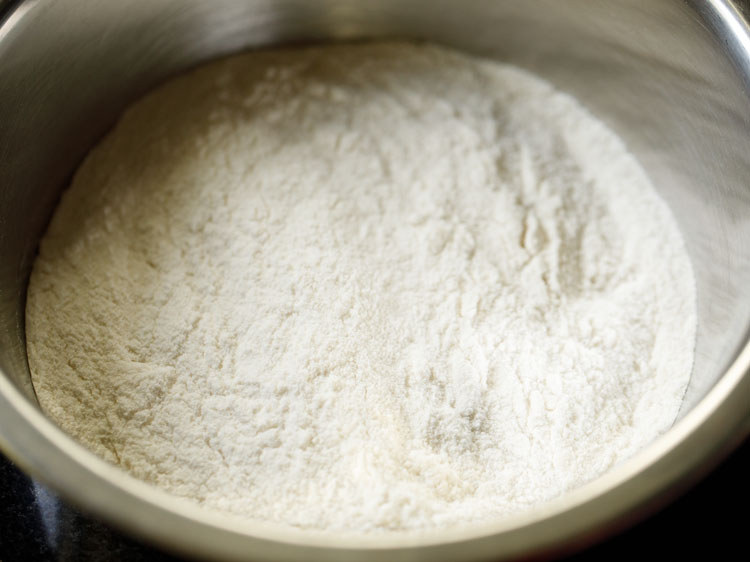
6. Roast rice flour until it turns into heat to the touch.
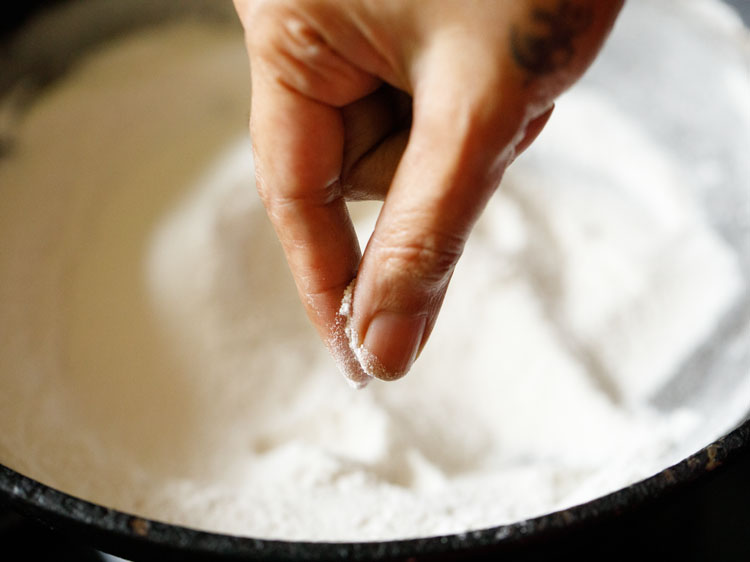
7. Take away and maintain apart in a mixing bowl.
8. In a small grinder, take the roasted urad dal. Add 1 tablespoon roasted chana dal. You may even skip roasted chana dal.
Roasted chana dal helps in making the Thattai gentle and crispy.
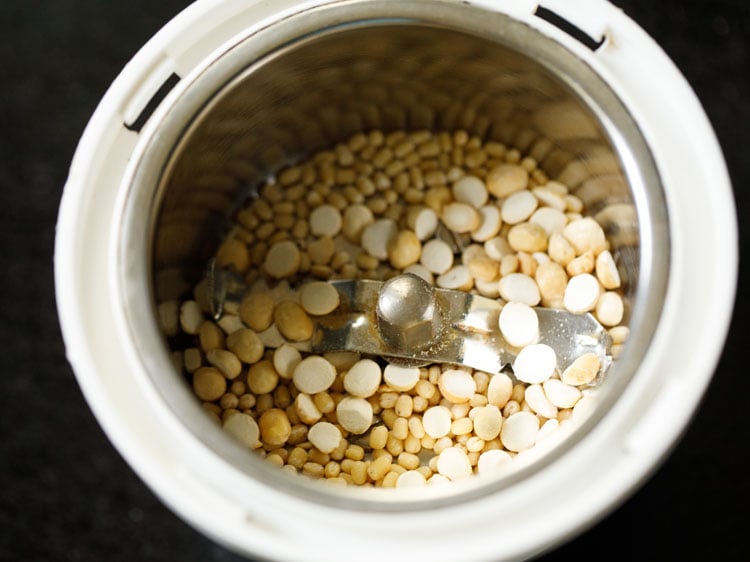
9. Grind to a advantageous powder.

Make Thattai Dough
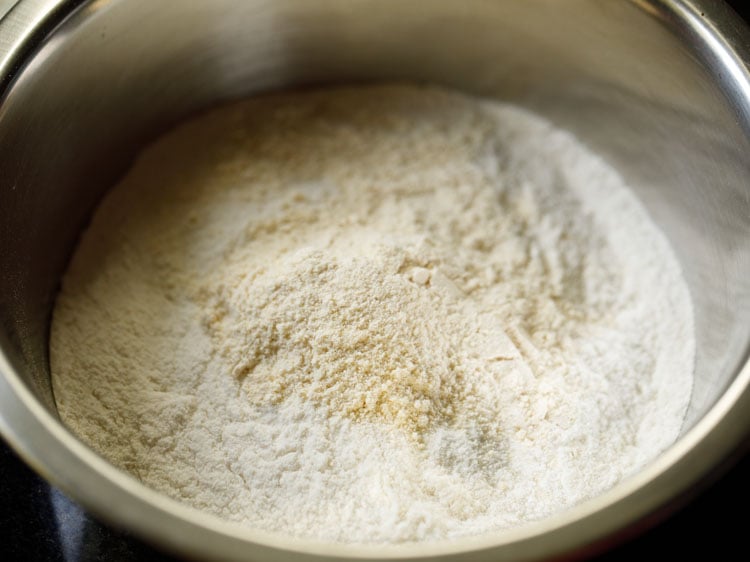
10. To the bowl containing the rice flour, add the ready and floor lentil flours.
11. Add the under listed herbs, spices and seasonings:
- 1 tablespoon chopped curry leaves or 10 to 12 chopped curry leaves
- ¼ teaspoon asafoetida (hing)
- ½ teaspoon pink chili powder or as required
- 1 teaspoon white sesame seeds
- ½ teaspoon salt or as per style
You may even add 2 tablespoons contemporary grated coconut or thinly sliced coconut (optionally available).
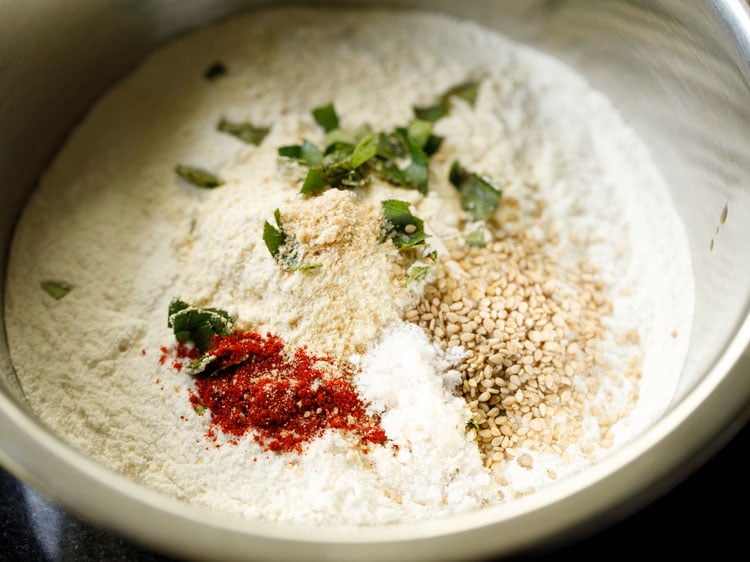
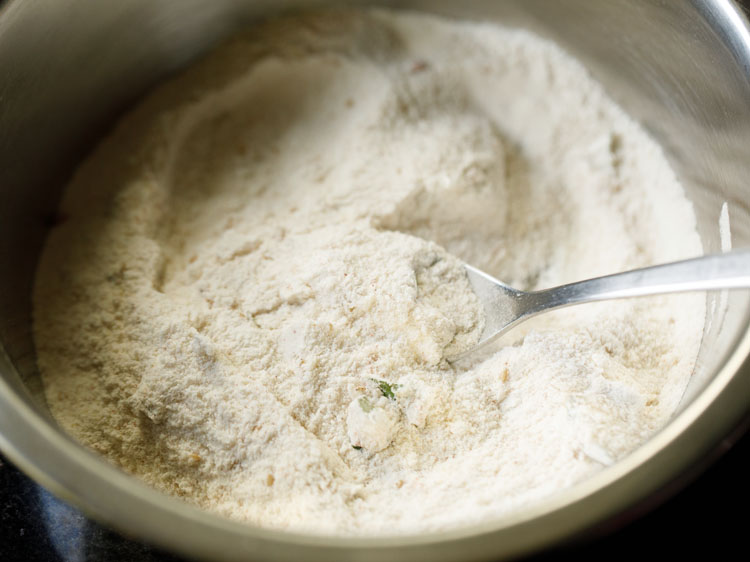
12. Combine the salt, spices and herbs with the flours to get a fair combination.
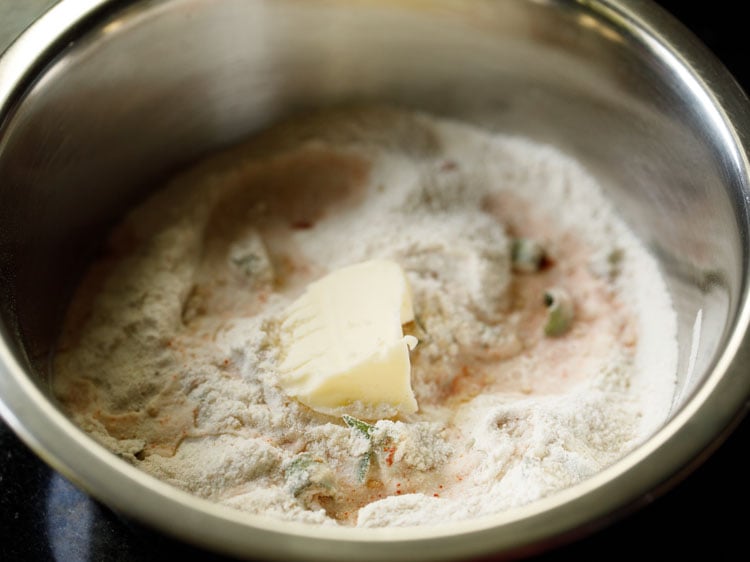
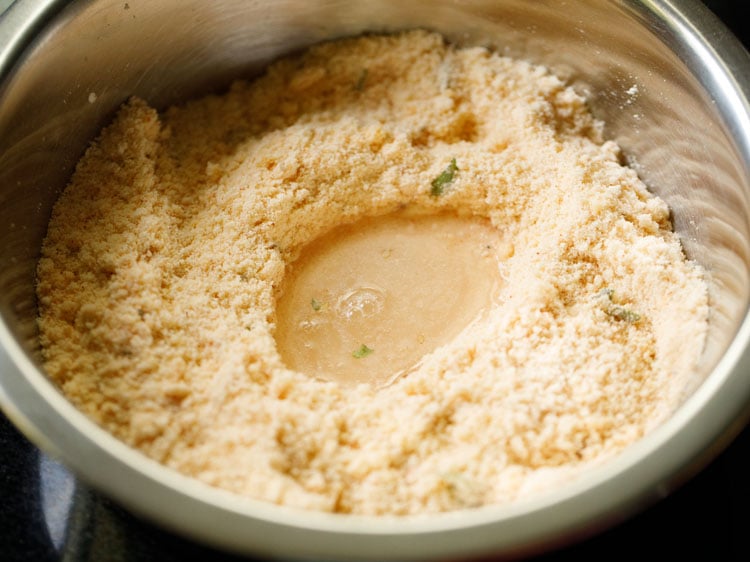
13. Now, sprinkle 2 tablespoons water and add 1 tablespoon butter. You may add 1 tablespoon ghee, as an alternative of butter.
You should use each salted or unsalted butter. The butter will be chilly or at room temperature.
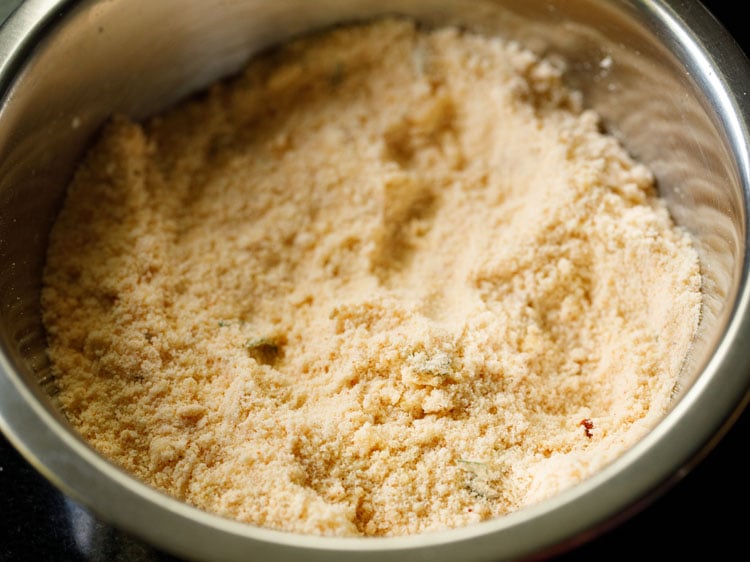
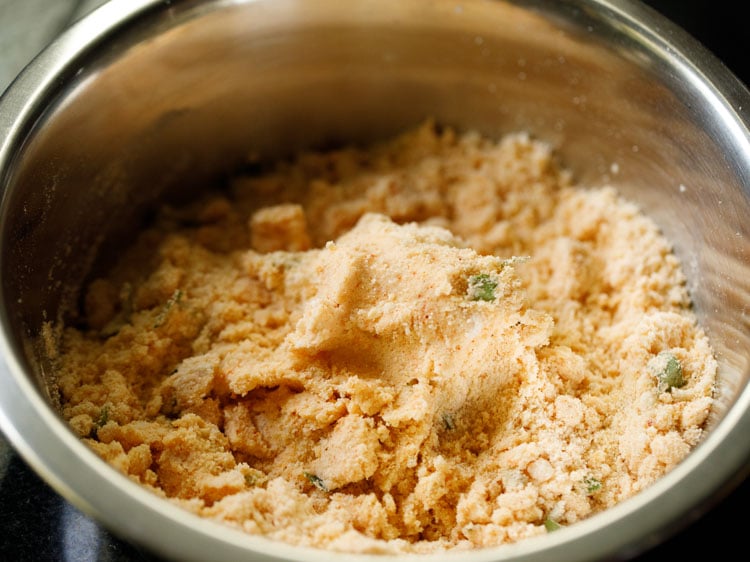
14. Together with your fingertips, combine the butter with the flour. Combine very effectively.
15. Add 3 tablespoons water.
16. Gently combine and begin bringing the combination collectively.
17. Drain all of the water from the soaked chana dal and add to the dough combine.
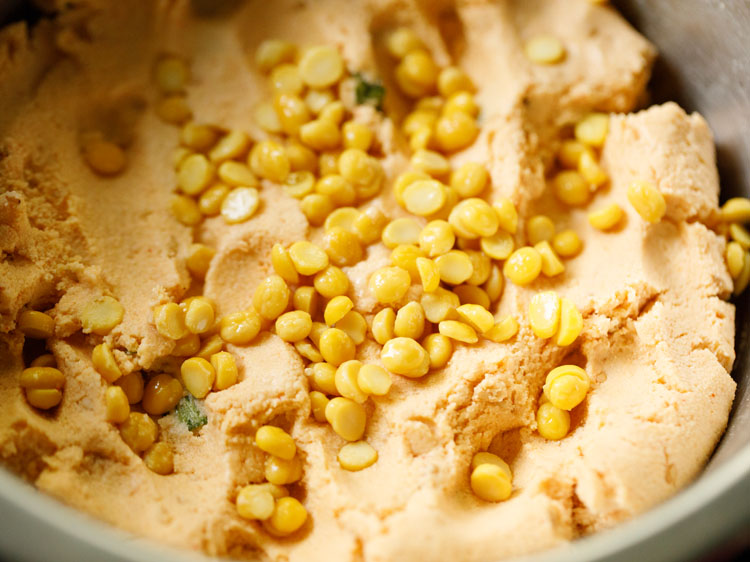
18. Combine and knead to a clean, semi-soft dough or a barely stiff dough. Add 3 to 4 tablespoons water or as required whereas kneading the dough.
I used a couple of whole of 9.5 tablespoons water. Addition of water will rely on the feel and high quality of rice flour. So, add in elements.
Don’t make a tender dough as then it turns into tough to form and elevate the Thattai. Don’t make the dough too laborious as then Thattu Vadai won’t be crisp.
It should have a tough and dense texture. Additionally, examine the style of dough and add extra salt if required. Cowl and maintain apart. Dough shouldn’t be sticky or pasty.
Tip 1: If dough turns into sticky, add some rice flour and knead.
Tip 2: If dough is dry and laborious, sprinkle some water. Combine and knead.

Form Thattu Vadai
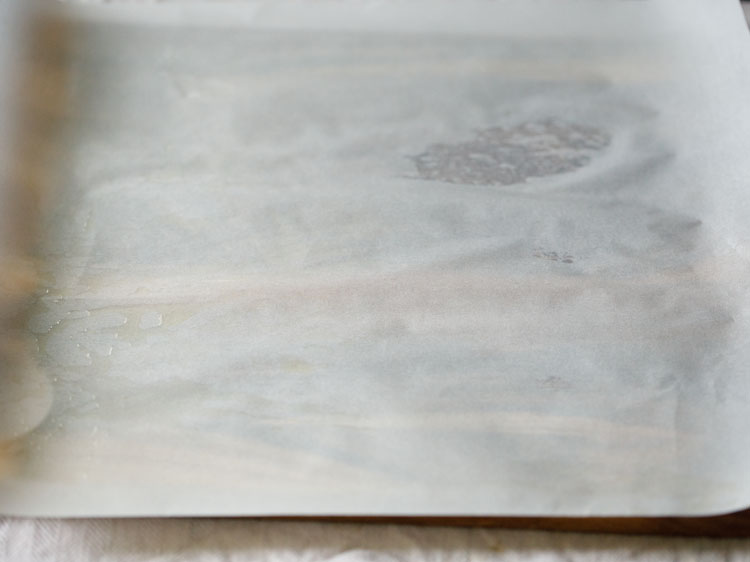
19. Take a butter paper, parchment paper, zip-lock bag or a clear cotton serviette. Grease with some oil.
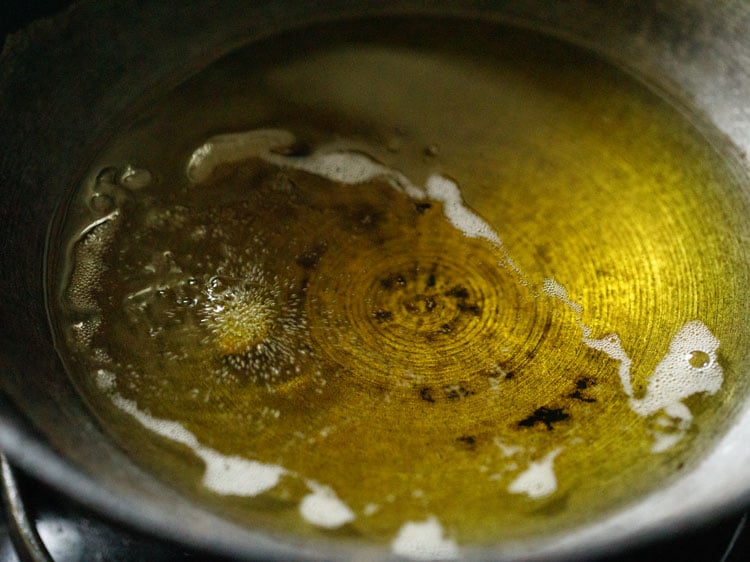
Additionally, maintain oil for deep frying in a kadai or pan. Preserve the warmth to medium or medium-high. If utilizing a cotton fabric or serviette, then no have to grease it.
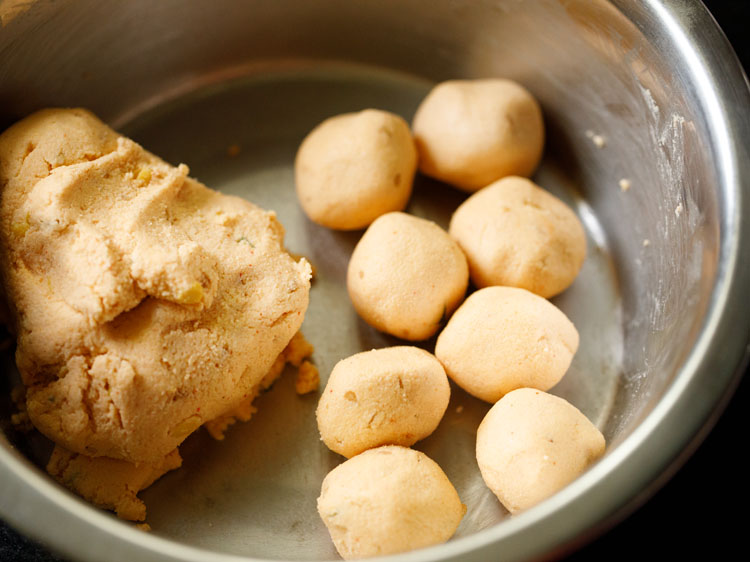
20. Make small balls from the dough.
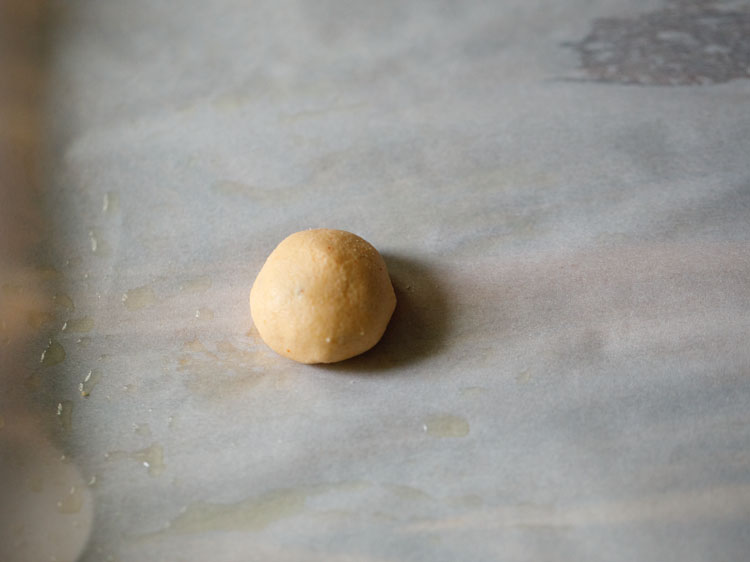
21. Place a dough ball on the greased parchment paper.
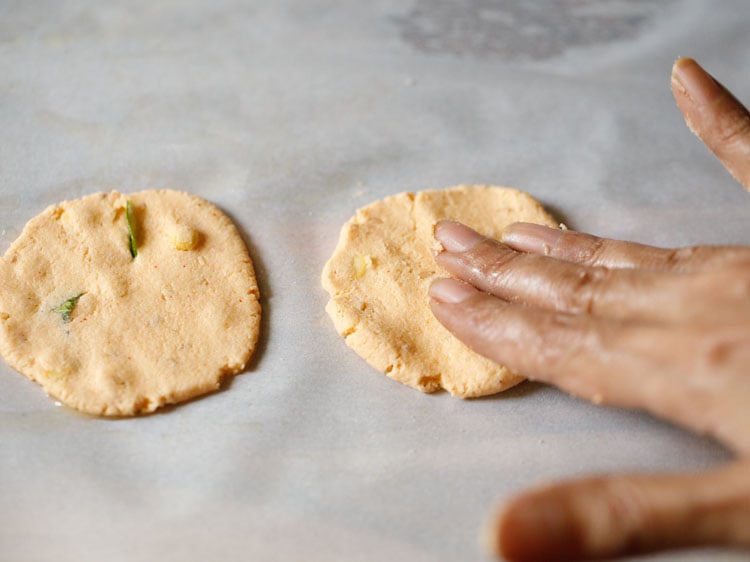
22. Press and flatten Thattai together with your fingertips to a skinny spherical. Unfold some oil in your fingers whereas flattening them. Don’t make them too skinny and flat, as you then received’t have the ability to elevate them.
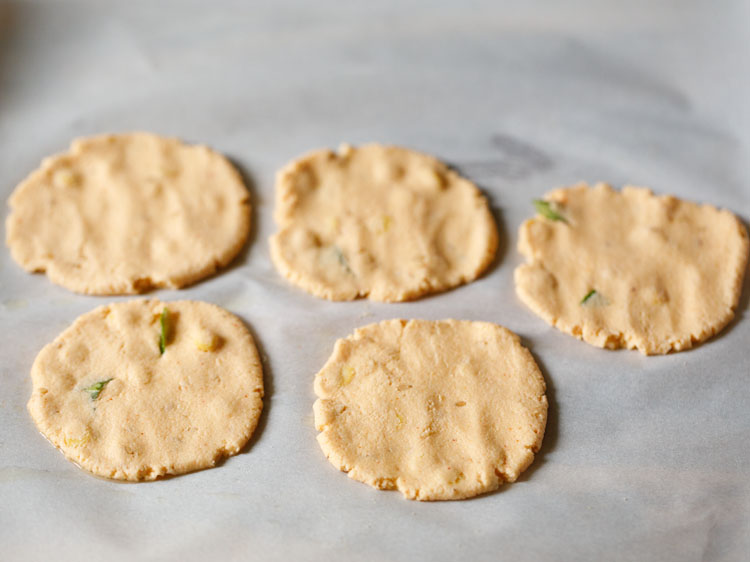
23. Make 5 to six Thattai on the parchment paper. Make them as you go on frying. Thus, make one batch and add within the oil.
When this primary batch is getting fried, make the second batch. However do regulate the batch that’s getting fried.
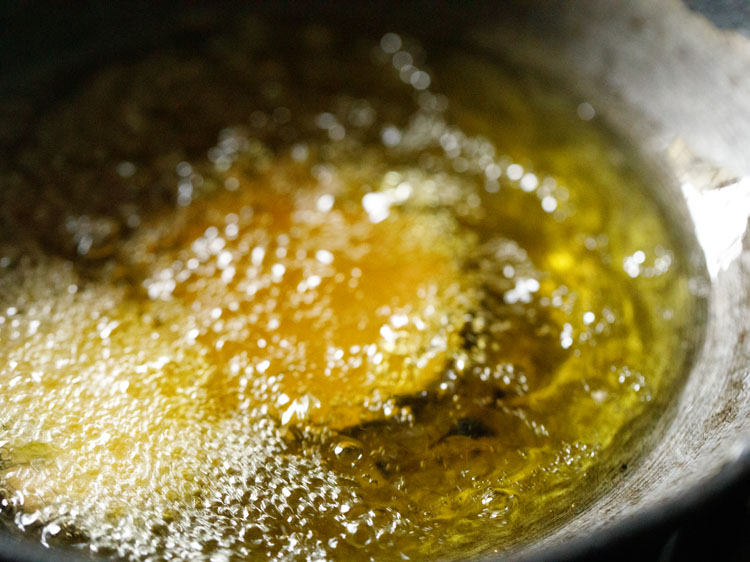
24. Test the temperature of oil by including a tiny piece of the dough. If it comes up swiftly on high, the oil is scorching sufficient.
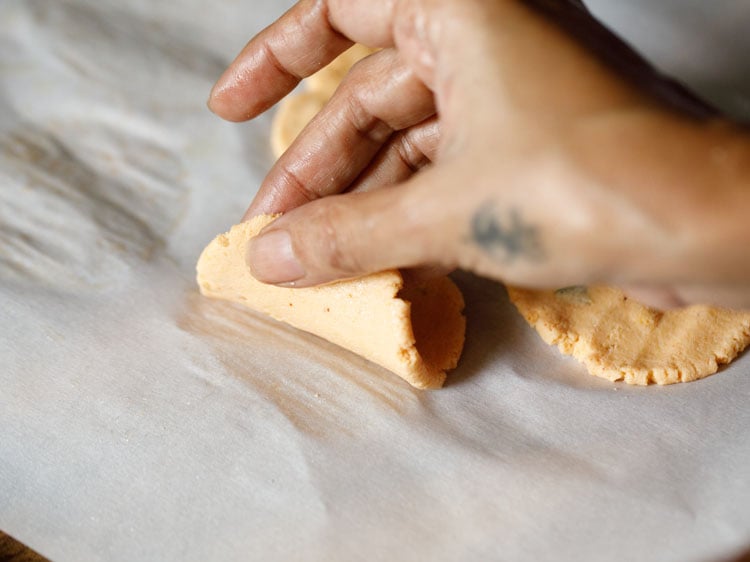
25. Carry the Thattai gently from the paper. Whereas lifting, elevate the paper too barely, as this helps to simply pull the Thattai from the paper.
Fry Thattai
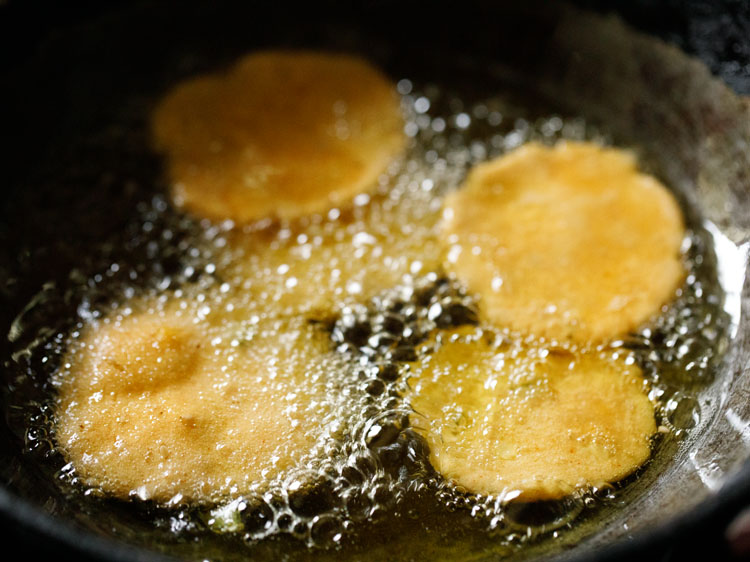
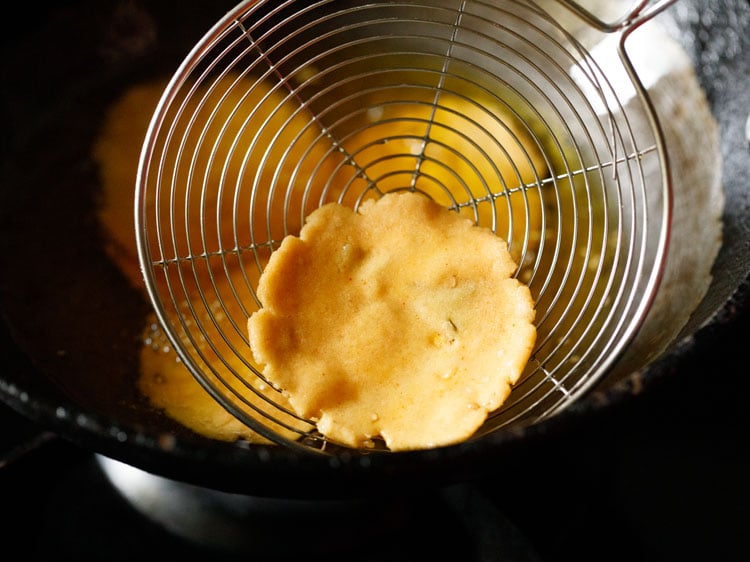
26. Gently place Thattai rounds within the scorching oil.
27. Start to fry. Preserve warmth to medium or medium-high whereas frying.
28. When one aspect is crisp, then flip over every thattai.

29. Fry the second aspect until crisp. You may flip a few instances for a fair golden shade and crispness.

30. Fry until crispy and crunchy. When the oils stops effervescent and scorching, this implies the Thattai is fried and completed. Take away with a slotted spoon or spider spoon.
31. Place fried Thattai on kitchen paper towels.
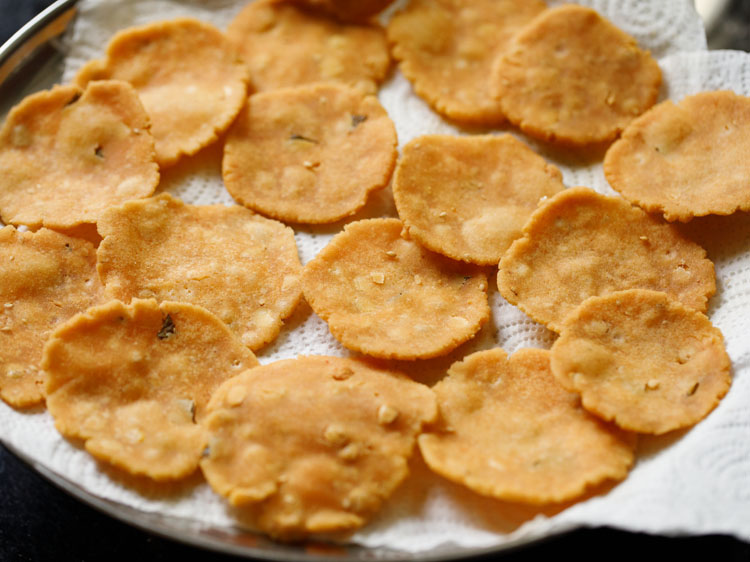
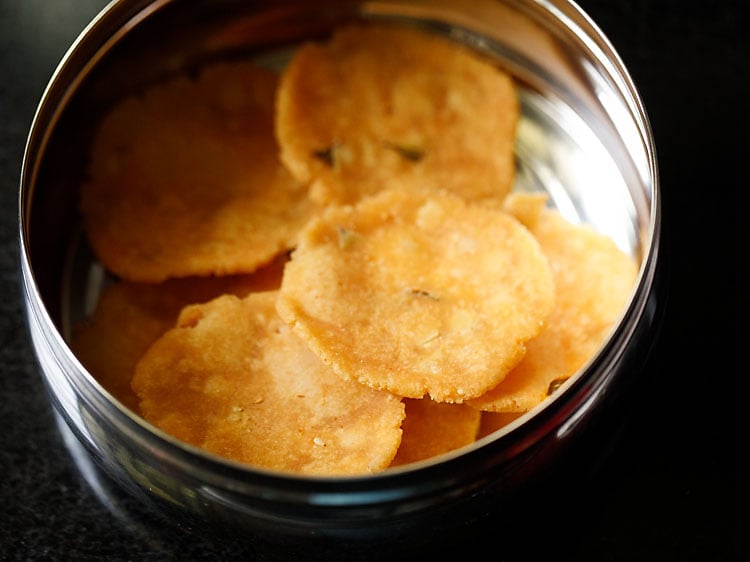
32. As quickly because it cools to room temperature, place in a metal field or jar. Make extra Thattai this manner in batches.
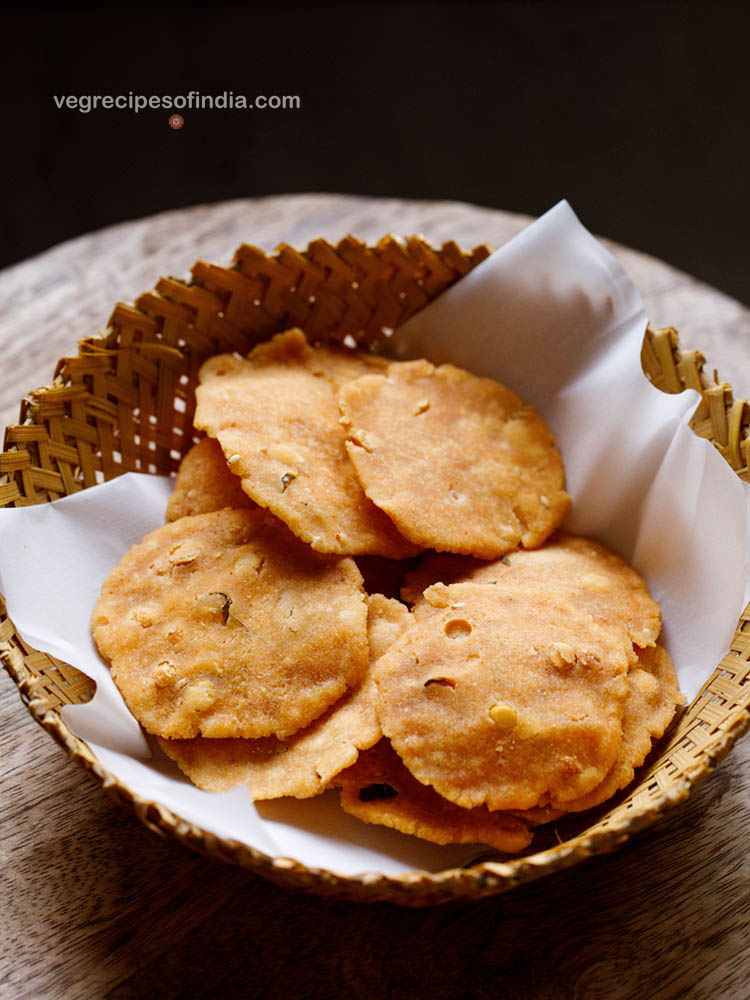
33. Serve Thattai to the deities if making for festivals. If making as a night snack, serve with masala chai or filter espresso.
Knowledgeable Suggestions
- You should use your selfmade rice flour and even parboiled rice flour within the recipe. If utilizing packaged rice flour, be certain that it’s inside its shelf interval.
- If you’d like, chances are you’ll scale back the amount of asafoetida (hing) on this recipe. Additionally, for a gluten-free model, skip including it.
- I add the roasted chana dal to make Thattai lighter and crispier. However it may be skipped as effectively. Including the coconut can be optionally available.
- As a substitute of urad dal, you should use urad dal flour as effectively.
- You need to maintain a examine on the amount of water that goes into the dough. It should rely on the feel of the flour. So, its higher so as to add in elements after which knead.
- Alter the amount of salt within the dough, if wanted, after checking the style of it.
- Guarantee to knead a semi-soft dough. A tender dough makes it tough to form and elevate. A tough dough makes the snack laborious and dense, and never crisp.
- If in case you have a dough that’s too tender, add some extra rice flour after which knead. If its too laborious or dry, sprinkle some water, combine and knead.
- Use a parchment or butter paper, or a zip-lock bag. Unfold some oil on it and press the dough balls together with your fingertips. Don’t make too skinny Thattai, as then will probably be tough to elevate them up.
- You need to fry Thattai in oil on medium warmth, until the oil stops effervescent. Flip over, when one aspect is crisp and fry until crispy and crunchy.
- For a vegan model, use oil or vegan butter as an alternative of butter (salted or unsalted) or ghee.
Extra Diwali Snacks To Attempt!
Please be sure you charge this recipe within the recipe card under when you’ve got made it. For extra vegetarian inspirations, Sign Up for my emails or observe me on Instagram, Youtube, Facebook, Pinterest or Twitter.
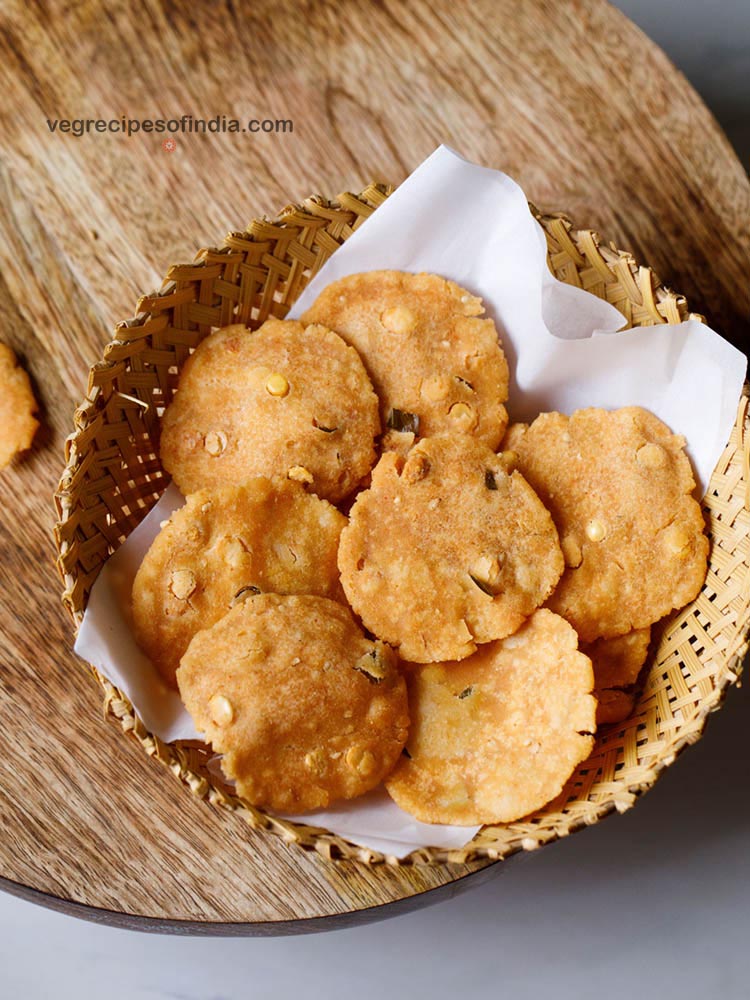
Thattai Recipe | Thattu Vadai
Thattai or Thattu Vadai are deep-fried crispy rice crackers served as a snack and made throughout festivals like Krishna Jayanthi (Gokulashtmi) or Diwali. Thattai are made with rice flour, spices and herbs having a spiced, crunchy and crispy style.
Prep Time 20 minutes
Prepare dinner Time 20 minutes
Complete Time 40 minutes
Stop your display screen from going darkish whereas making the recipe
Preparation
Firstly rinse after which soak chana dal in scorching water for half-hour.
Warmth a heavy kadai or pan. Preserve the warmth to low or medium-low. Add urad dal (husked and entire or break up black gram).
Evenly roast urad dal for 1 to 2 minutes. Urad dal needn’t be browned. Take away and put aside.
In the identical kadai or pan, add rice flour.
On a low to medium-low warmth stirring typically, roast the rice flour until it turns into heat to the touch.
Take away and put aside in a mixing bowl.
In a small grinder, take the roasted urad dal. Additionally add roasted chana dal. Roasted chana dal will be skipped too if you happen to don’t have it.
Grind to a advantageous powder.
Making thattai dough
Within the bowl containing the rice flour add the bottom lentil flours.
Add chopped curry leaves, asafoetida powder, pink chilli powder, white sesame seeds and salt. You may even add freshly grated coconut or thinly sliced contemporary coconut (optionally available).
Combine the salt, spices and herbs with the flours evenly.
Now sprinkle 2 tablespoons water and add 1 tablespoon butter or ghee within the flour combination. You may add choose so as to add ghee as an alternative of butter. The butter will be chilly or at room temperature.
Together with your fingertips combine the butter with the flour. Combine completely.
Add 3 tablespoons water.
Gently combine and begin bringing the combination collectively.
Drain all of the water after which add the soaked chana dal to the dough combine.
- Combine after which knead to a semi-soft dough. Add 3 to 4 tablespoons extra water or as required whereas kneading the dough. I added a couple of whole of 9.5 tablespoons of water. Addition of water will rely on the feel and high quality of rice flour. So add in parts.
- Tip – keep away from making a tender dough as then it turns into tough to form and elevate the thattai rounds. Don’t make the dough too laborious as then thattai won’t be crisp. It should have a tough and dense texture. Additionally examine the style of dough and add extra salt if wanted. Cowl and maintain apart.
Assembling and Shaping thattai
- Take a butter paper or parchment paper or a ziplock bag or a clear cotton serviette. Grease the butter paper or parchment paper with some oil. Preserve oil for deep frying in a kadai or pan. Preserve the warmth to medium or medium-high.
Make small balls from the dough.
Place a dough ball on the greased parchment paper.
Press and flatten thattai together with your fingertips to a skinny spherical. Unfold some oil in your fingers whereas flattening them. Don’t make them too skinny and flat as you then can’t elevate them.
Make 5 to six thattai on the parchment paper.
Test the temperature of oil by including a tiny piece of the thattai dough. If it comes up swiftly on high, the oil is scorching sufficient.
Frying thattai
Carry the ready thattai spherical gently from the paper.
Gently place within the scorching oil.
Start to fry thattai on a medium or medium-high warmth.
When one aspect is crisp, then flip over every thattai with a slotted or spider spoon.
Fry the second aspect until crisp. You may flip a few instances to get a fair golden shade and crispness.
Fry thattai until crispy and crunchy. When the oil stops effervescent and scorching, this implies the thattai is fried effectively.
Take away fried thattai with a slotted spoon and place on kitchen paper towels.
When frying the primary batch of thattai, form the second batch and maintain them prepared. Nonetheless do regulate the batch of the thattai that’s being fried. This fashion make all thattai in batches.
As quickly because the thattai cools at room temperature, place them in a metal field or jar.
Serve thattai to the deities. If making as a night snack, then serve with chai or filter espresso.
- Quantity of asafoetida (hing) will be lowered if you need.
- Test style of dough and add extra salt if required.
- Roasted chana dal will be skipped. Although it helps in making the thattu vadai lighter and crispy.
- Home made rice flour can be utilized. Parboiled rice flour may also be used.
- Quantity of water to be added will rely on the feel of flour. So add in elements and knead.
- You must get a semi-soft dough. Don’t make dough tender as then tough to form and elevate. Don’t make dough too laborious as then thattai won’t be crisp. The feel will change into laborious and dense.
- Fry thattai in oil until it stops effervescent. Fry on medium flame until crisp and crunchy.
- Use parchment or butter paper or a ziplock bag. Unfold some oil on the parchment paper. Press thattai dough balls together with your fingertips. Don’t make very skinny as you then can’t elevate it up.
- For a gluten free thattai, skip asafoetida.
- To make a vegan thattai, add oil as an alternative of butter or ghee. You should use vegan butter too.
- If dough turns into too tender, add some rice flour.
- If dough seems dry or laborious, sprinkle some water.
Vitamin Information
Thattai Recipe | Thattu Vadai
Quantity Per Serving
Energy 46 Energy from Fats 18
% Day by day Worth*
Fats 2g3%
Saturated Fats 1g6%
Ldl cholesterol 1mg0%
Sodium 52mg2%
Potassium 11mg0%
Carbohydrates 6g2%
Fiber 1g4%
Sugar 1g1%
Protein 1g2%
Vitamin A 71IU1%
Vitamin C 24mg29%
Calcium 7mg1%
Iron 1mg6%
* % Day by day Values are primarily based on a 2000 calorie food regimen.
This Thattai Recipe from the archives first printed in 2019 has been up to date and republished on 21 October 2022.
Source link


: a randomized controlled hybrid trial | BMC Public Health")


