
Not often have two phrases and a handful of easy components prompted a lot trepidation amongst bakers. Equal components science and artwork, pie crust is a activity that asks little extra of us than guiding flour, fats, and liquid right into a cohesive mass via a cool contact. Why then, are many pie lovers pushed to pre-made crusts or mediocre retailer purchased pies?
From what I’ve gathered from years spent baking pies professionally (and consuming them at any time when attainable), people with out pie bakers of their lives are likely to set the bar in a different way. As a result of the concept of strictly-from-scratch pie dough is intimidating, they could be content material with commercially made, lackluster pie. However I discover that when you’ve tasted a flaky, pure-butter crust, you’ll select to set these requirements increased.
It’s not solely informal bakers who worry pie dough. Gifted cooks and gifted residence cooks are amongst those that go away the pie baking to their native grocery store or bakery. Coupled with the truth that pie is usually the centerpiece of an occasion, (hey, Thanksgiving and July 4th), the dessert stakes can appear a bit of too excessive for anybody hoping to flex their kitchen abilities.
Trepidations apart, studying to make pie crust by hand is a expertise nicely price your time, and one which turns into far much less daunting with a bit of apply. Right here’s easy methods to do it:
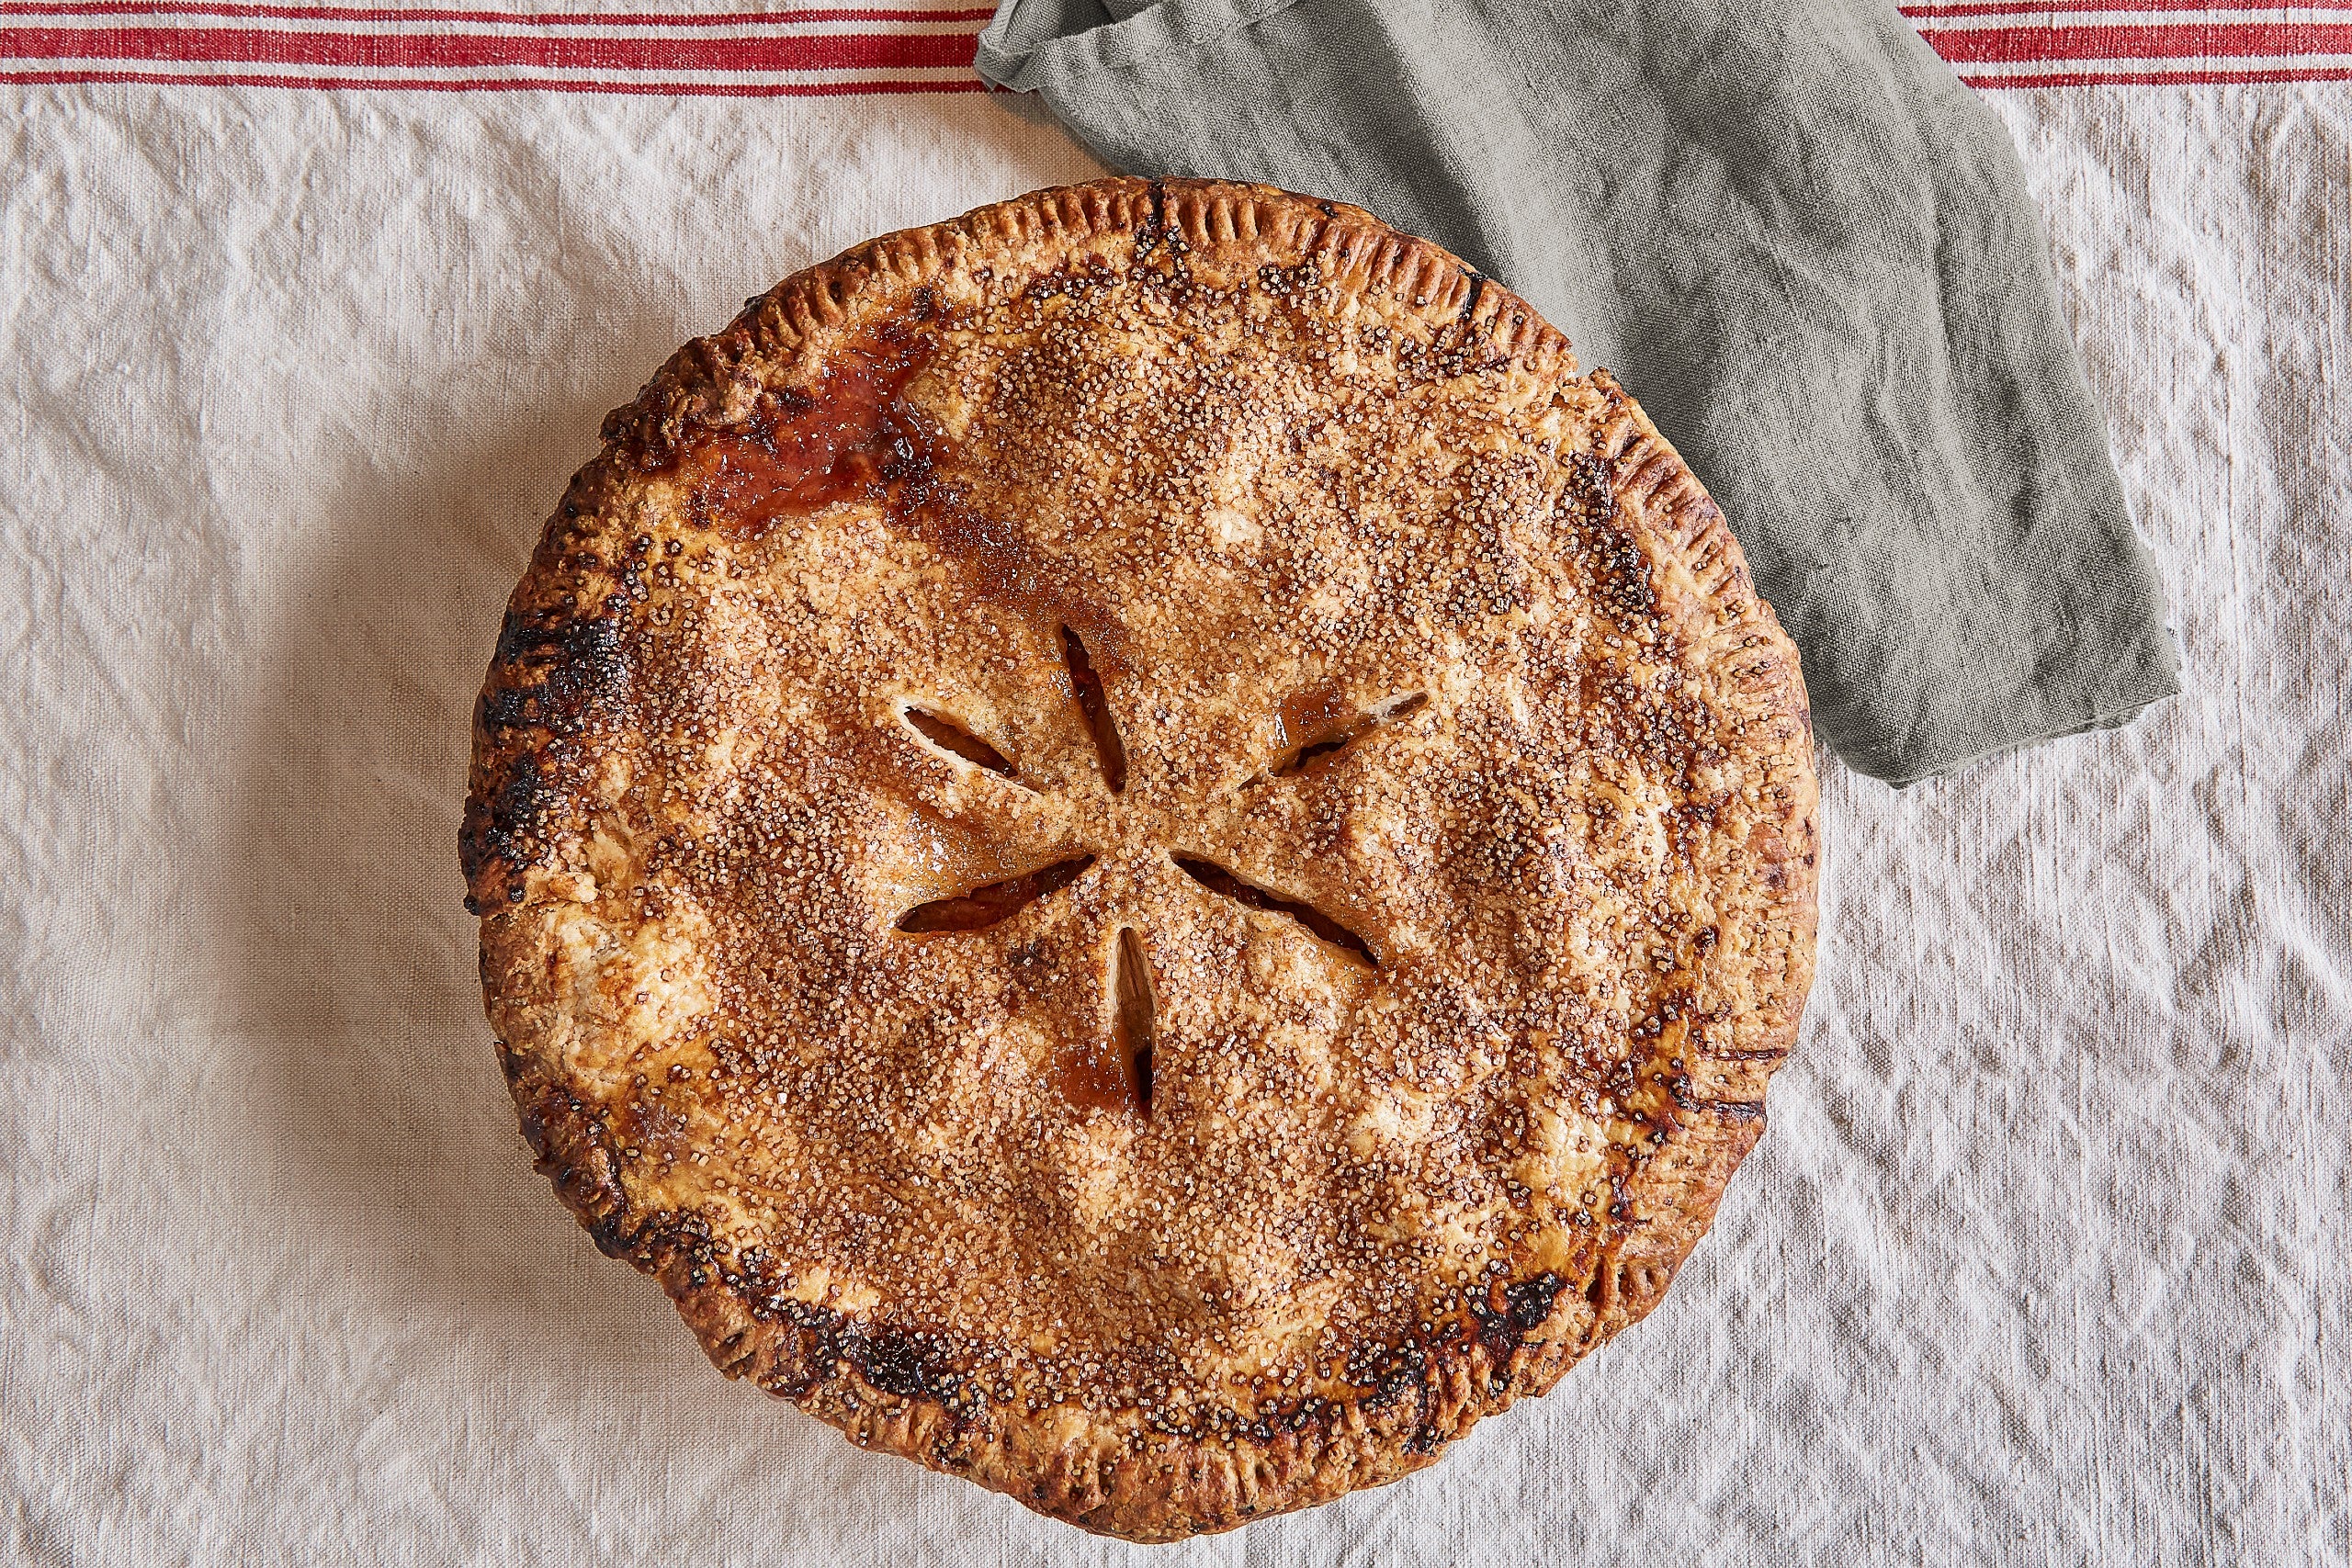
Traditional All-Butter Pie Dough
Step 1:
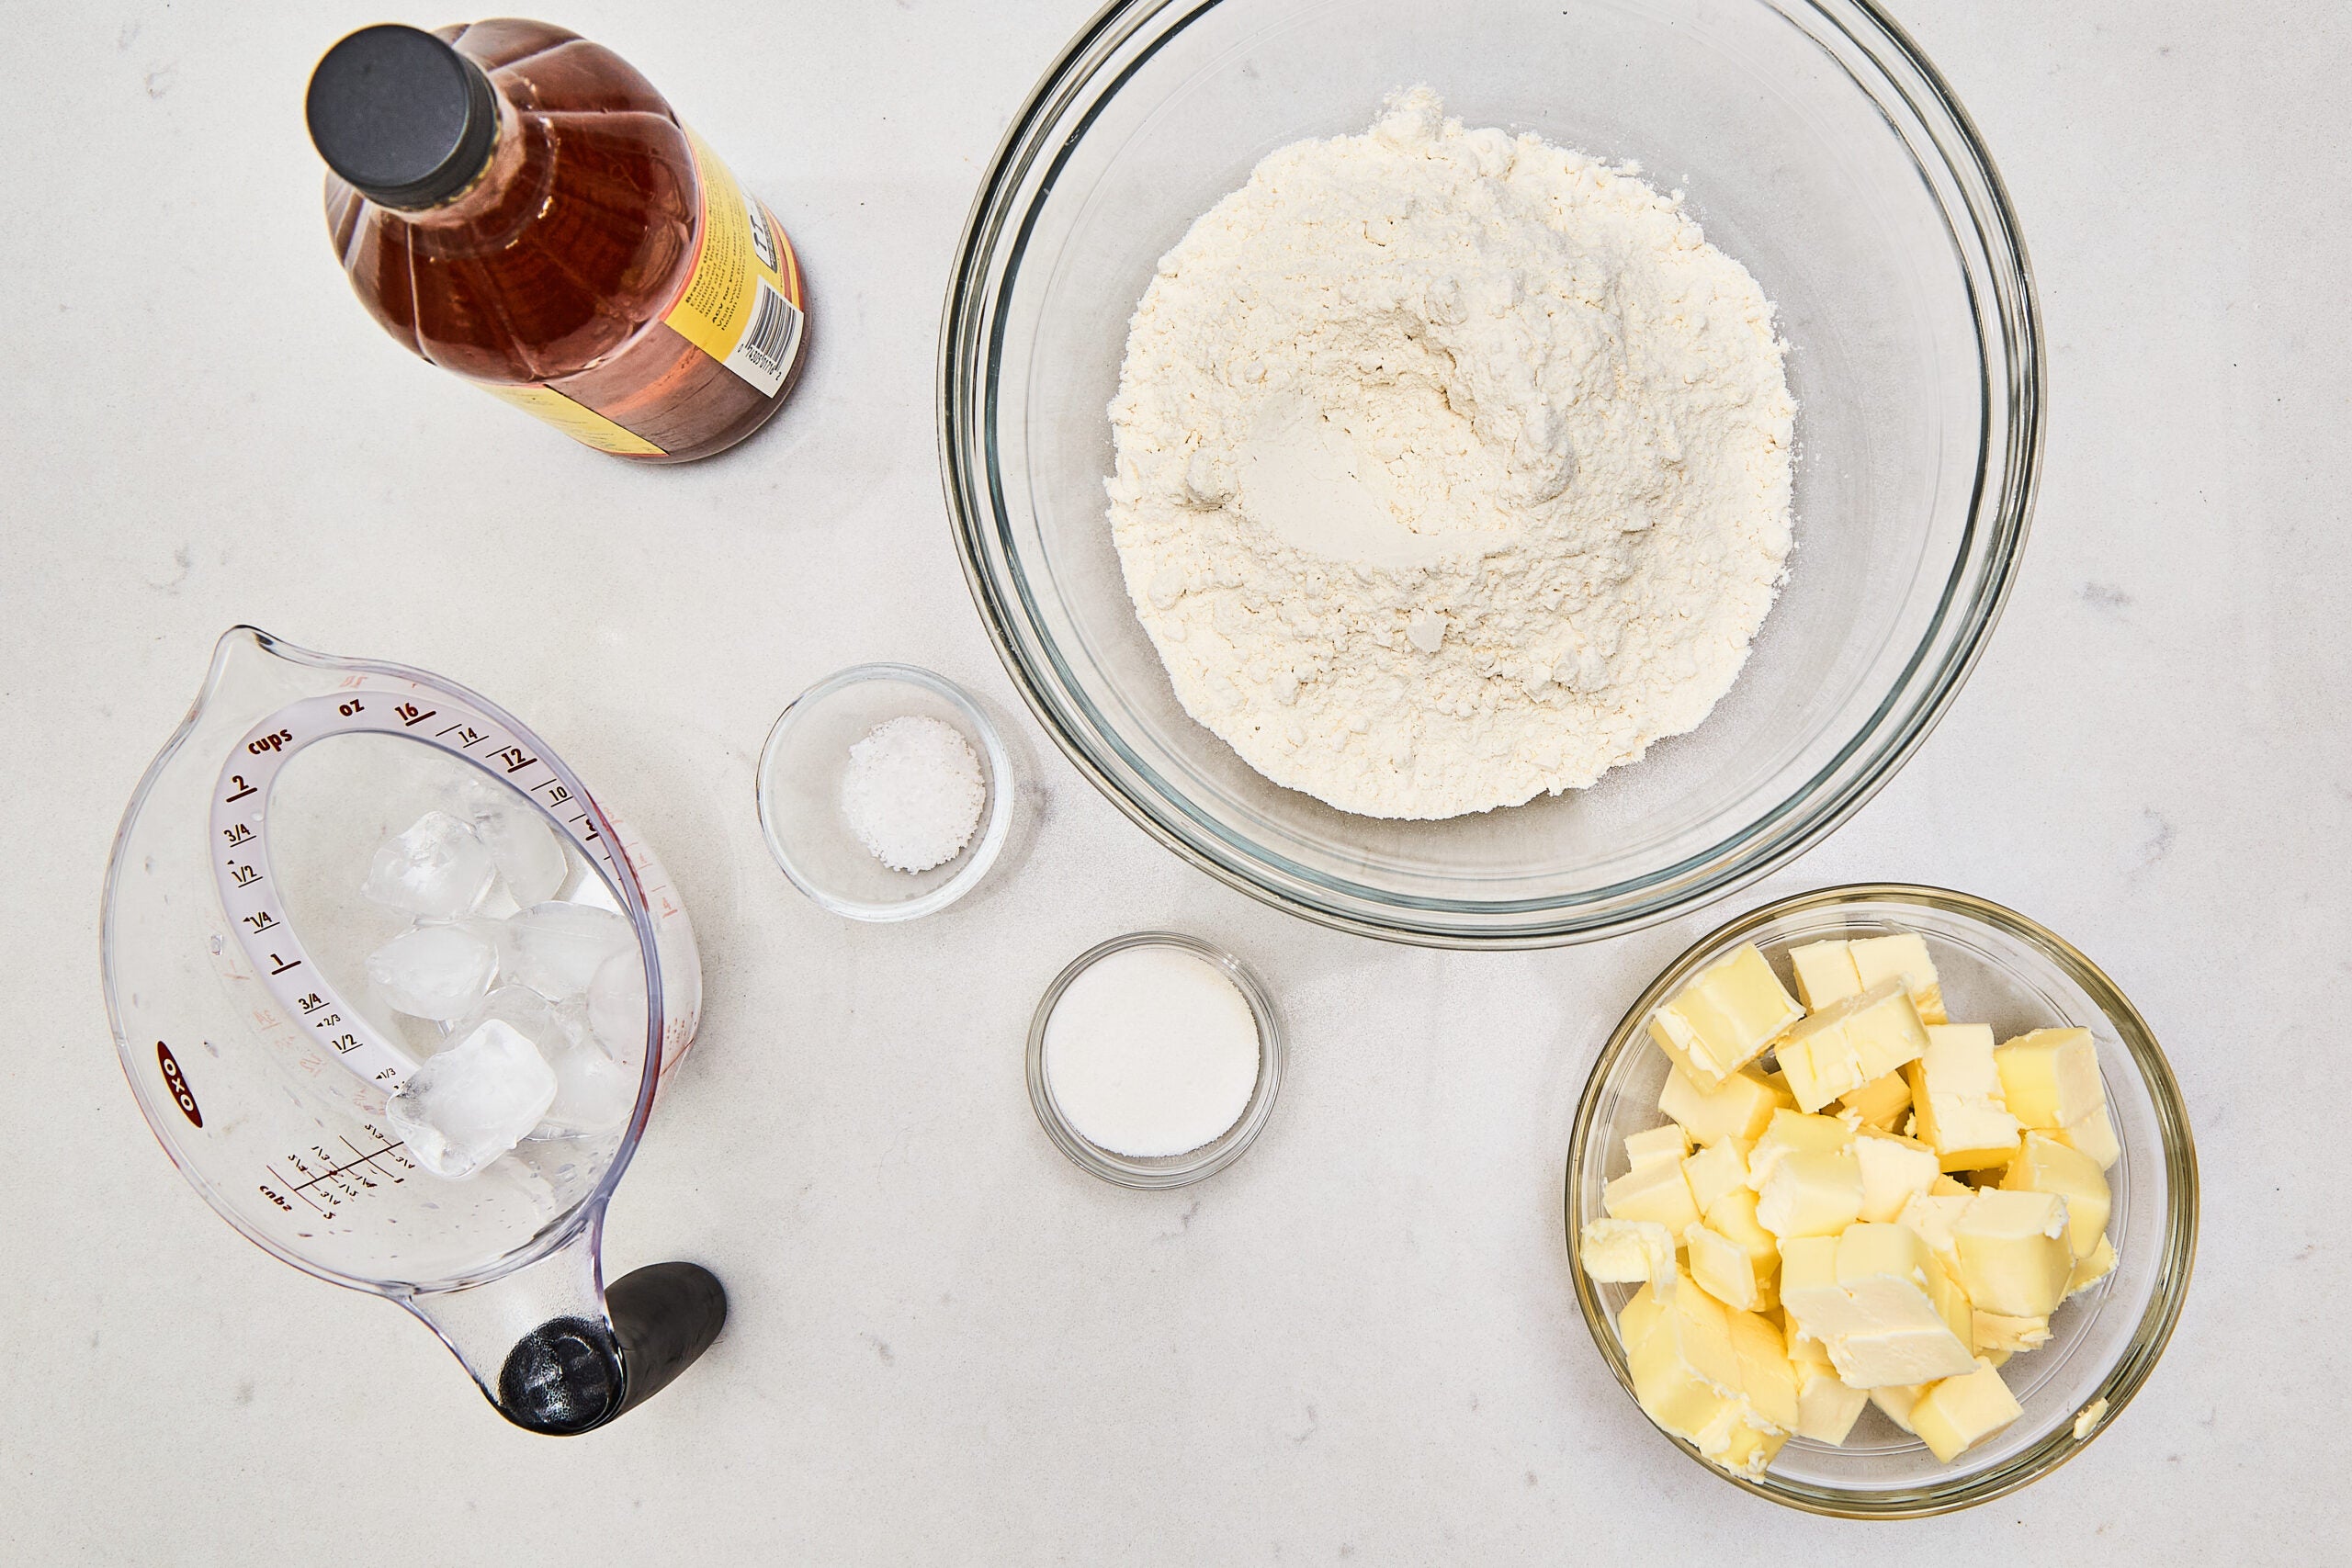
First, make a bit of little bit of room in your fridge—you’ll want house for a 2-cup liquid measuring cup and for the assembled dough to relaxation. Then, measure out your components—in a big bowl, whisk collectively 1 tablespoon of apple cider vinegar, 2½ cups of all-purpose flour, 1 tablespoon of sugar, and 1 teaspoon of kosher salt.
Step 2:
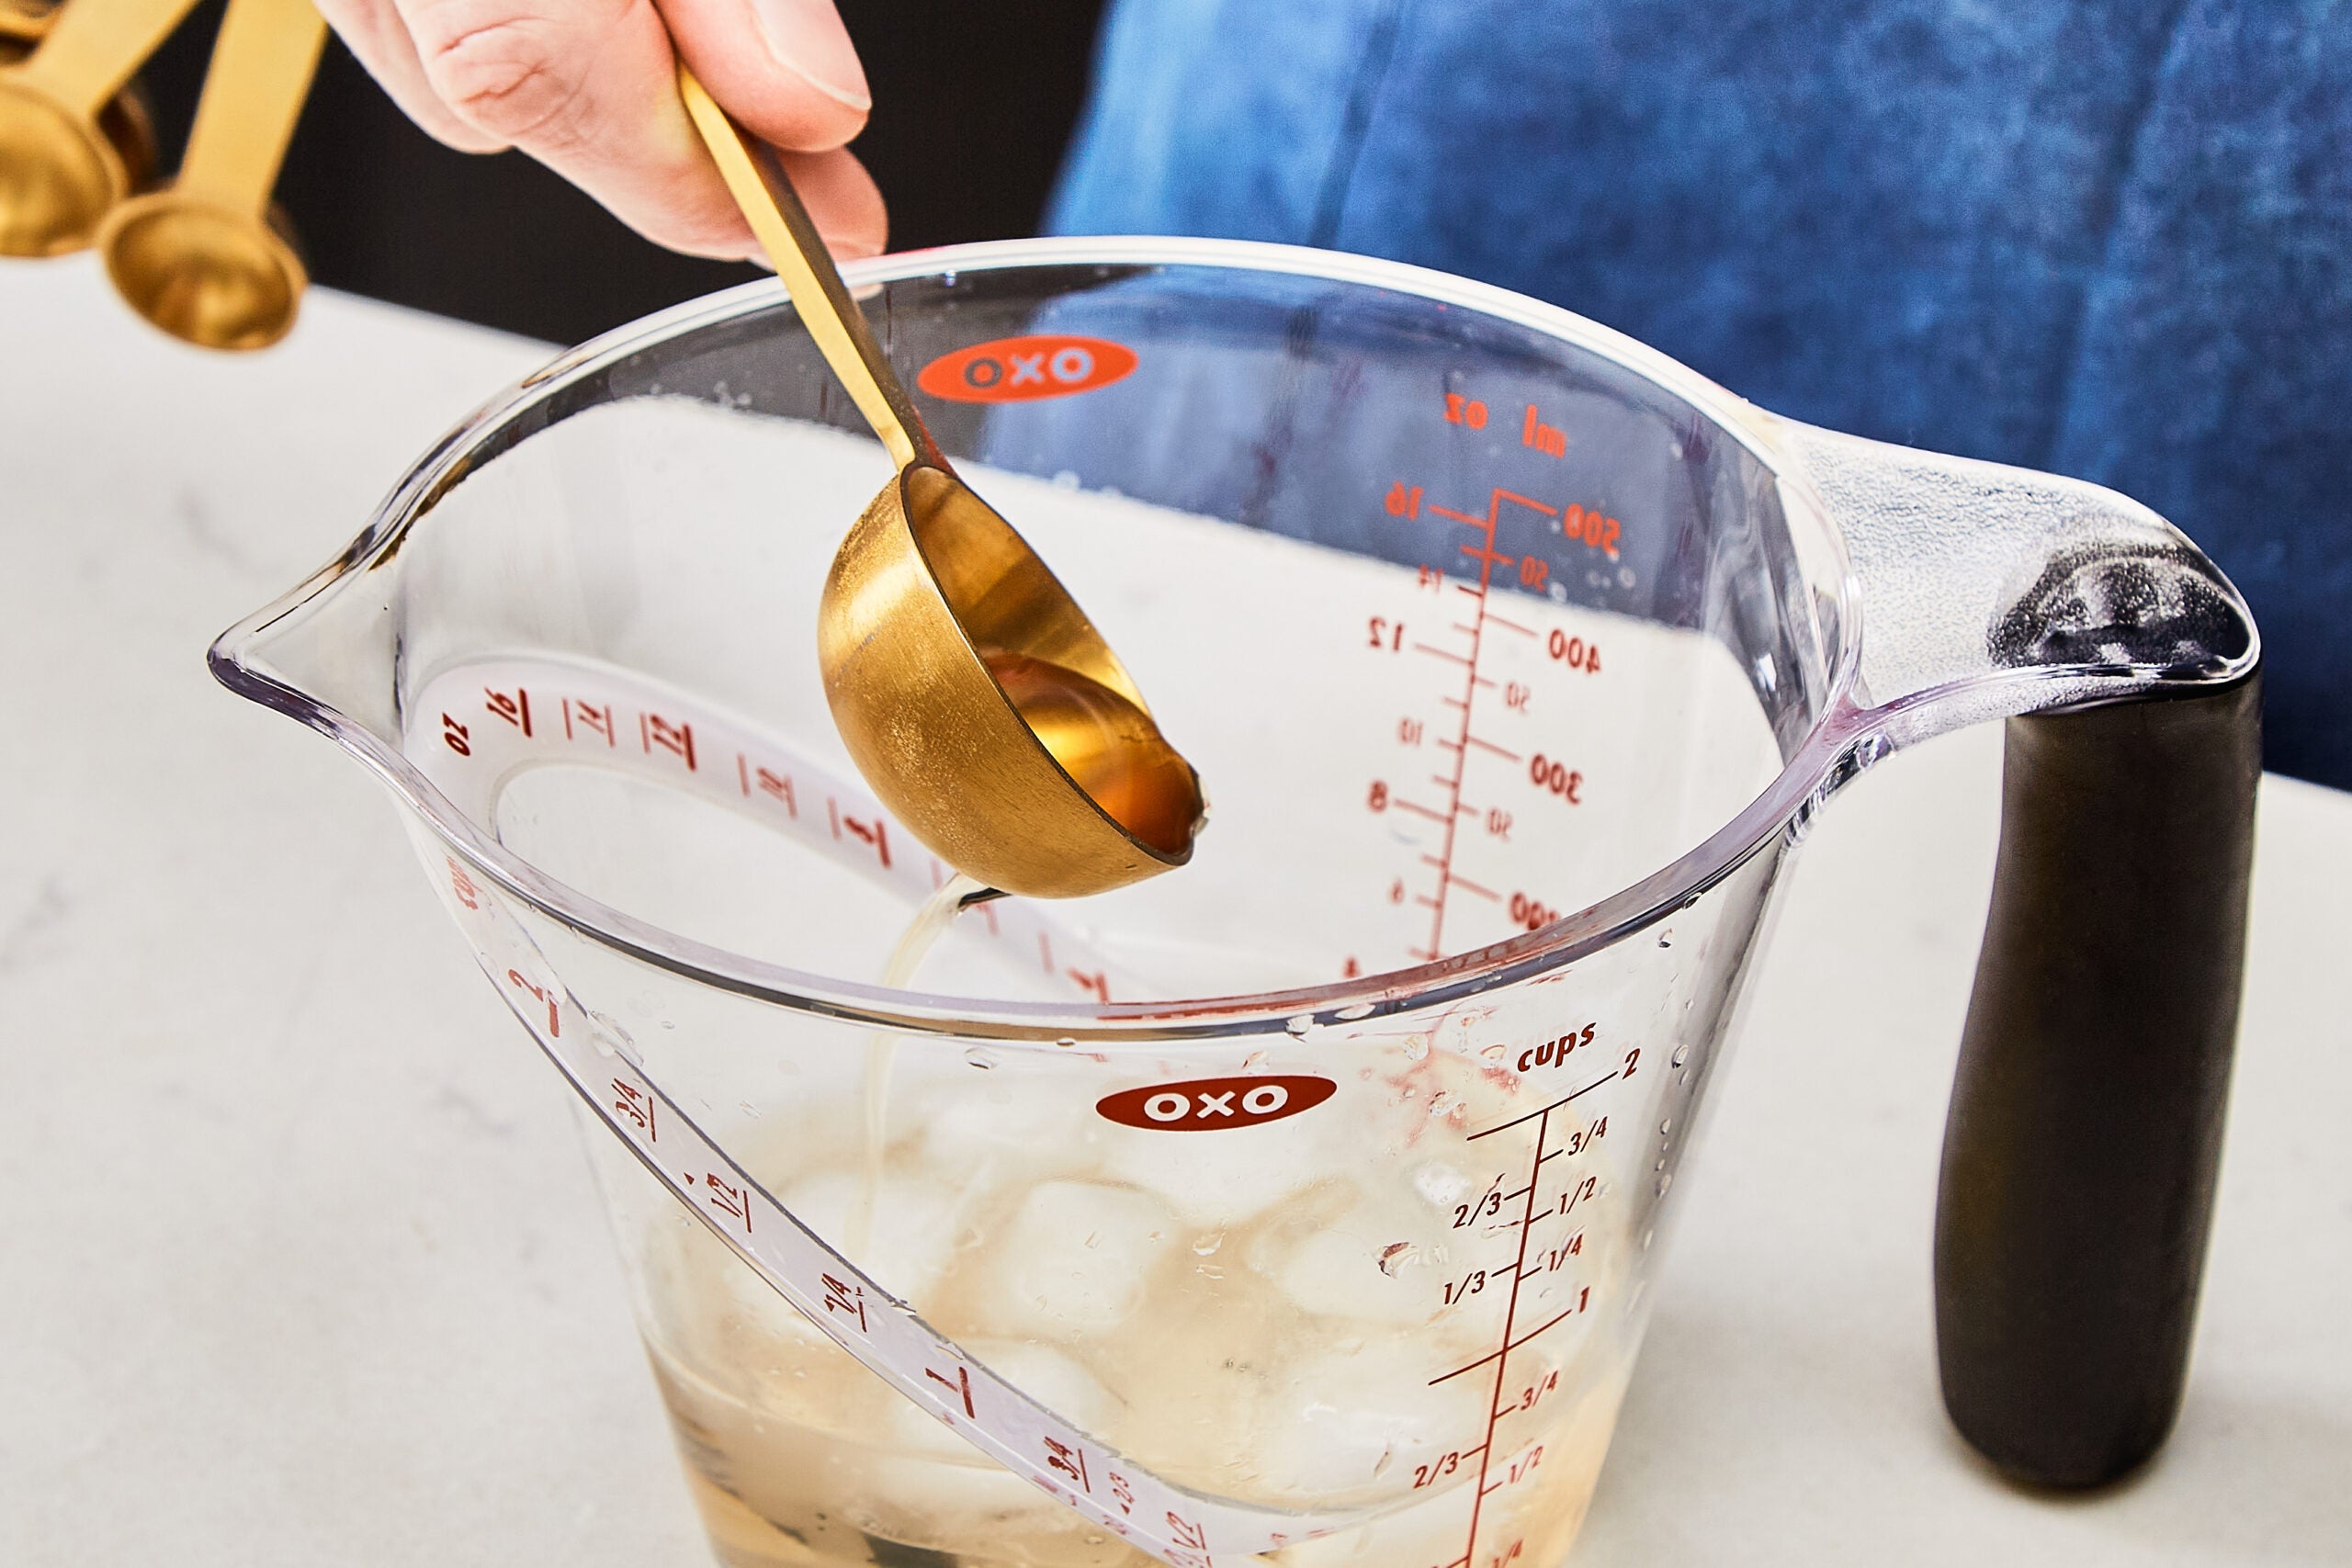
To a 2-cup liquid measuring cup add ½ cup of ice water and 1 tablespoon of apple cider vinegar, then switch to the fridge.
Step 3:

Lower two 4-ounce sticks of very chilly unsalted (ideally European-style) butter into ½-inch items. Calmly flour a clear work floor, then, utilizing the facet of a floured, versatile bowl scraper, frivolously flatten the butter items. This further step provides you a jump-start incorporating the chilly fats into the flour. Scoop up the flattened butter items and add them to the flour combination.
Step 4:
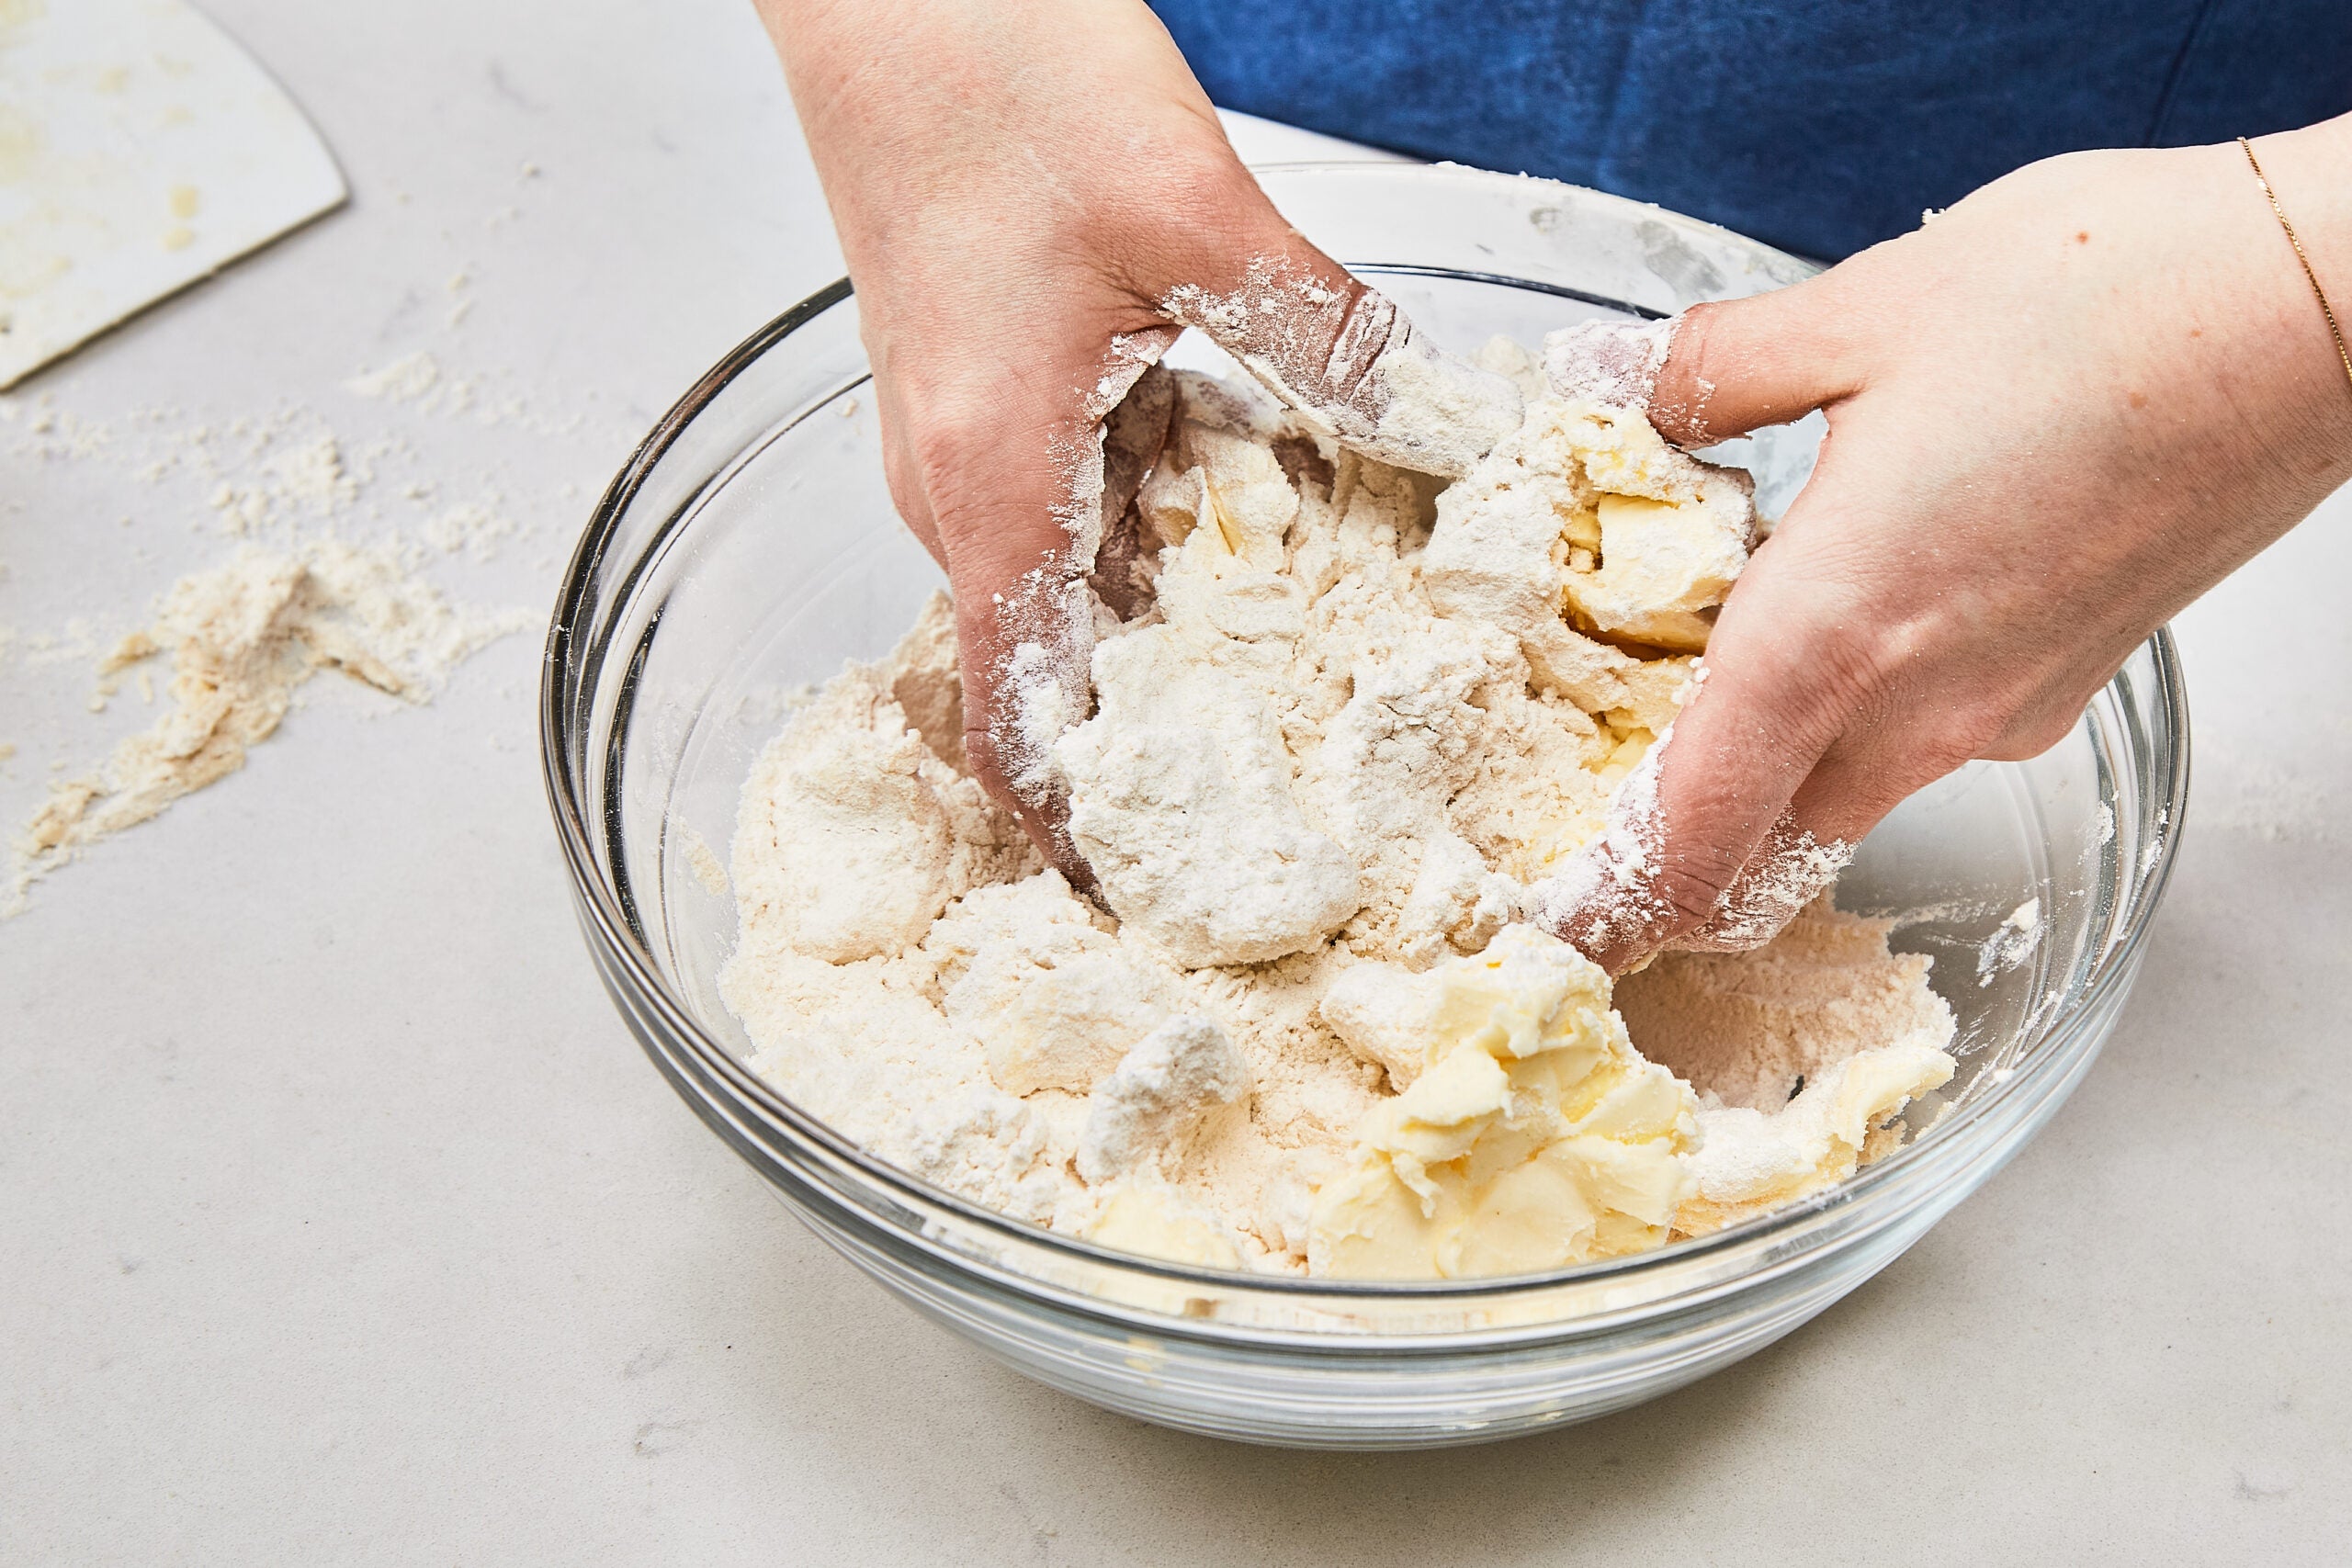
Utilizing your fingertips to include, gently squeeze and toss the butter into the flour combination till the butter has principally damaged down, with some pea-sized and a few bigger items remaining.
Step 5:
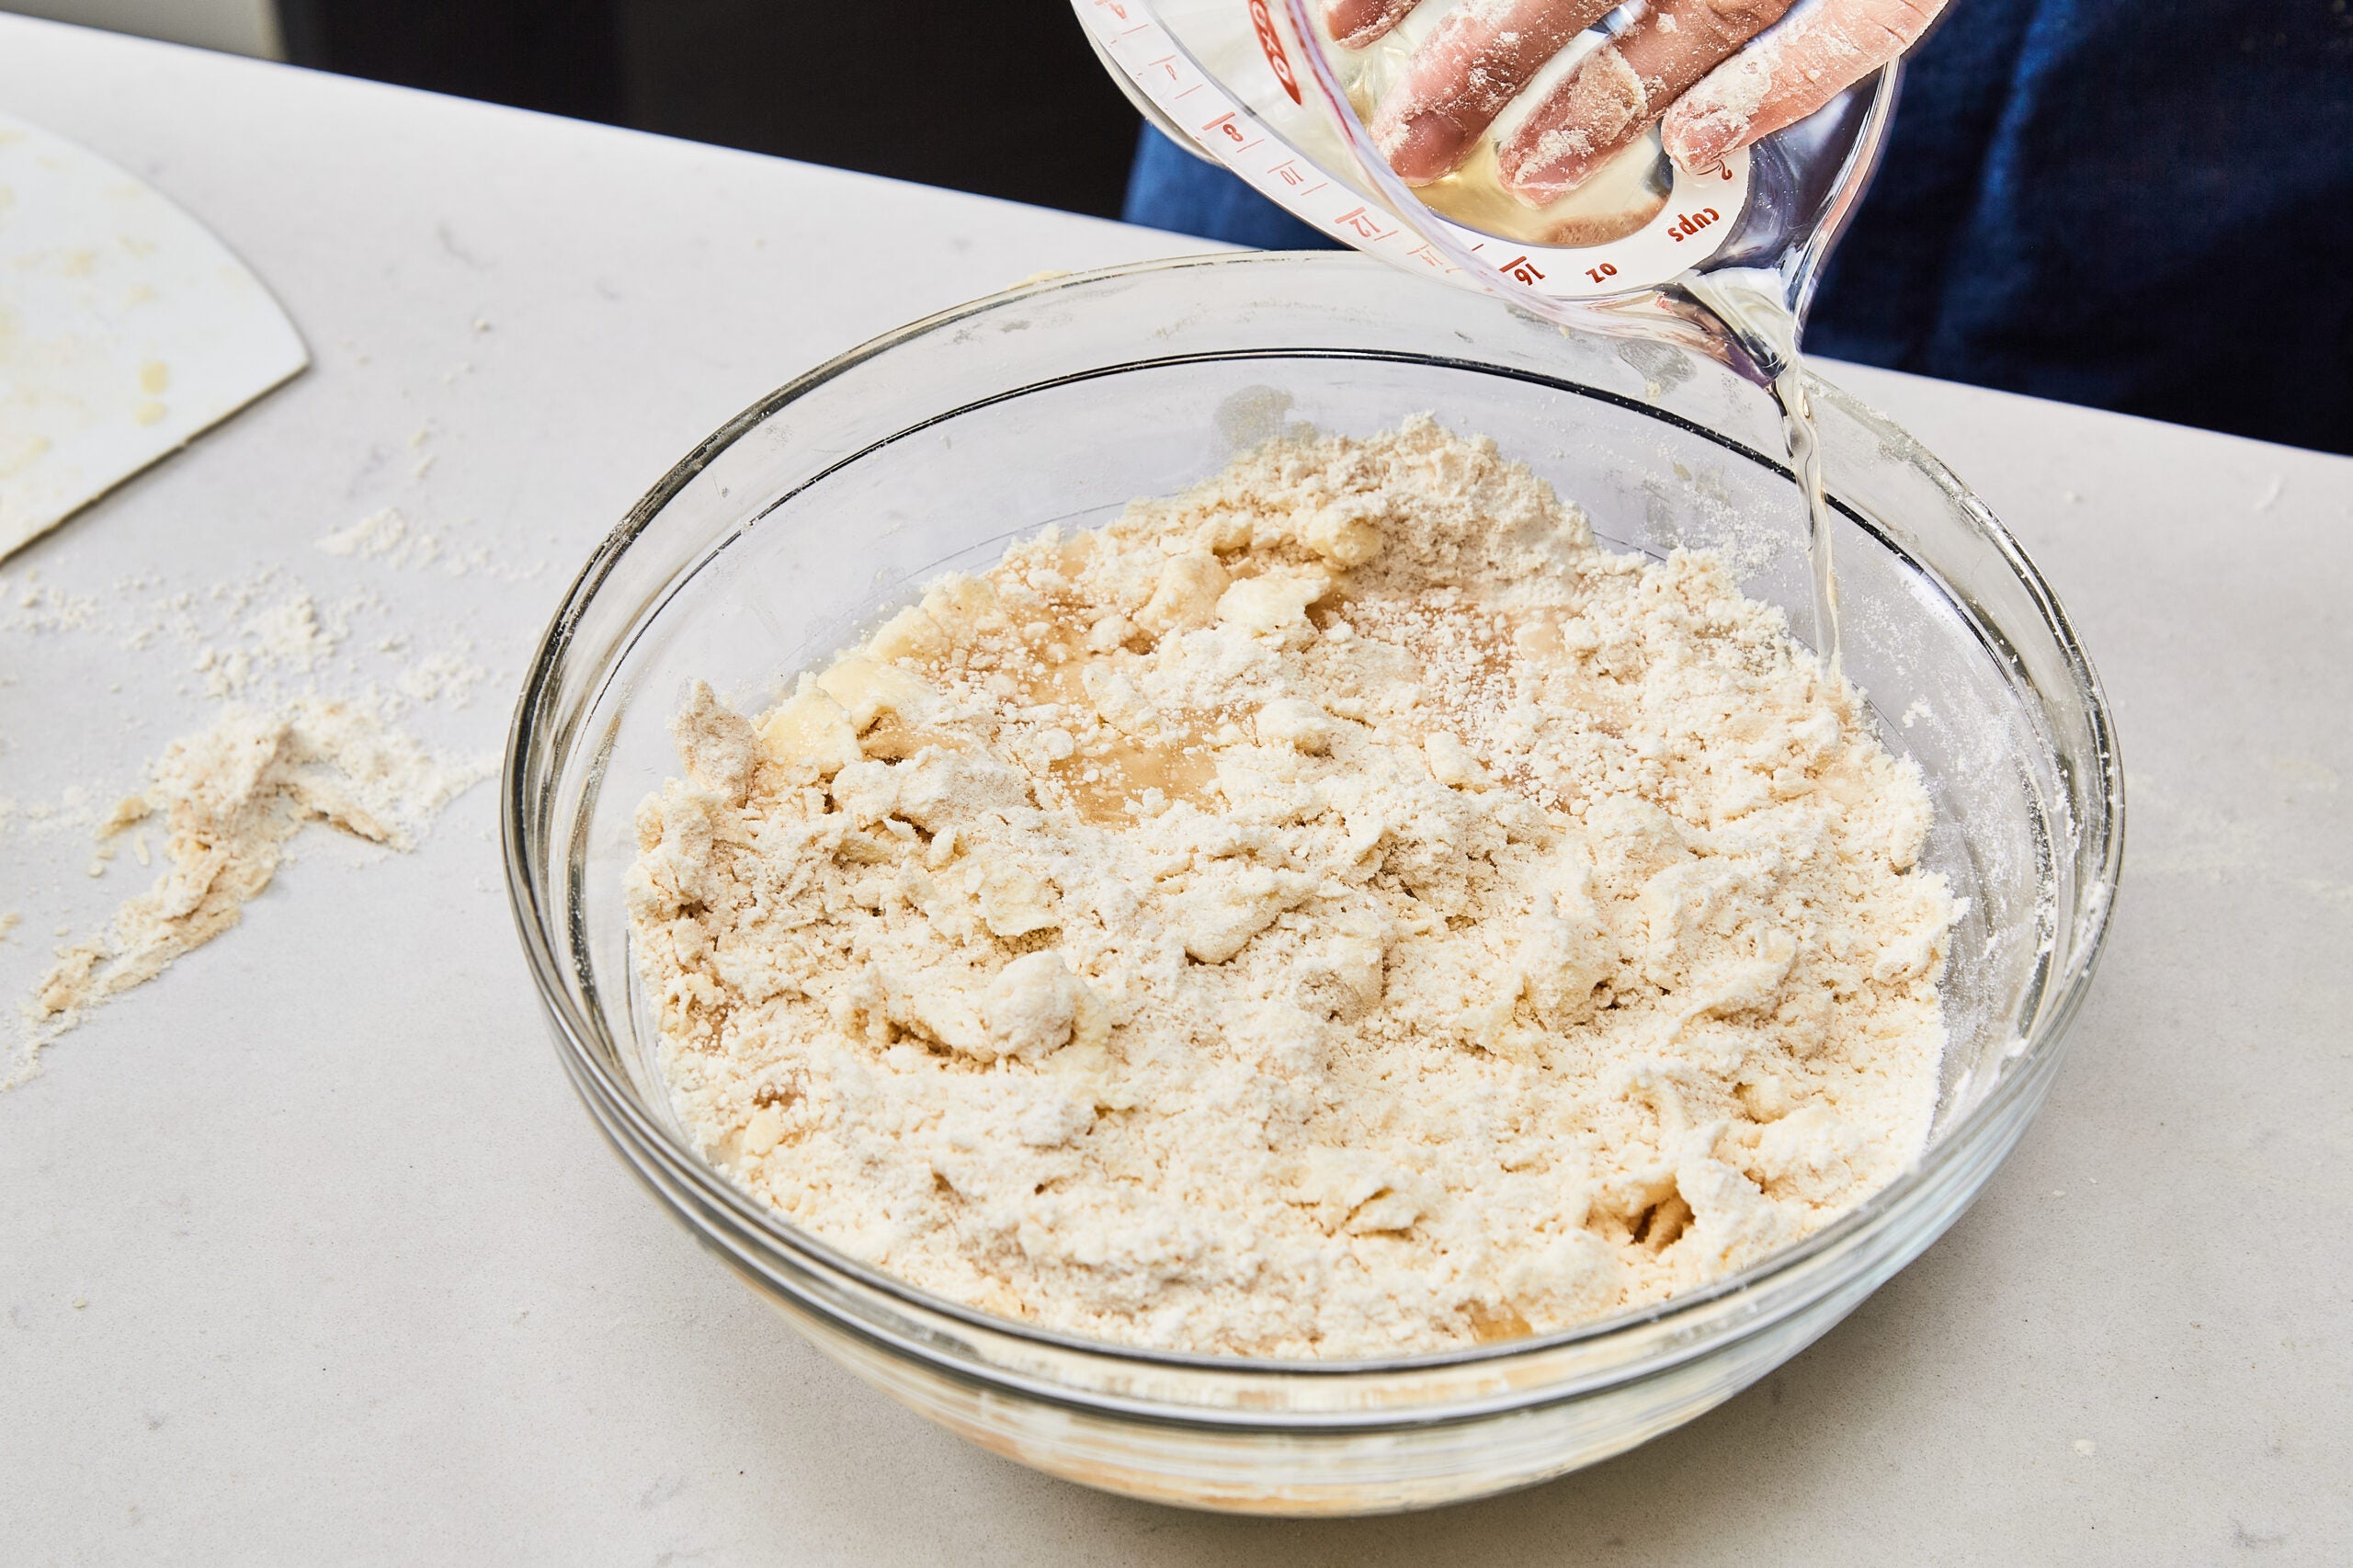
Retrieve the water/vinegar combination from the fridge and pour half across the fringe of the bowl.
Step 6:
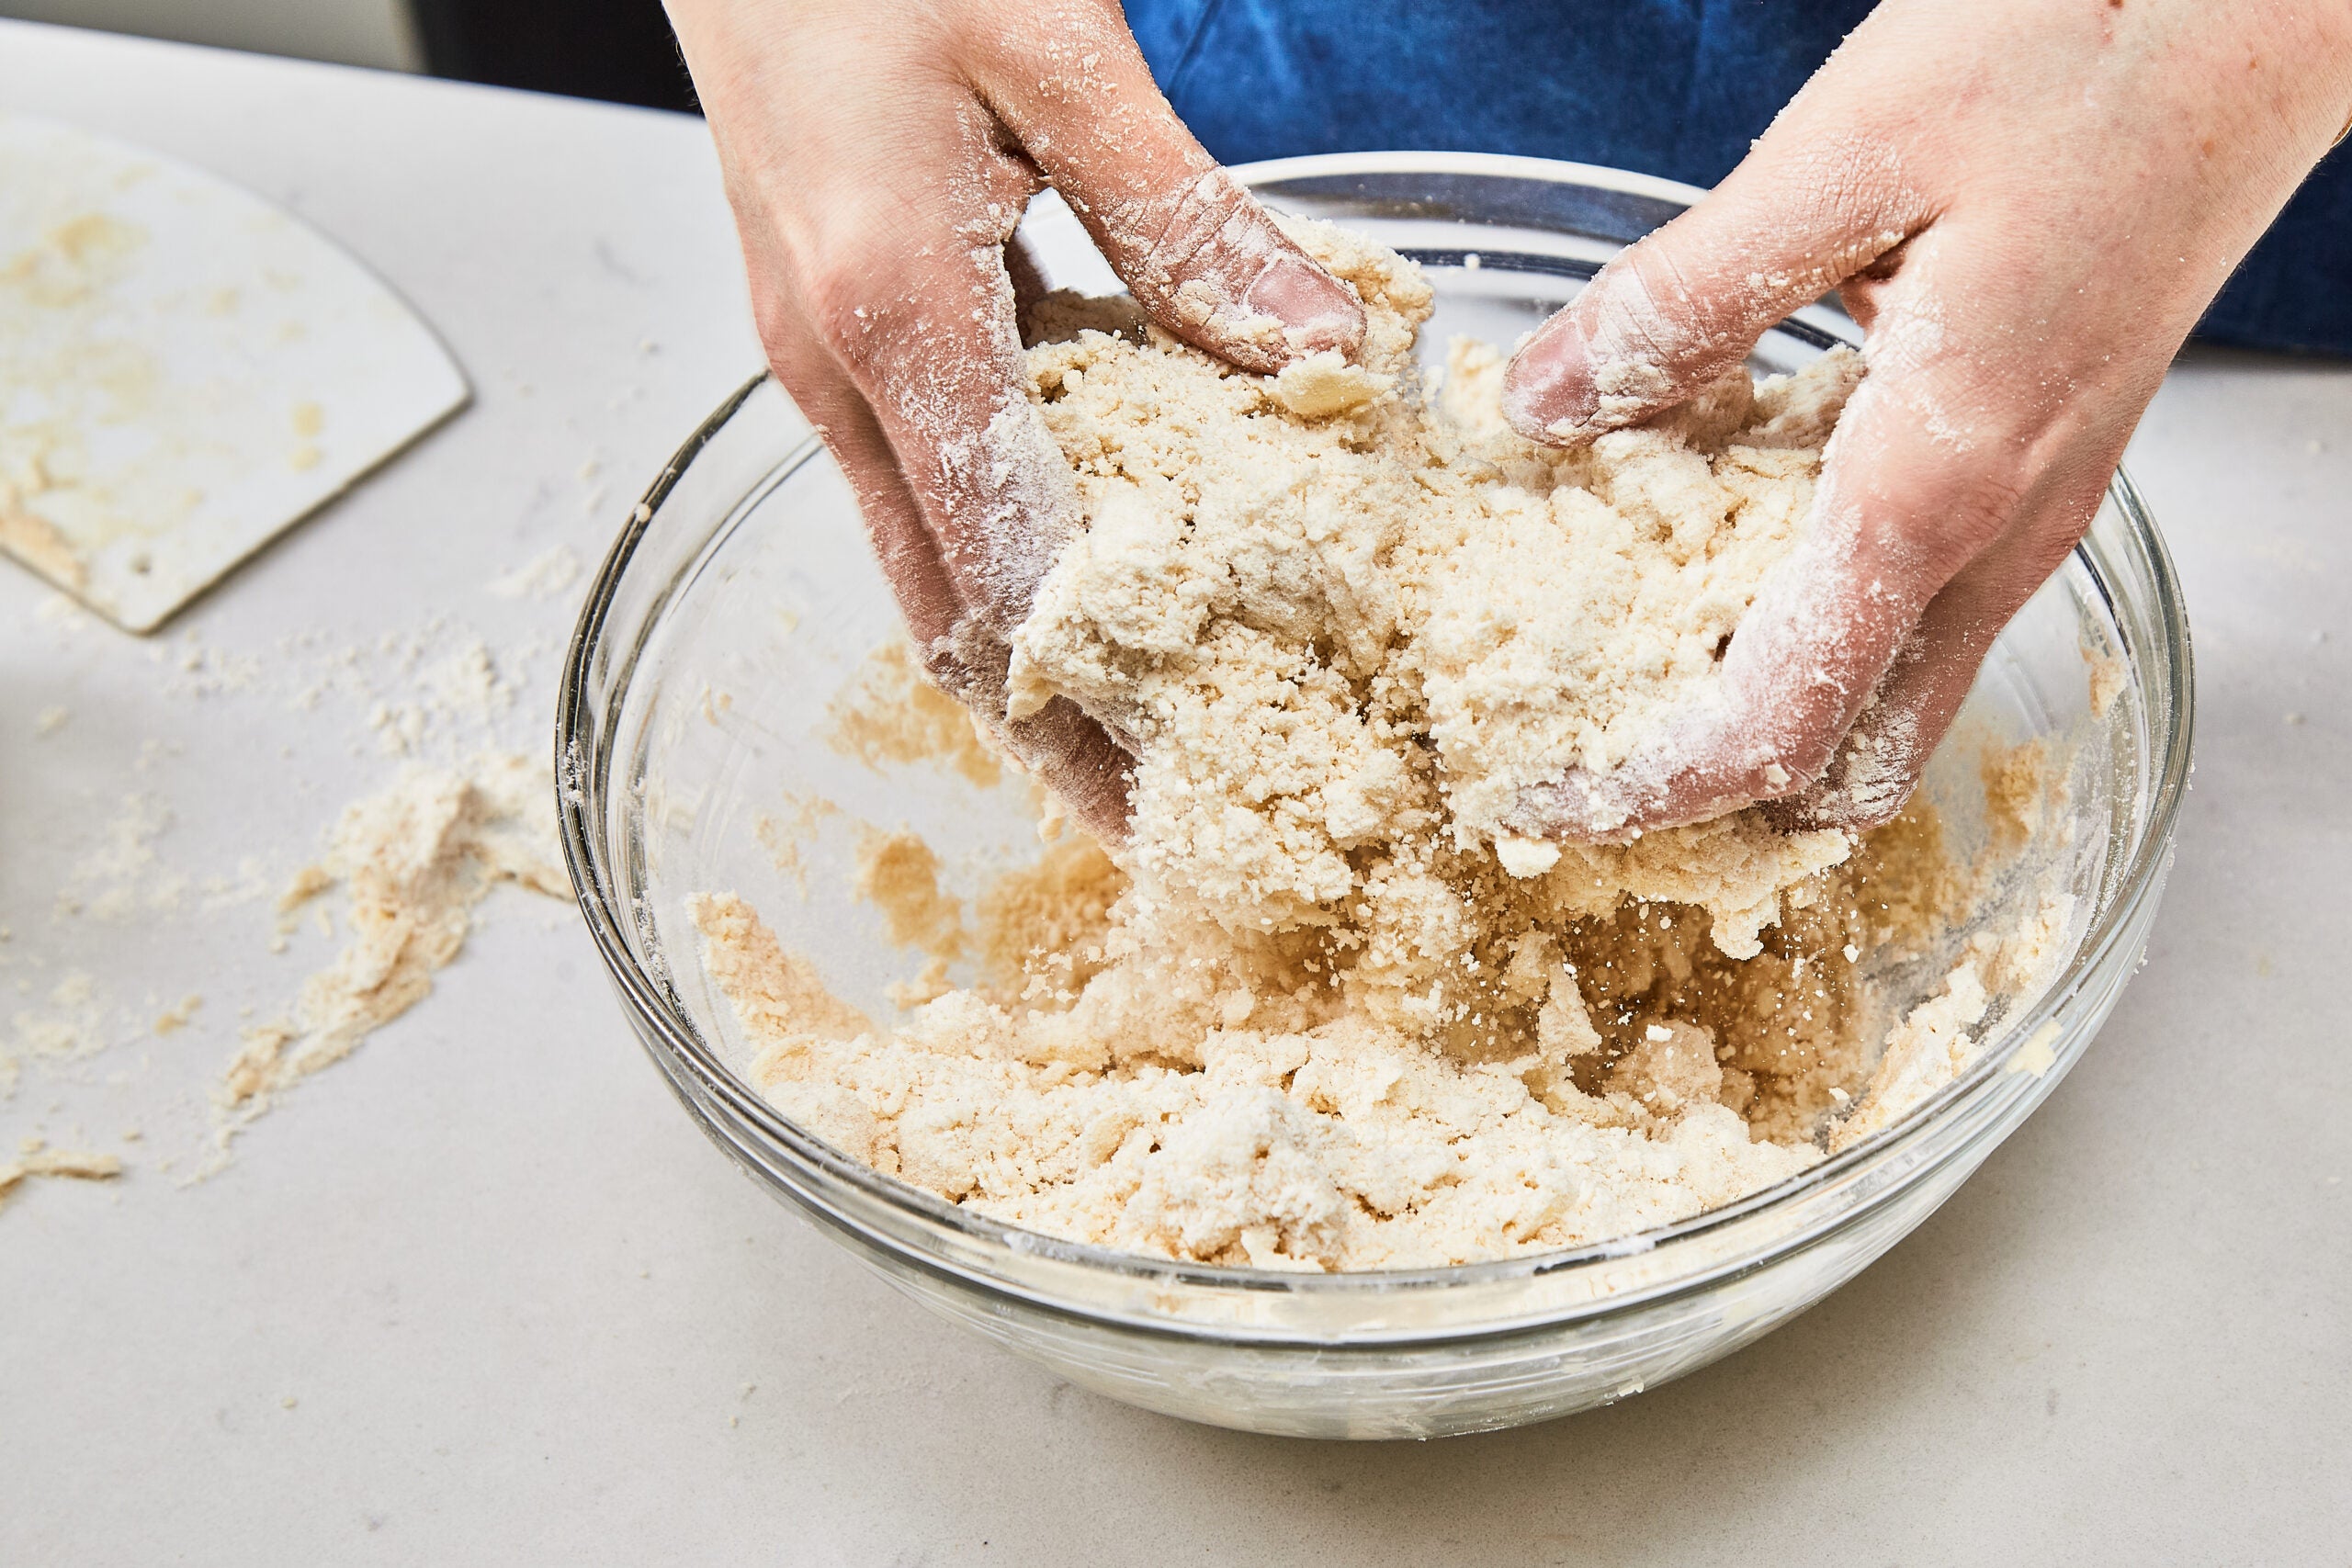
Incorporate the liquid into the dry components by tossing the combination together with your fingers and palms going through upwards. The concept is to consider this course of as “tossing a salad” and never “stirring a dough.” Rotating the bowl as you go means that you can evenly add water to the combination.
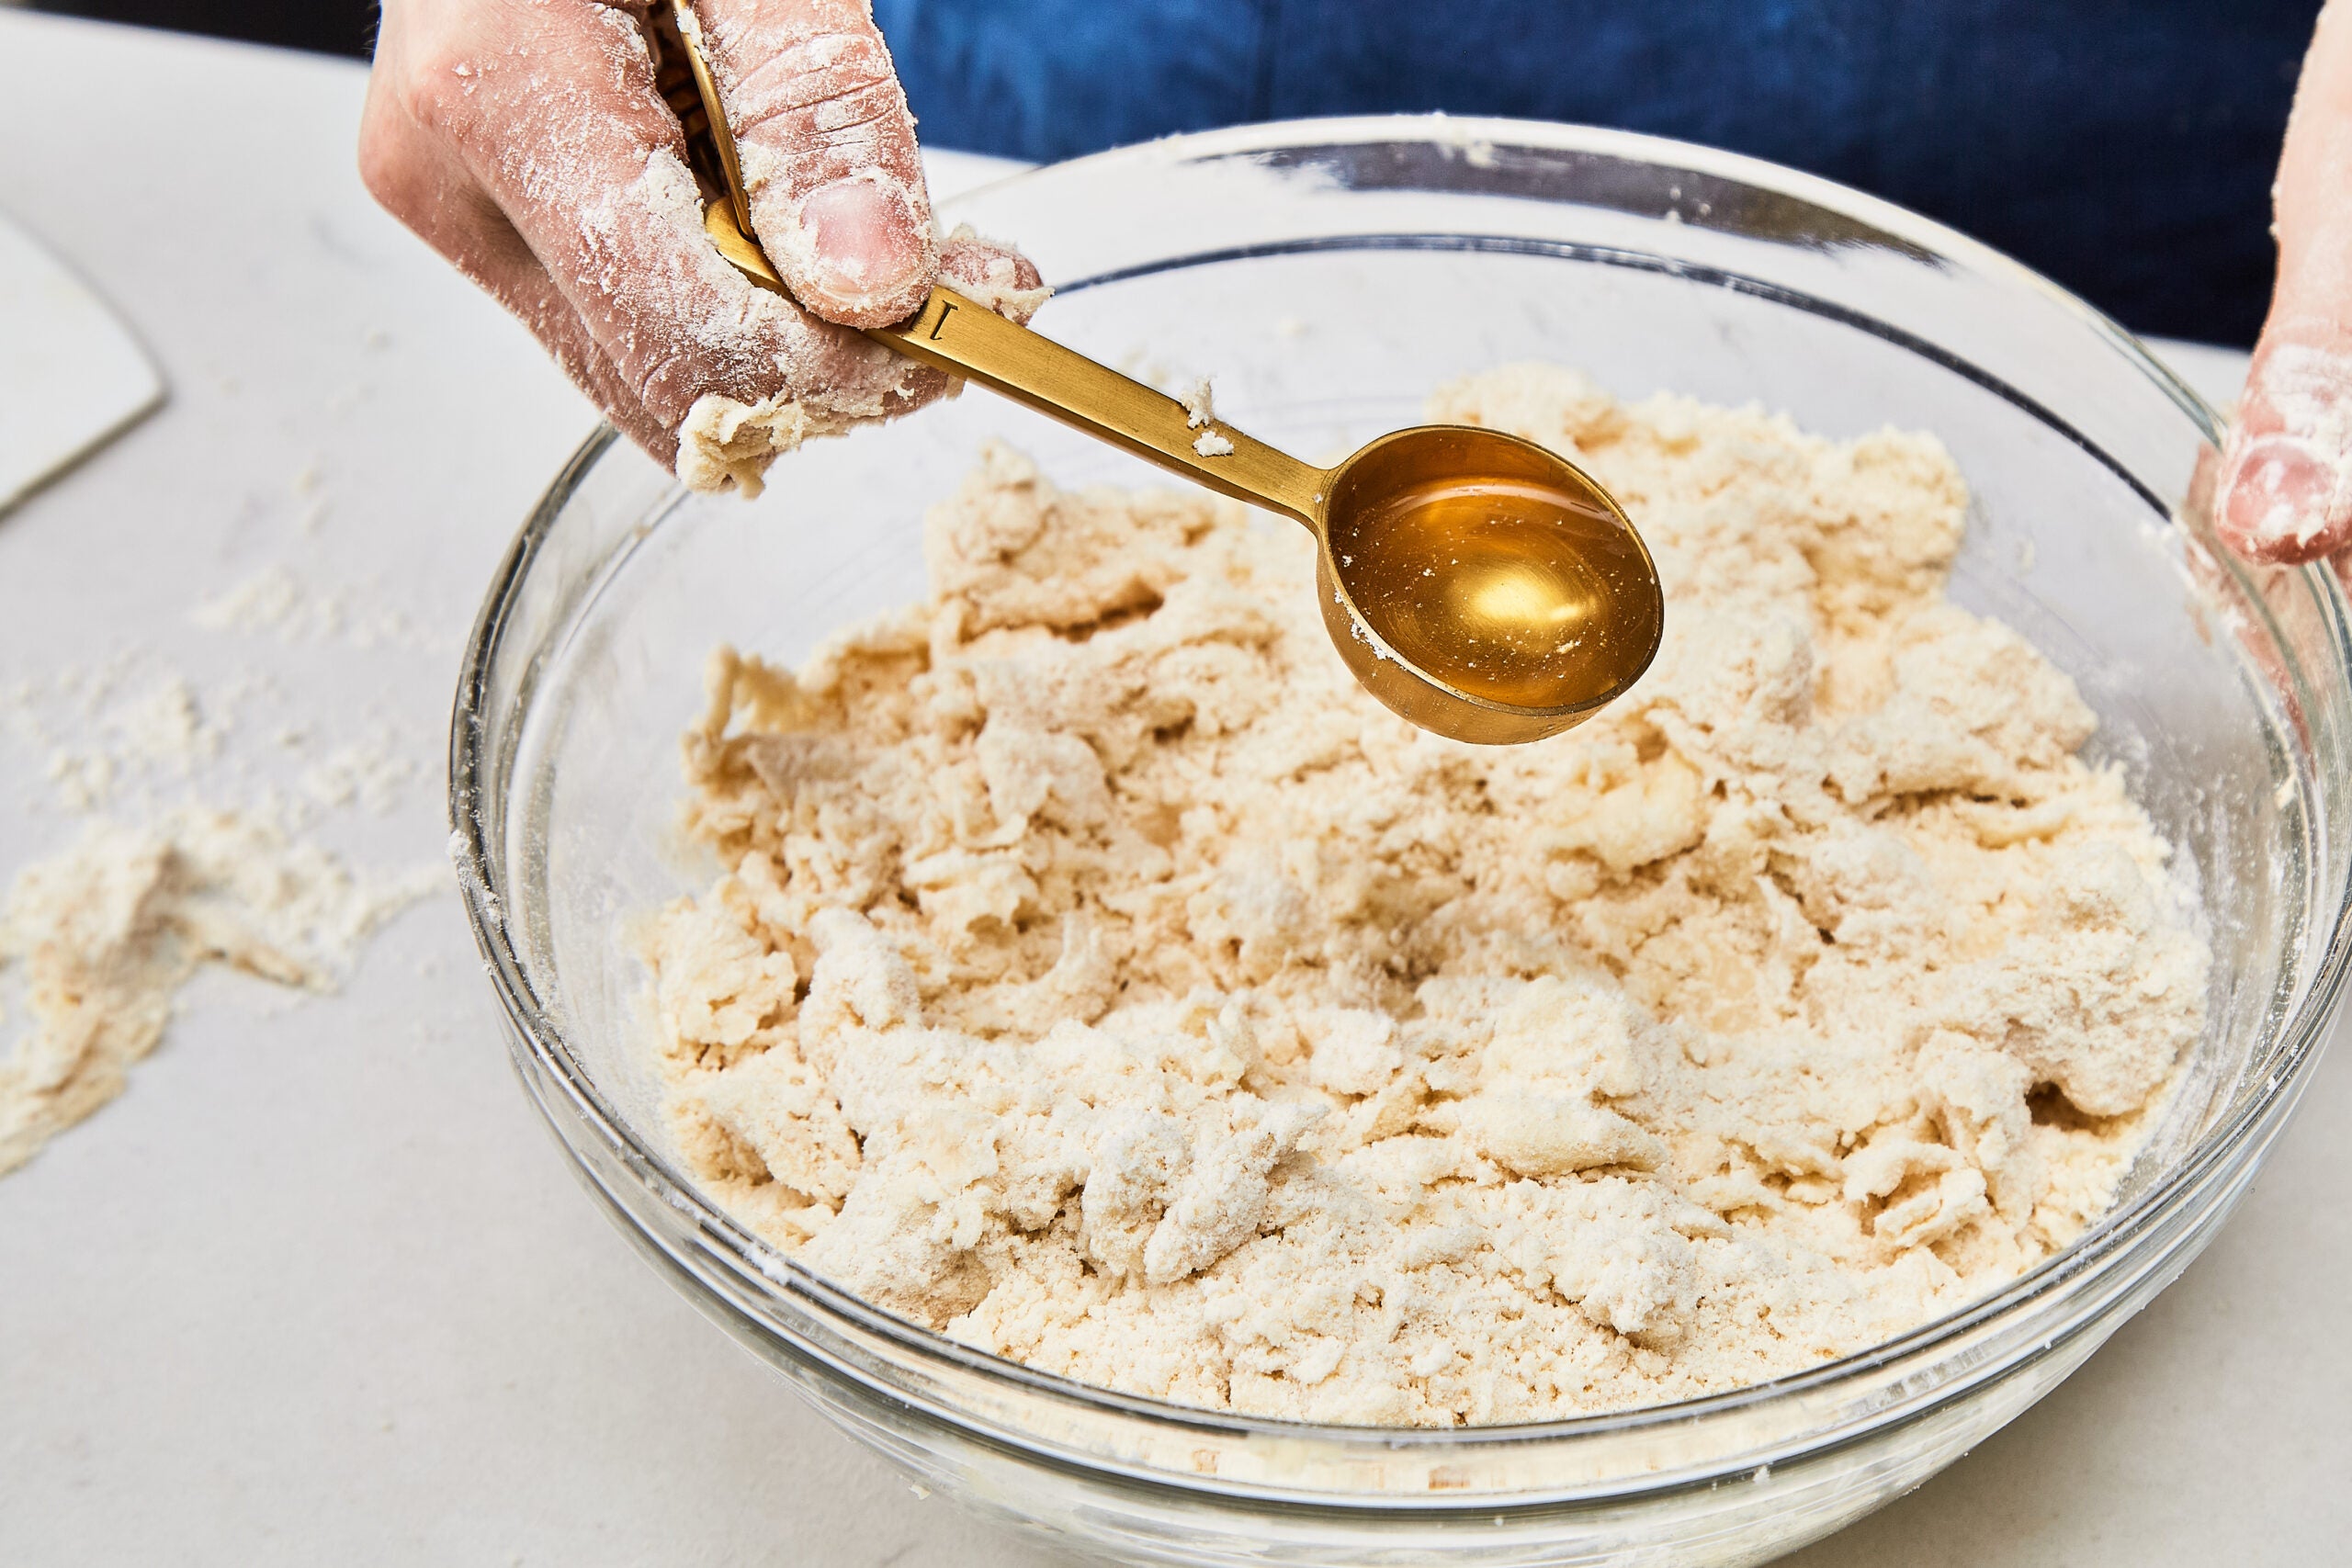
A tablespoon at a time, add virtually the entire remaining water/vinegar combination, and proceed tossing, simply till the dough turns into barely shaggy however not overly moist.
Step 7:
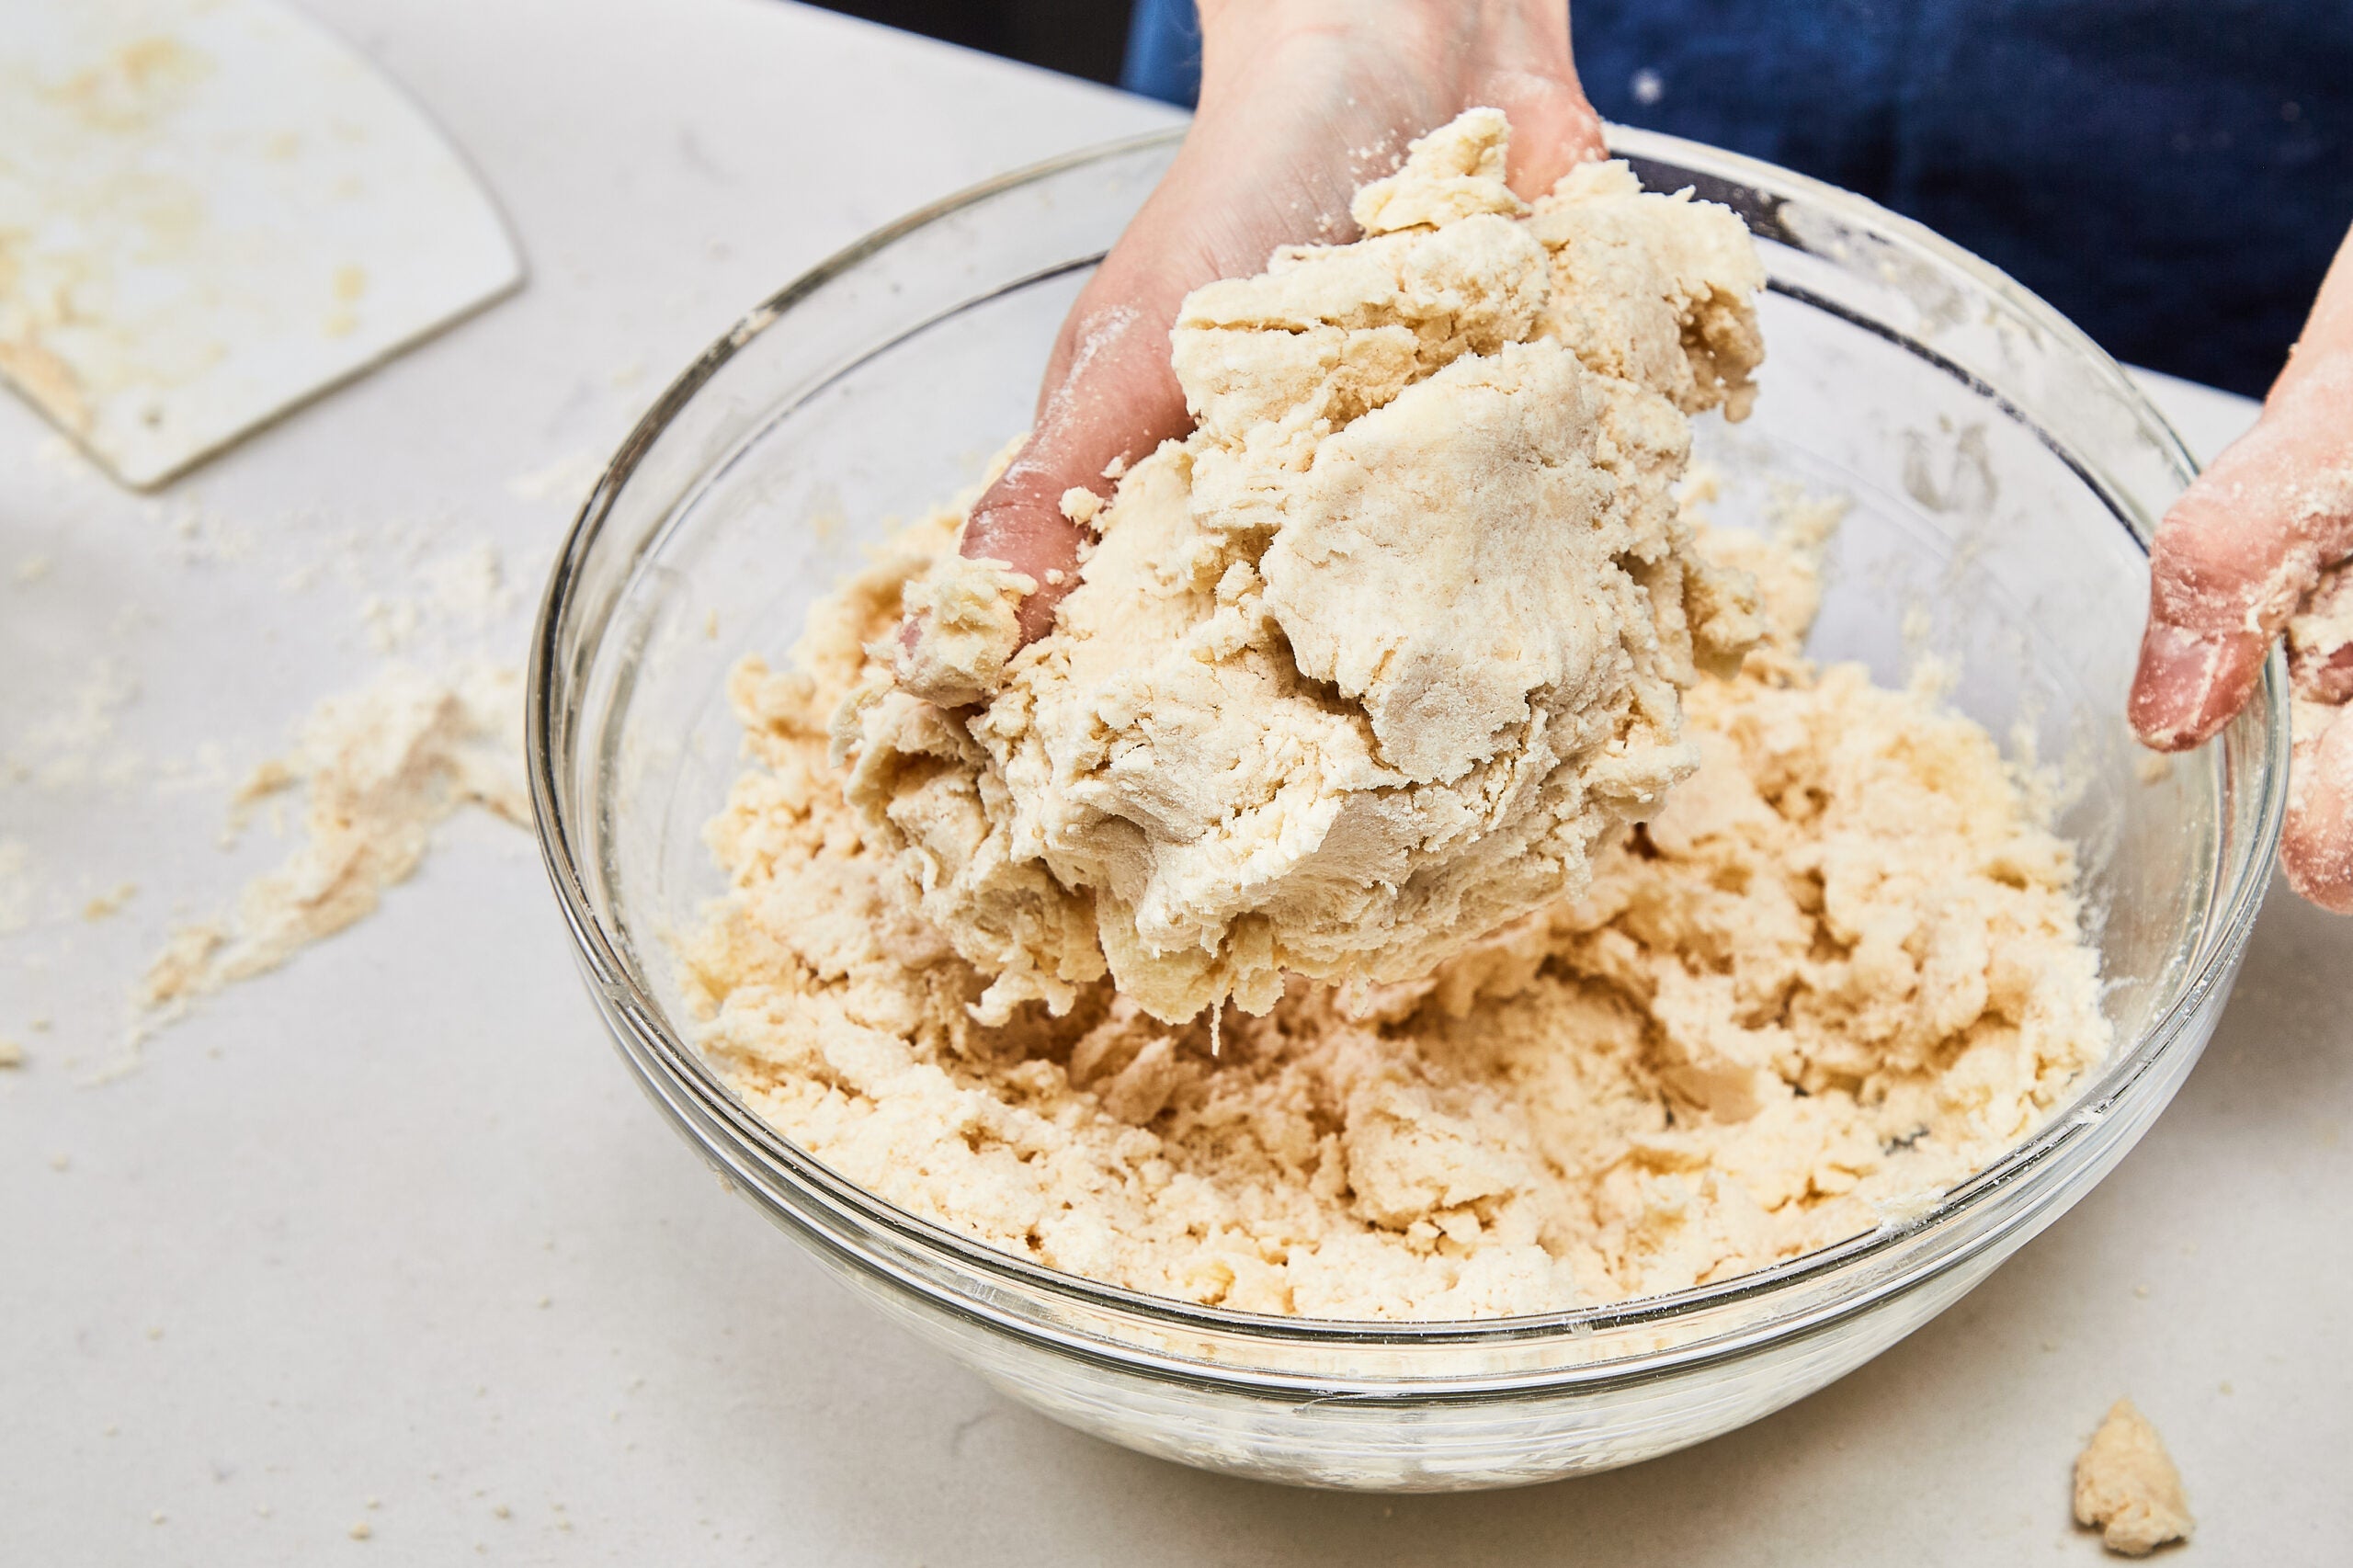
If the dough is simply too dry, add a further teaspoon or two of the remaining liquid, tossing gently, simply till the dough retains its form and holds collectively in a stable mass when gently squeezed. (In whole, you’ll solely want ½ cup of liquid—presumably much less relying upon a number of elements: climate, humidity, warmth of your kitchen, and the kind of flour you might be utilizing.)
Step 8:
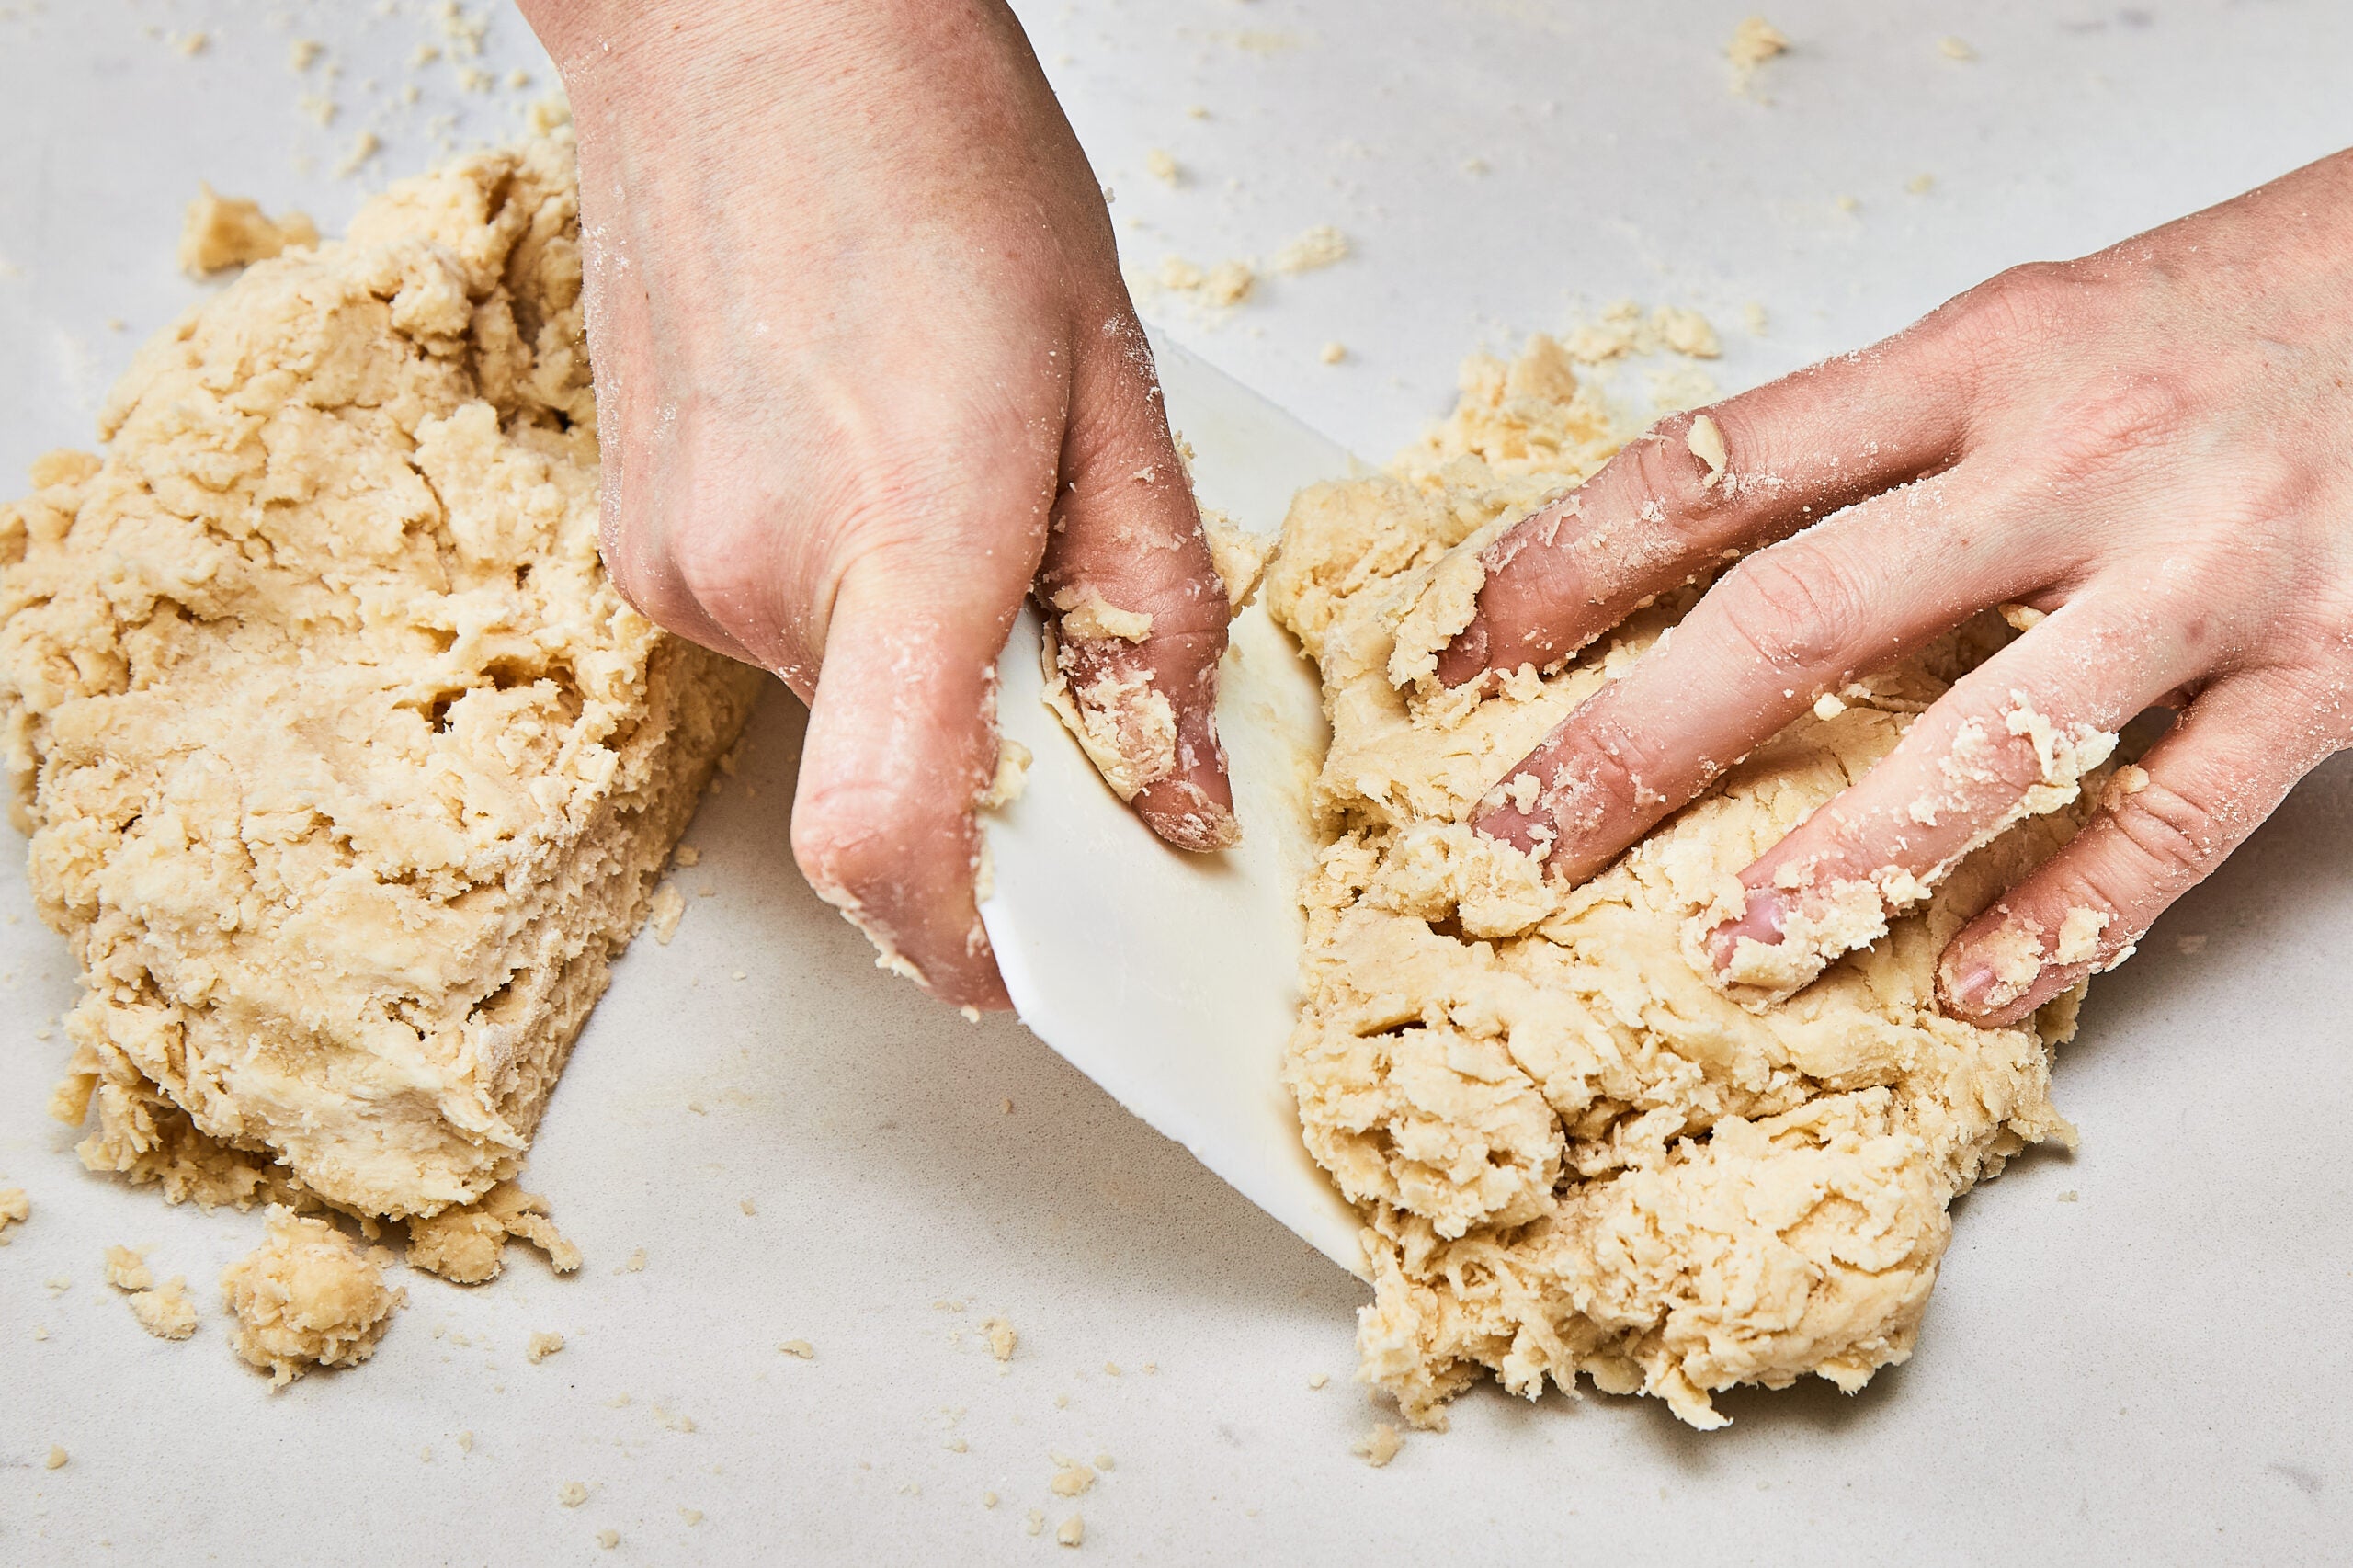
Flip the dough out onto a clear work floor, divide it in half, then gently press every half into a good ½-inch disk.
Step 9:

Wrap every disk tightly in plastic wrap and refrigerate for at the very least 1 hour and as much as 3 days.
Step 10:
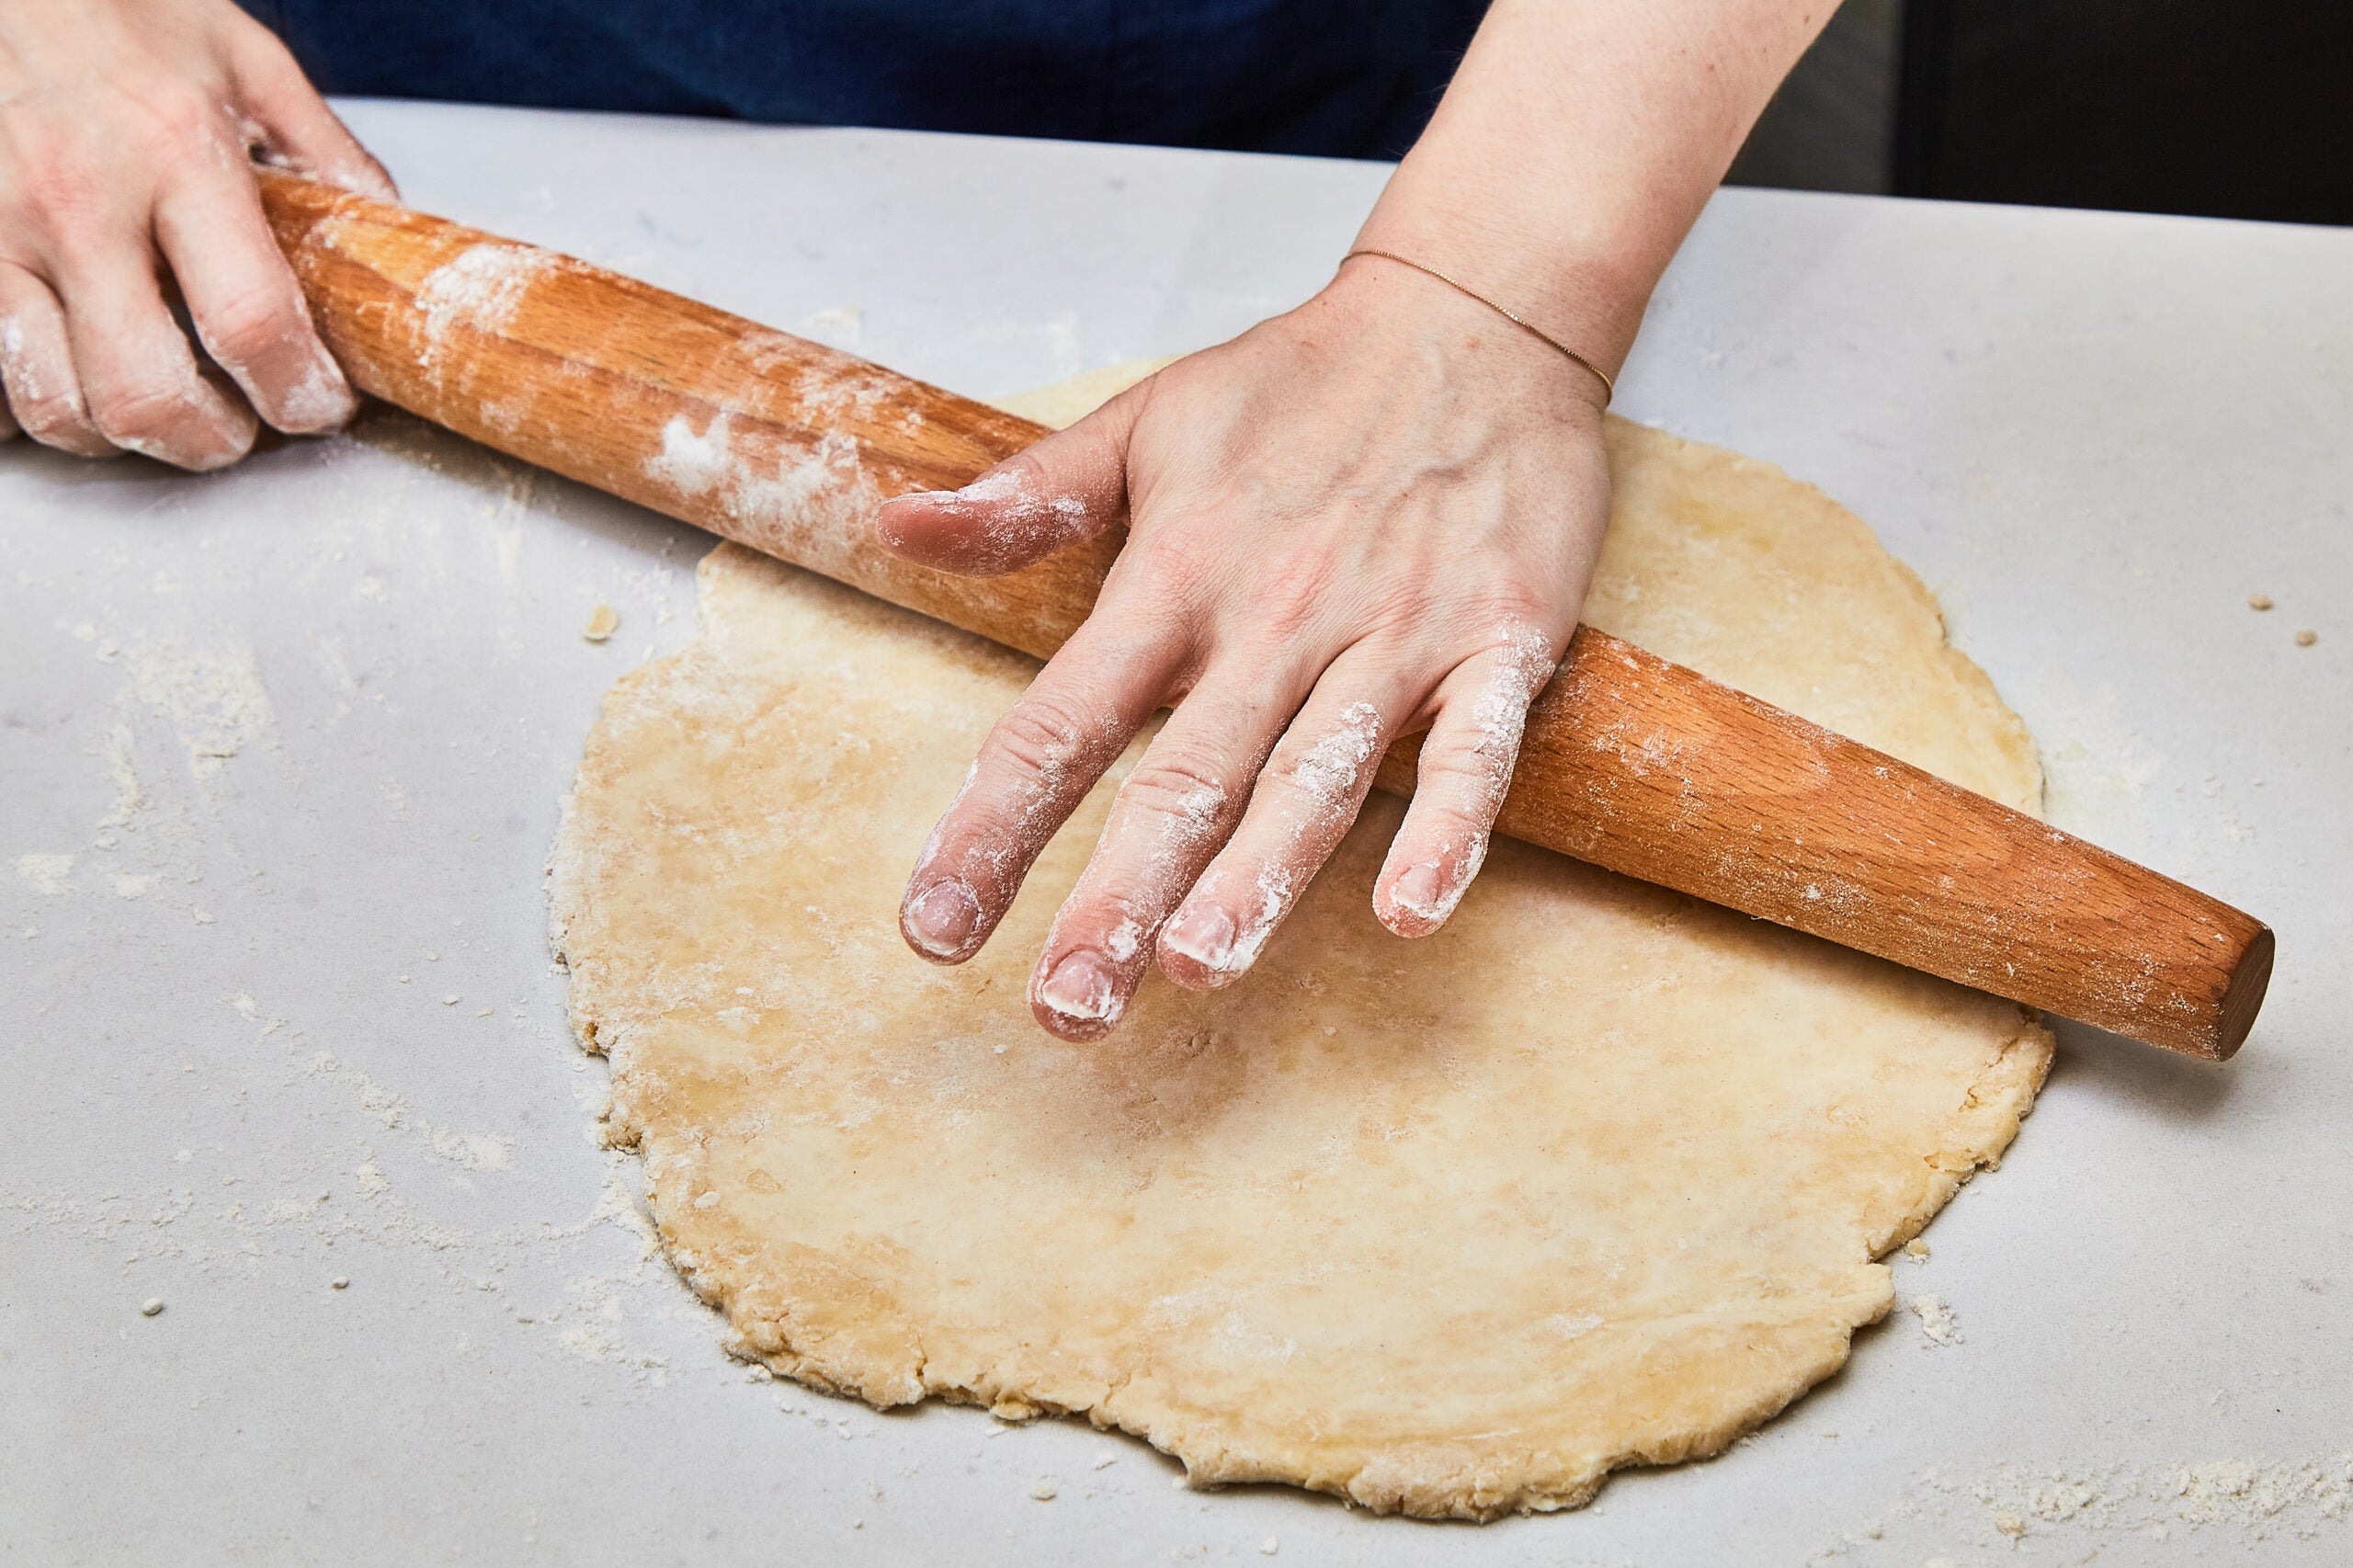
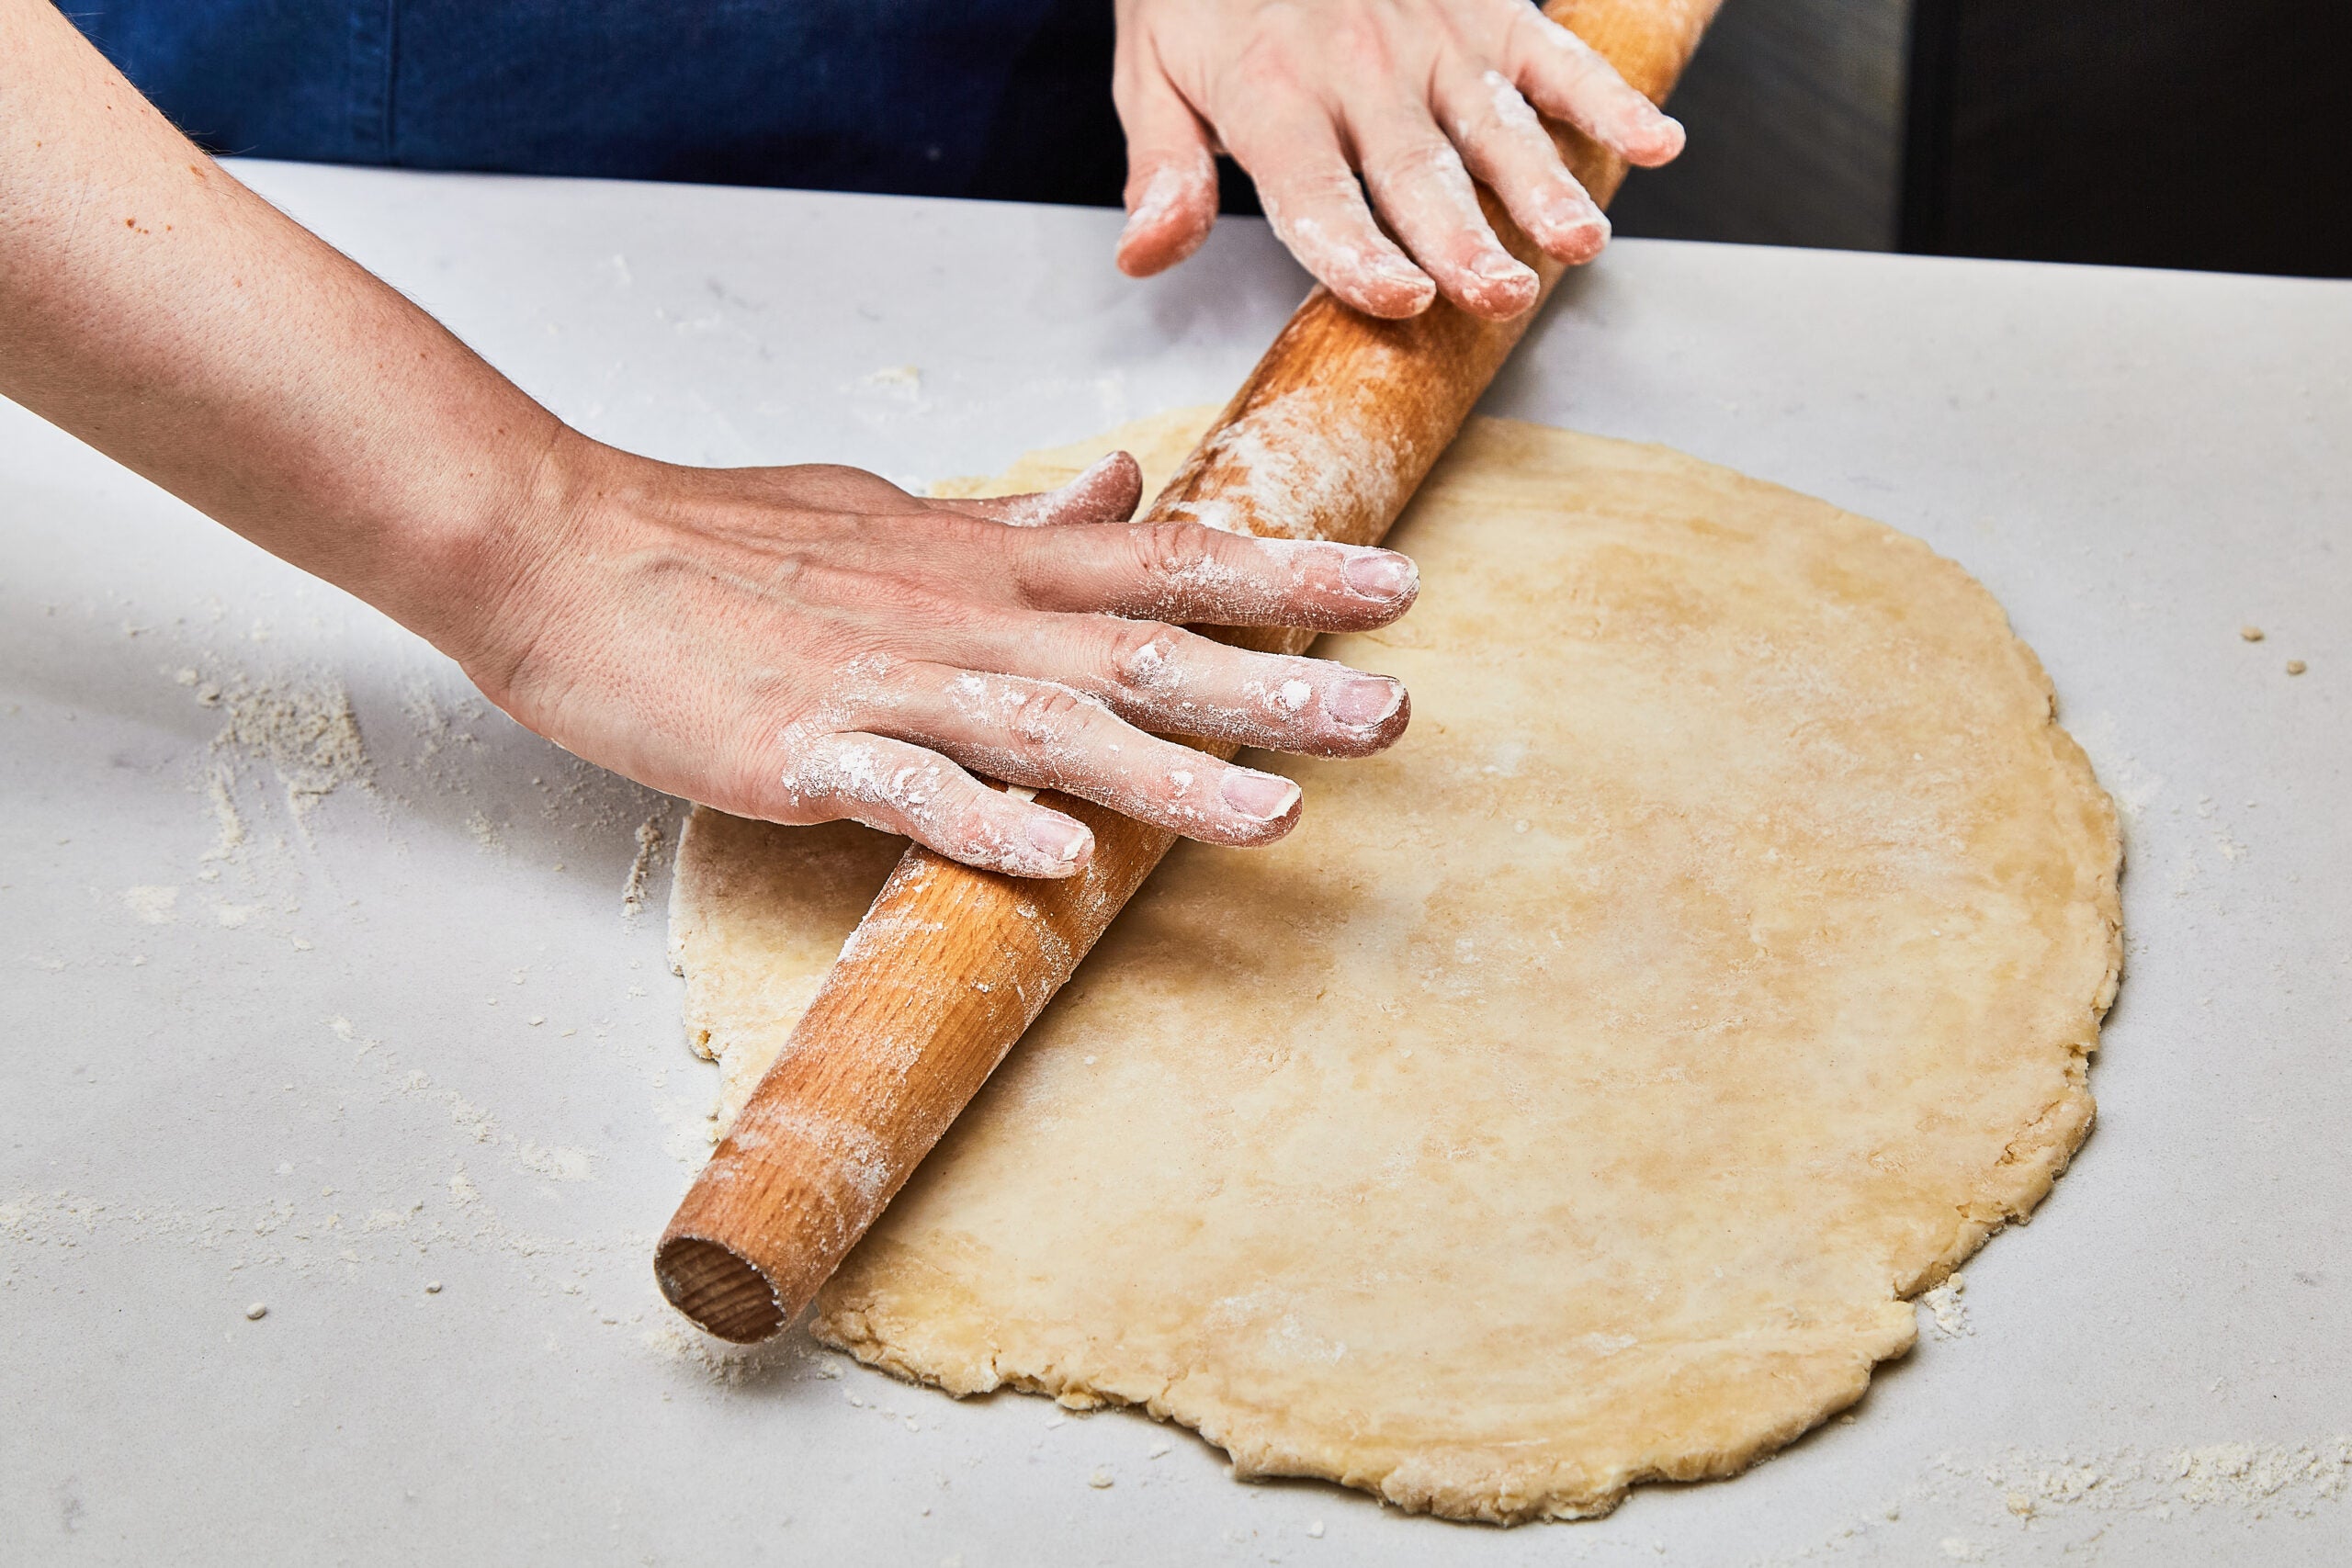
Calmly flour a clear work floor and a rolling pin. Retrieve and unwrap one disk of dough. (Whether it is ice chilly, let it come to room temperature for about 10 minutes.) Consider the circle of dough as a clock face; place your rolling pin horizontally (between “9 and three”) and roll upwards, then place the pin again within the center and roll downwards. Carry the dough and rotate it 1 / 4 flip and repeat the method. The concept is to not overly work the dough or stretch it. Use a agency but light contact, taking care to not roll and reroll over the identical space. Turning the dough 1 / 4 flip after every up and down roll provides you an evenly rolled circle of dough. Conserving the pin in the direction of the middle of the dough provides you larger management over the thickness. You’re seeking to roll the dough out to a good, 13-inch circle, about ⅛-inch thick.
Step 11:
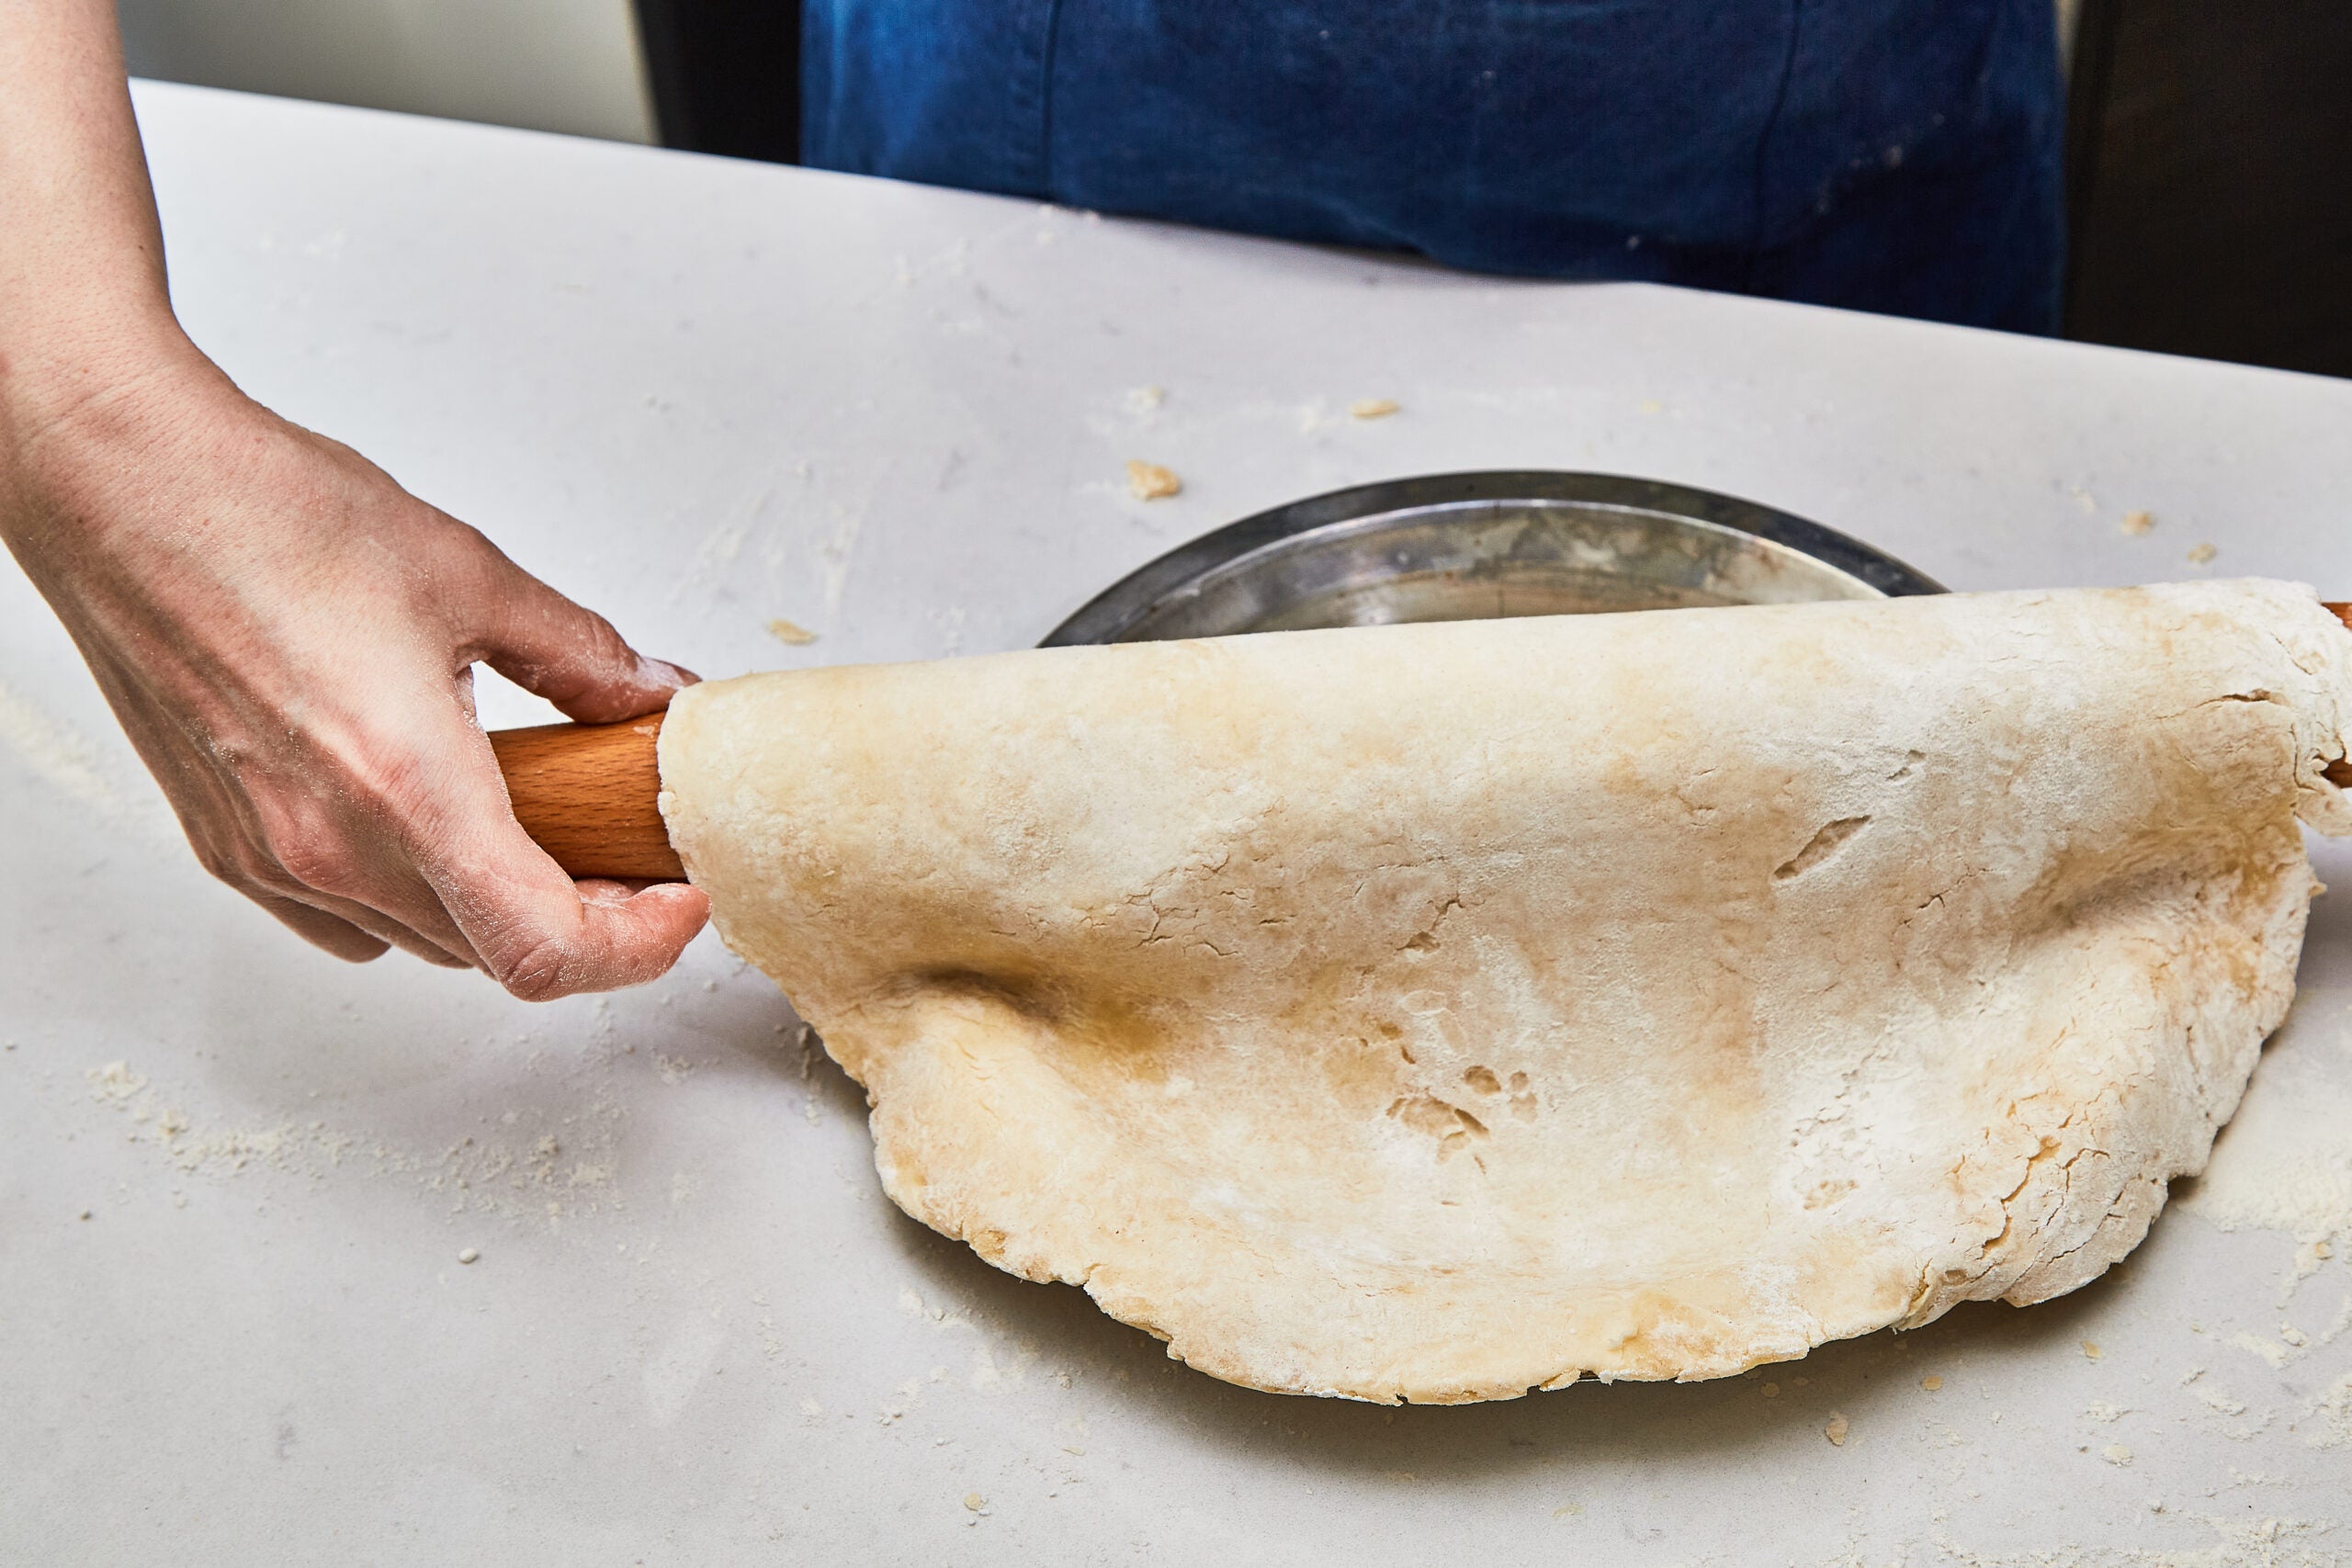
Calmly flour the rolling pin as soon as extra, then place it on the far left fringe of the dough circle and thoroughly roll the dough across the pin, gently lifting it away from the floor in a single easy sheet. Place the dough-wrapped rolling pin over the far proper fringe of your pie plate and unroll the dough, centering it over the plate.
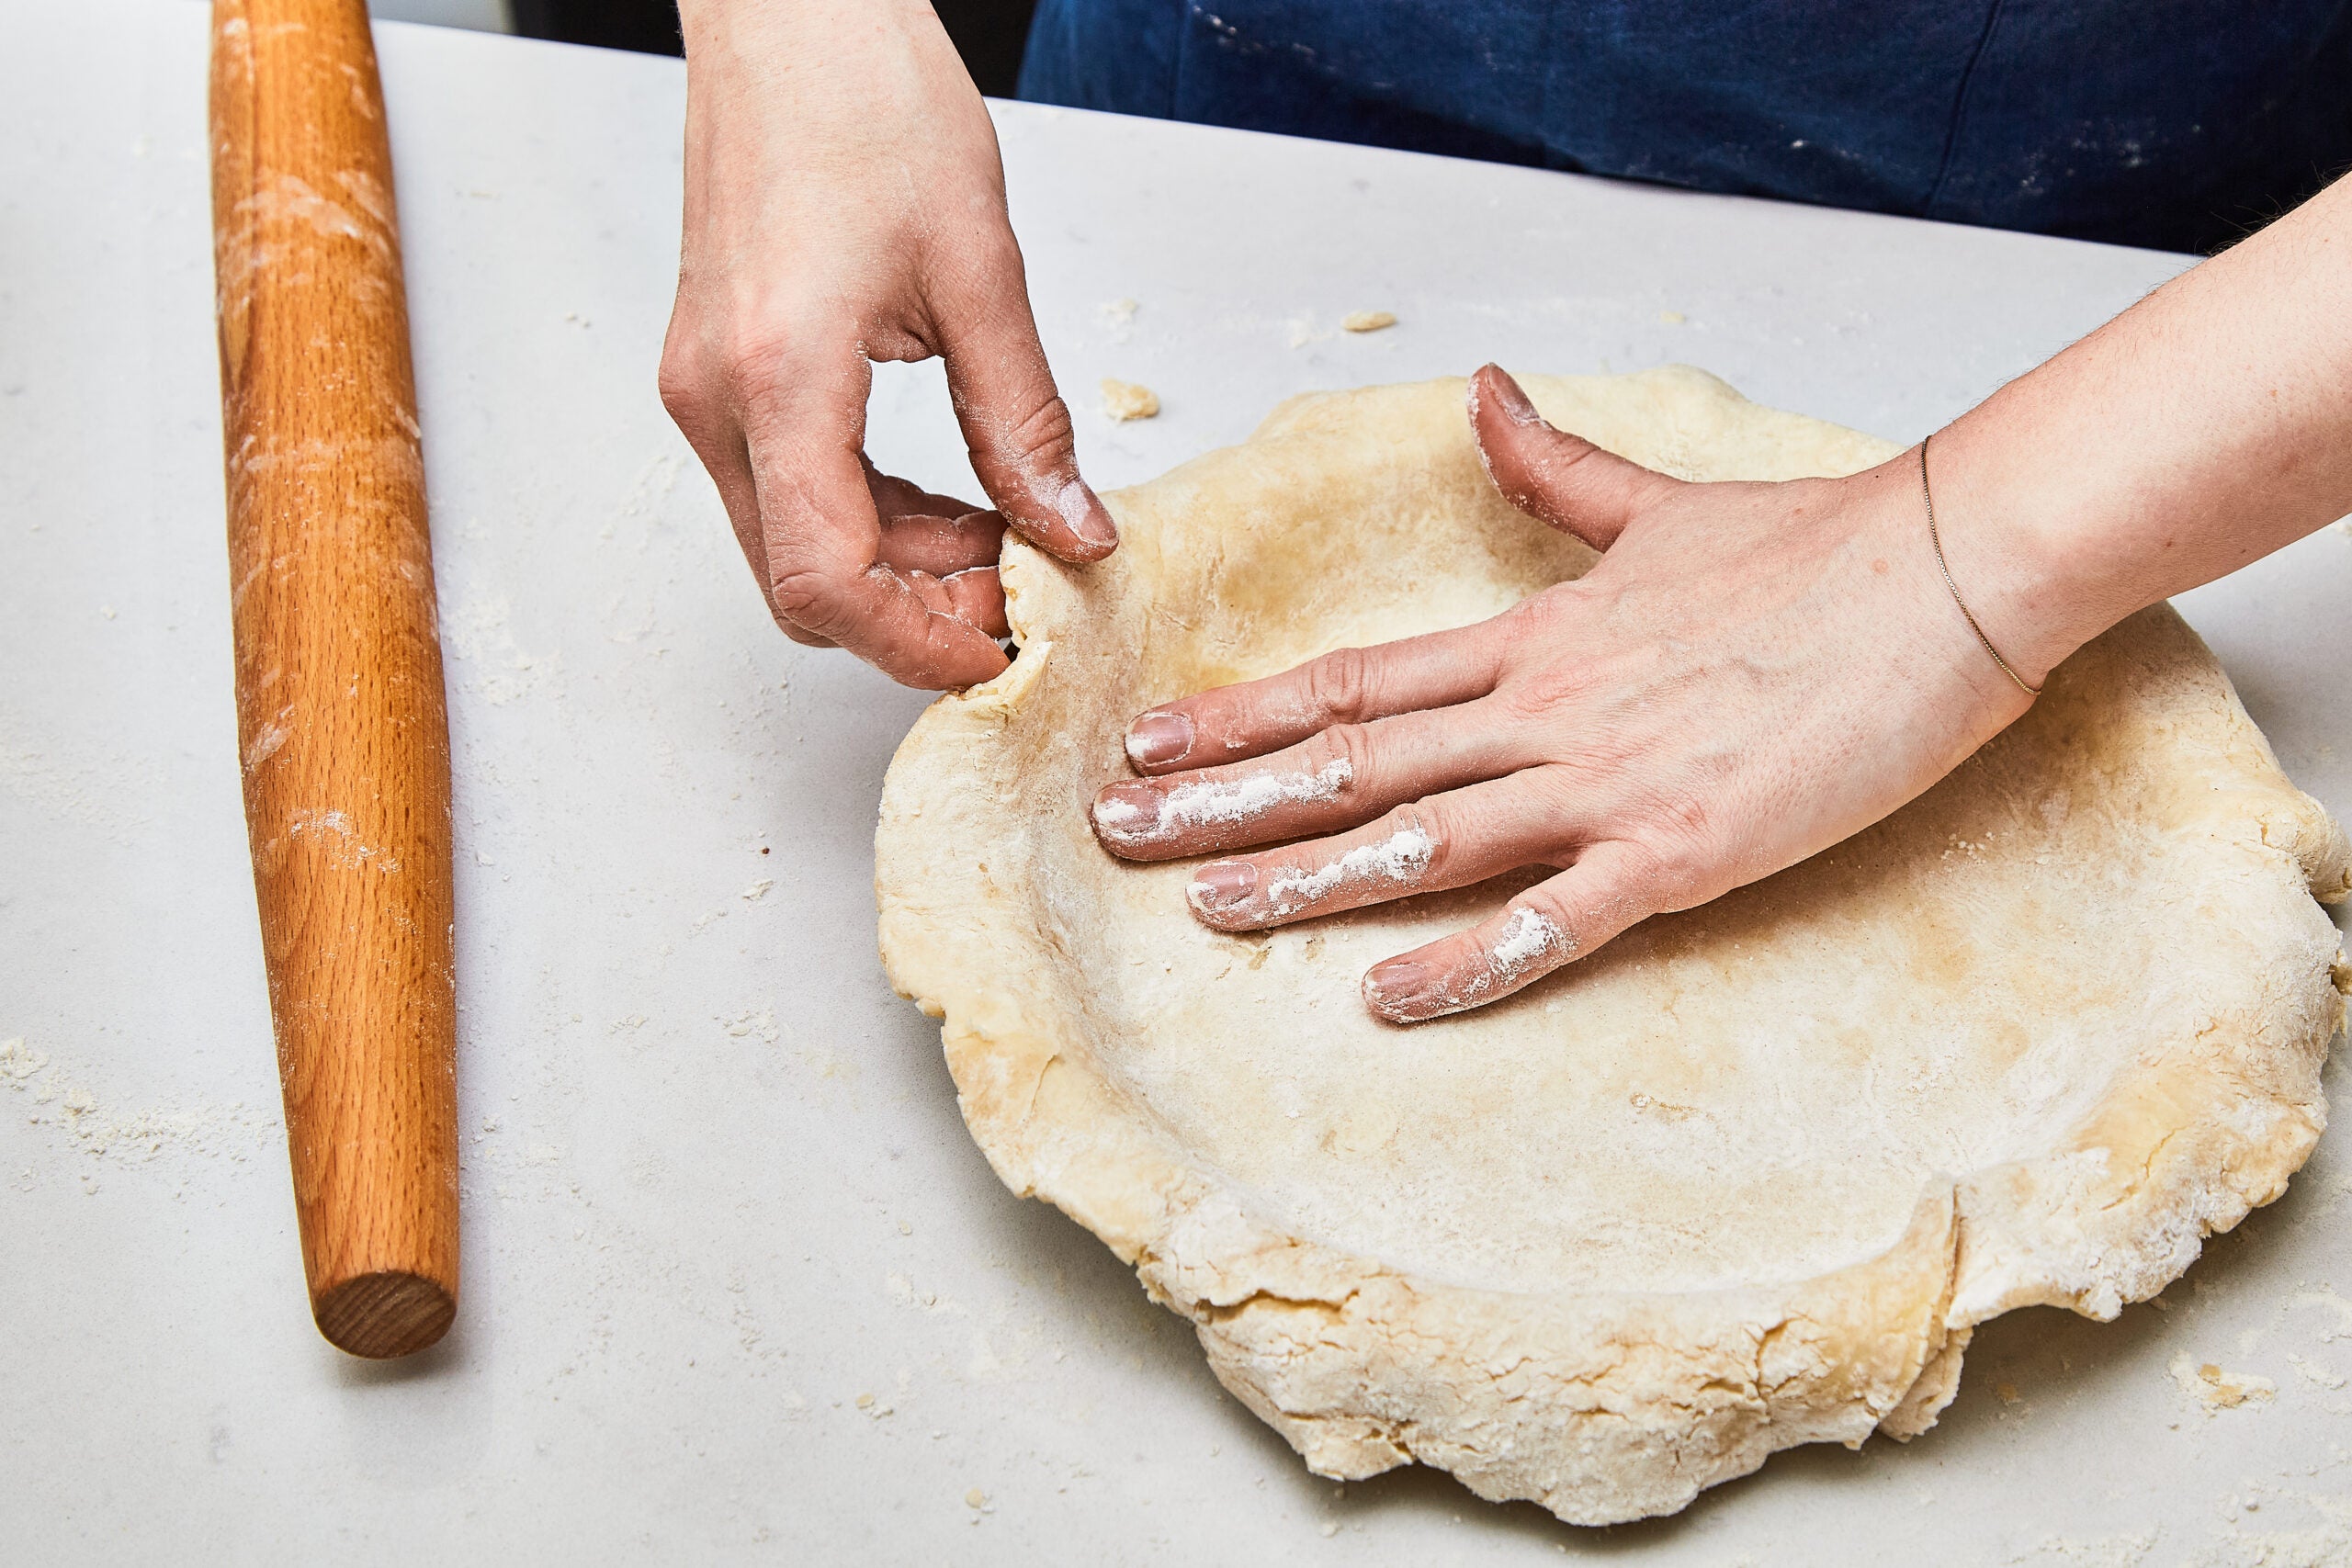
Utilizing your fingers (mud them with flour as wanted), ease—don’t stretch—the dough alongside the underside and the edges of the pie plate. Utilizing a paring knife, trim the sides.
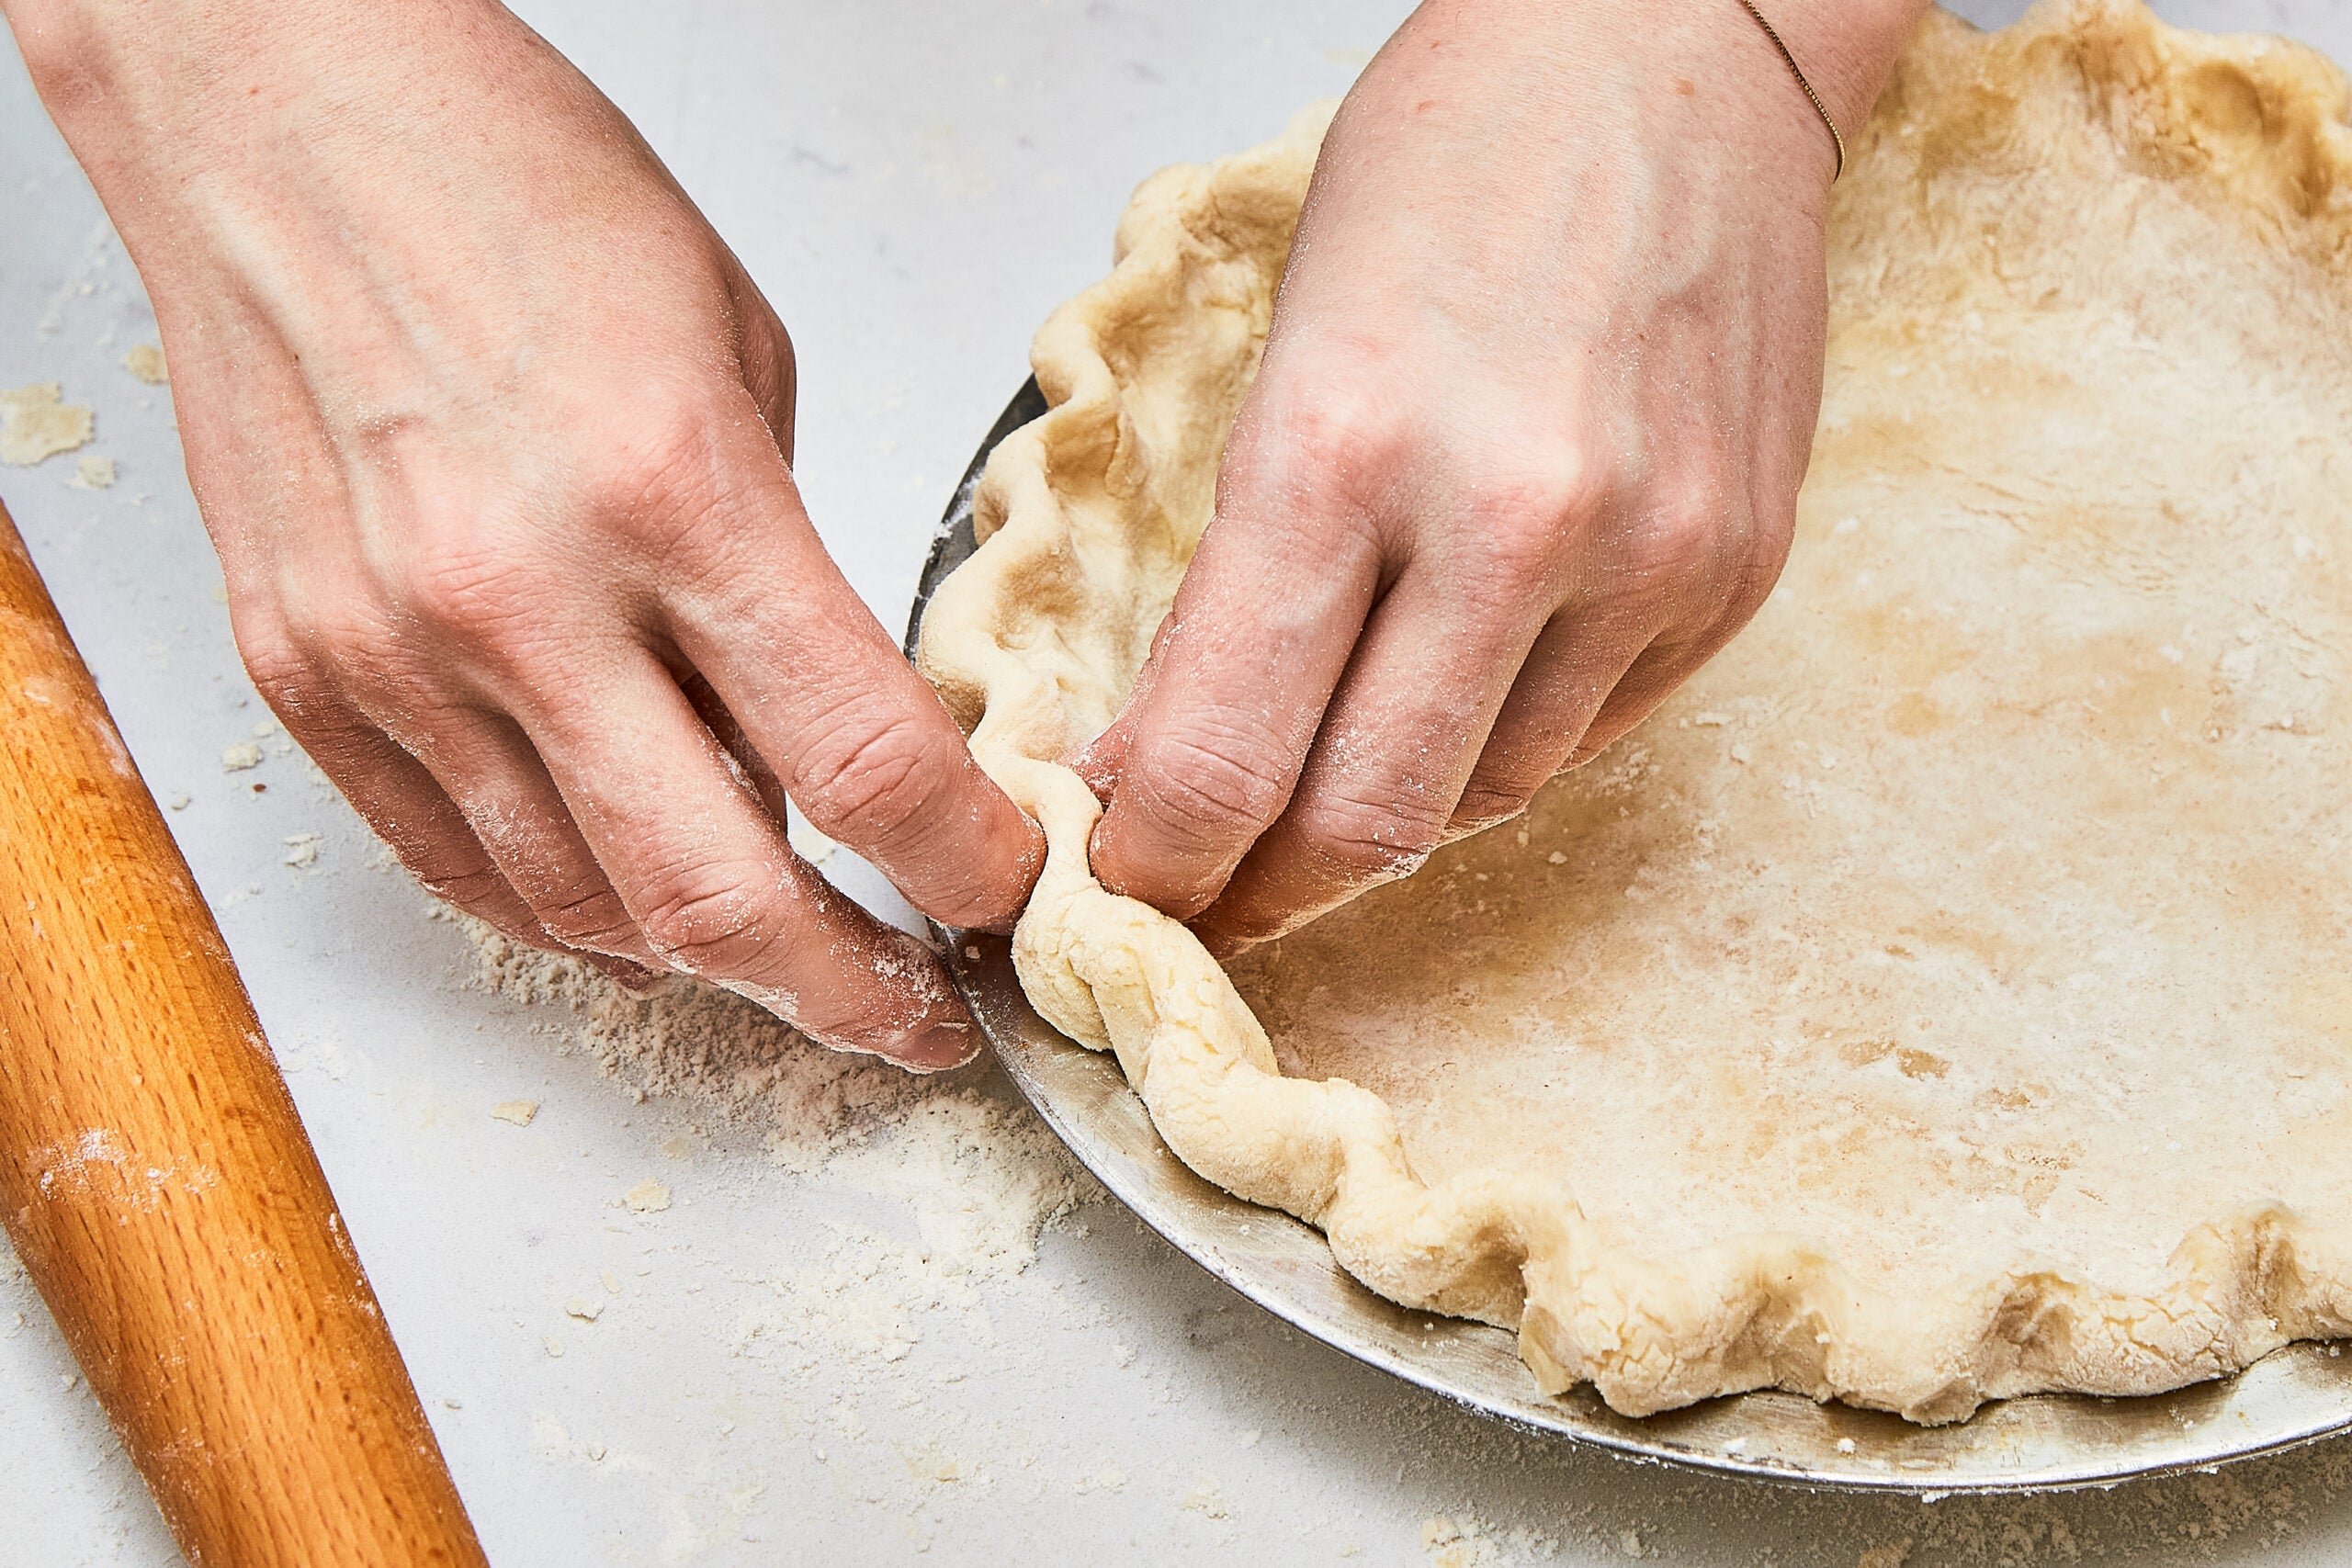
If you’re making a single-crust pie, you’ll be able to fold and crimp the sides at this level; if including a high crust or lattice, nonetheless, save that step for when the highest crust is in place. Switch the pie plate to a baking sheet, cowl loosely with plastic wrap, and refrigerate till agency.
Step 12:
If desired, roll out the highest crust, then slide the circle of dough onto a second, parchment-paper-lined baking sheet. Cowl with plastic wrap, and refrigerate when you make the filling.
Further Pie Dough Knowledge
•Don’t obsess over perfection; as a substitute, discover the enjoyment within the course of.
•Take note of temperature at each stage; the temperature of the kitchen, of the dough, of your arms, and of your components. Don’t be afraid of refrigerating the dough all through the method and even dunking your fingers right into a bowl of ice water in case your arms are likely to run scorching.
•Bear in mind, the higher the butter, the higher the flavour. Unsalted, European-style butter has a decrease water content material than typical American butter, and so delivers a much more memorable pie dough.
•Plan forward as a result of good pie takes time. One of many vital items contributing to a superb pie crust is permitting the dough to easily relaxation within the fridge; this step is non-negotiable, so don’t be tempted to hurry it. When water and flour mix, gluten naturally types and might result in a troublesome crust; including vinegar to the water helps to curb this response. Moreover, because the pie dough rests within the fridge, that gluten relaxes.
•Don’t be afraid to apply—and apply once more.
Different Methodology: How To Make Pie Crust In a Meals Processor
This methodology is much less fascinating, but when it encourages you to make your individual pie dough, go forward and use this time saver with one caveat; as soon as the butter has been minimize into the flour combination, switch the combination to a big, chilled bowl and add the ice water by hand. Including the liquid to the meals processor will increase the chance of over-mixing and toughening the dough. In contrast to pushing a button and hoping for the very best, if you add the water by hand, you might be in management and might get a real really feel of when the dough is sufficiently hydrated.


